Battle Of The Bling Star Kim Myles' Tips For Customizing A Table With Tile

Refurbishing old furniture is a great way to refresh your home without buying new items. You can take what you already own and change a few things to make it look brand new. For example, if you have a dated chair that needs to be thrown out, upholstering its fabric will give it a completely different appearance. On the other hand, say you found a bookcase on a sidewalk with a "free" sign on it; you'd be able to refinish it with some new paint or apply wood stain to spruce it up. Adding tile to your furnishing is another creative way to customize them and give them new life — and it's been a bit of a trend in recent years, with TikTok videos of DIY tile projects racking up millions of views.
If you're looking to get in on the DIY fun, take some tips from "Battle of the Bling" star Kim Myles for a spectacular transformation. All you'll need is a table, a sander, a grout float, grout, and some tiles of your choosing.
Sand down the surface
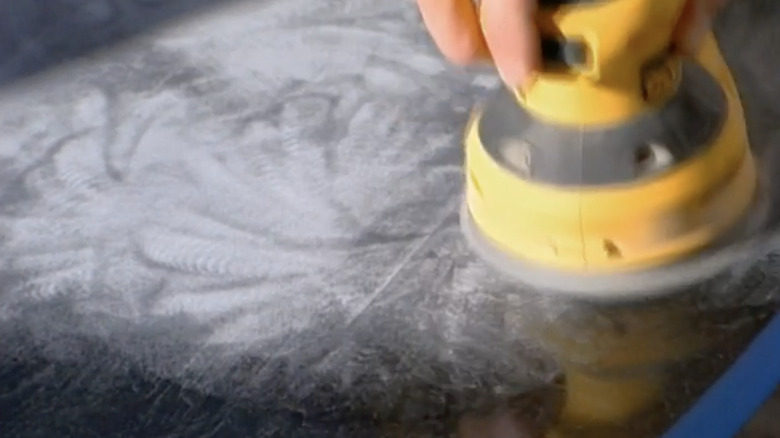
For those working with a table with a smooth, sleek exterior, Kim Myles notes that a few prep steps are needed before getting to work. "A non-stick surface won't work for tile," Myles says, "We're going to use the orbital sander, and we're going to rough the top of this table up," per HGTV. This will give your tiles and adhesive a better grip when applying them.
Before you start sanding, she recommends adding a long strip of masking tape to the table's edges to prevent them from being sanded down. The tape will also ensure that you have a clean straight edge when adding a layer of grout so that it doesn't drip down the sides.
Once the edges are taped, you can begin sanding. Depending on the size of your table, you can hand sand the surface if you don't have a power tool sander. After you're finished, add a semi-thick layer of adhesive to the surface and line up your tiles. You'll want the tiles to be spaced evenly along the top of the table.
Be careful with the edges
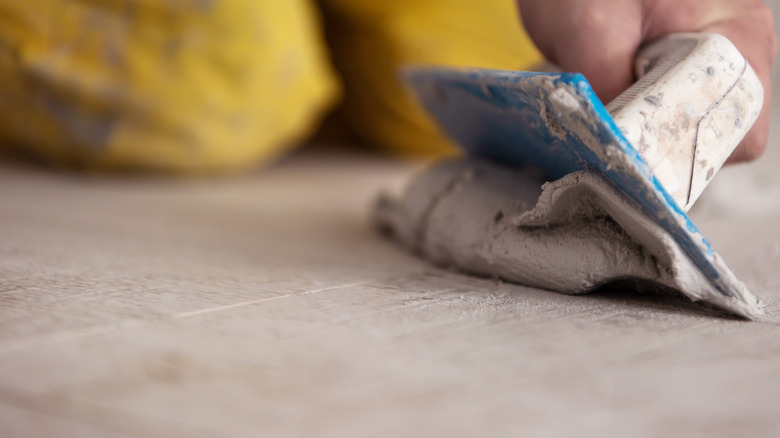
After your adhesive and tiles are in place, you want to let them set between 24 and 48 hours. Allowing time for everything to dry before adding any pressure will help you to avoid moving the tiles. Once the base has dried and set, it's time to grout. You'll add the grout to the space between each tile using your float.
Grouting the ends of the table can be the trickiest part — this is where Kim Myles' advice comes in handy, "As we get to the edge, we're going to angle the float and scrape it off the edge so that we're getting a nice flat angle between the rise of the tile and the edge of the table," via HGTV. This can take practice, but take your time to ensure it's done right.
When you're finished, let it set and dry for 24 hours before cleaning up the grout haze or residue on the tiles. All Kleen Carpets recommends using white distilled vinegar, warm water, and a sponge to clean the grout haze. Work in small sections until you've cleaned every inch of the surface.