Tips On Cleaning Drywall Dust And Joint Compound
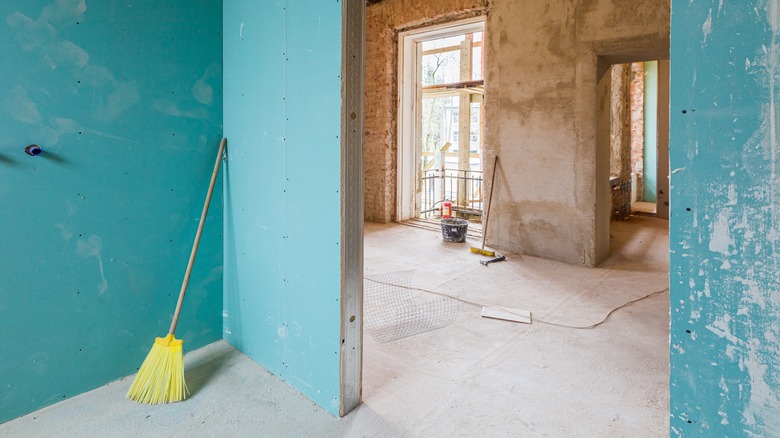
It's inevitable, drywall dust and joint compound get everywhere during construction and remodeling. Ideally, the person doing the sheetrock work vacuums it up, and it's taken care of. Except that it's often not really taken care of at all, and it's a threat to your paint, your floors, and your lungs.
Dust accumulation is common during construction, and you must specifically look for it and remove it before painting. Drywall and joint compound dust have a particularly bad effect on flat latex paint, which is used by many builders as both primer and paint. The paint doesn't stick properly because it doesn't have enough moisture content to penetrate the dust, especially when the paint is sprayed on.
Poor paint jobs might not be the worst of it, though. Dust from drywall and joint compound (drywall "mud") is a known occupational hazard, as it is usually composed of several materials that cause irritation to the eyes, nose, throat, and lungs. Silica, which is often present, can even cause serious health issues like silicosis and lung cancer (via the CDC). So it's a good idea to get rid of the stuff, and obviously, it's a good idea to do so while wearing proper protective gear like a dust mask or respirator.
Clean drywall dust on wood, vinyl and other floor finishes
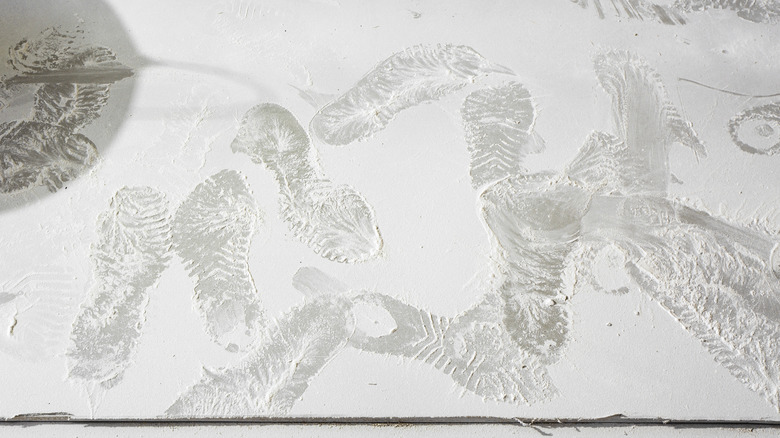
As strange as it sounds, dust from joint compound can cause some flooring to crack over time. The culprit is dust, but its accomplice is water. The standard process for cleaning up after drywall installation is to sand, then vacuum, and wipe down with a damp cloth or sponge. That's a great process for cleaning the drywall itself, but be careful when using water to clean a hardwood floor if drywall dust is present. Drywall dust in the crevices of floors can be reconstituted with water. This can expand and crack floors, or moisten the wood enough to cause buckling and the need for replacement.
Dust's habit of getting into every crevice of flooring is known as open-grain contamination. The best solution is to vacuum using a soft-bristle attachment. Then use a brush to loosen the embedded dust. A Tampico brush, made for cleaning the grain of the leather, is ideal for this. You can also use a soft-bristled brush designed to not damage the flooring. Then vacuum again, always following the manufacturer's recommendations when cleaning your flooring. These steps must be meticulously followed, and likely done by a professional, if resealing your flooring is a part of your remodeling project.
Clean drywall dust on concrete floors

Concrete and similarly porous flooring surfaces present a unique problem for those trying to get rid of drywall dust. In general, you deal with it as you would on other surfaces, but with a few tweaks. Plus, there's one game-changer when removing dust from concrete — sweeping compound. Sweeping compounds are common in commercial applications, and you can buy them at most hardware stores. They are inexpensive and quite effective at removing dust from floors. Sweeping compounds have adhesive additives that bond dust with larger particles to make getting rid of it much easier.
The process looks like this: start by wiping down surfaces above floor level, including walls, with a damp cloth or sponge. This will keep the dust that's not currently on the floor from making its way down there later. Spread a thin layer of sweeping compound over the entire floor. One benefit of this is that it keeps the dust on your floor from becoming airborne and re-coating the surfaces you just cleaned. Then, use a stiff-bristled push broom to sweep the compound and dust into piles, using long, low strokes to minimize kicking up any of the dust. Bag the sweepings using a trash funnel and seal the garbage bag. Tie it tightly in a knot rather than using any built-in drawstrings that can leave gaps from which dust can escape. Using a bristled attachment and a HEPA filter, vacuum the floor to remove most of the dust that's left. Finally, use a sponge mop with warm water and detergent to pick up any remnants.
Clean drywall dust on carpet
The best advice for dealing with drywall and joint compound dust is usually to avoid depositing it in the first place. This is especially true with carpeting. But once it's there, the dust has to be dealt with, and there's a thorough process for getting rid of it. Start by thoroughly vacuuming up as much of the dust as possible, again using a HEPA filter that will keep the vacuum from simply spitting the dust back into the air. Tap areas with visible (or suspected) dust with a brush, then vacuum anything that was loosened by the tapping. Avoid scrubbing motions when using the brush so you don't push the dust deeper into carpet fibers.
The most important part of this process is safety and ventilation. You'll want to wear quality PPE like a face mask and goggles, especially if you are sensitive to dust. Open any windows to allow the space to adequately air out. You should also turn off your HVAC system. If it comes out automatically as you're cleaning, the blast of air from the vents could circulate the loosened dust throughout your home.
Clean drywall dust on drywall
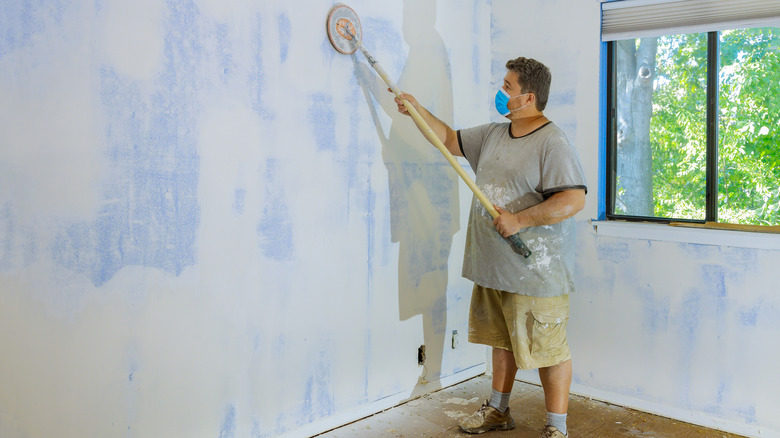
The biggest problem presented by drywall dust might be at its source: on the vertical surfaces of your walls. The dust can wreak havoc on paint and prevent a flawless finish. Fortunately, it can be thoroughly removed to give you a smooth and clean surface.
Brushing and vacuuming the walls repeatedly is fairly common, as is using a damp cloth to remove lingering dust. But take care that you don't apply too much water, which can soften the drywall mud and displace it, causing uneven spots in the final finish. Beyond that, you have options, and you can combine them for thorough cleaning. First, consider a drywall vacuum sander. You can pick one up that attaches to your shop vac at your local hardware store for a little over $100. They typically do a great job of removing dust as you're sanding. A Swiffer is another effective tool for final wipe-downs thanks to its dust-trapping capabilities.
You might be tempted to simply spray prime the walls to lock the dust in place instead of removing it. Sure, it's no longer loose dust, but you suddenly have an imperfect finish. However, additional sanding after the priming step can ensure a smoother wall that's perfectly prepped for painting.
Clean wet (or semi-wet or dried) joint compound
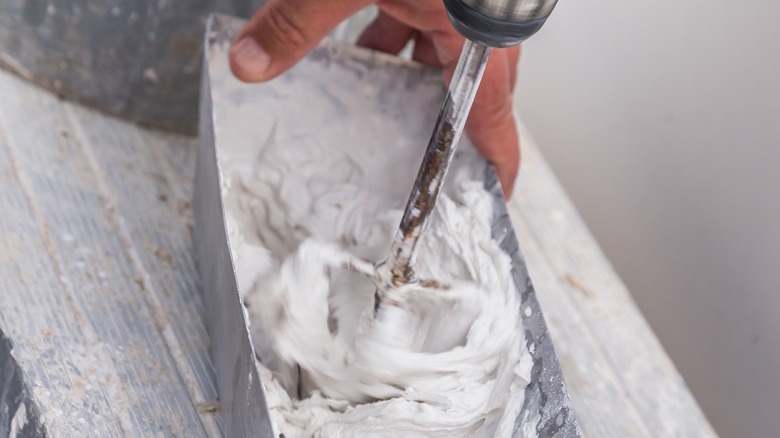
Getting globs of joint compound off of surfaces is an entirely different problem than getting rid of dust. Or, more precisely, it's an additional problem, since you're going to end up dealing with dust as well. This is because, unless you're dealing with carpet or fabrics, it's best not to attempt to deal with joint compound when wet.
Once the joint compound has dried, it becomes a bit easier to deal with. Cutting, scraping, or sanding the dried material is far easier than dealing with wet compound that easily spreads to other surfaces. To remove wet joint compound from hard surfaces, use a damp sponge to remove any excess. Allow the rest to dry, and scrape it off, and suck up the dried bits with a vacuum outfitted with a HEPA filter. Then, if any remains, use a damp cloth to wipe it away.
For carpet or other fabric, cleaning dried mud or compound can be done with your basic kitchen knife. Simply scrape the caked on spot, loosening bits of the dried compound as you go. It likely won't stain your carpet fibers, but if a spot remains, a basic carpet steam cleaner should do the trick.
Tips for avoiding a drywall joint compound mess
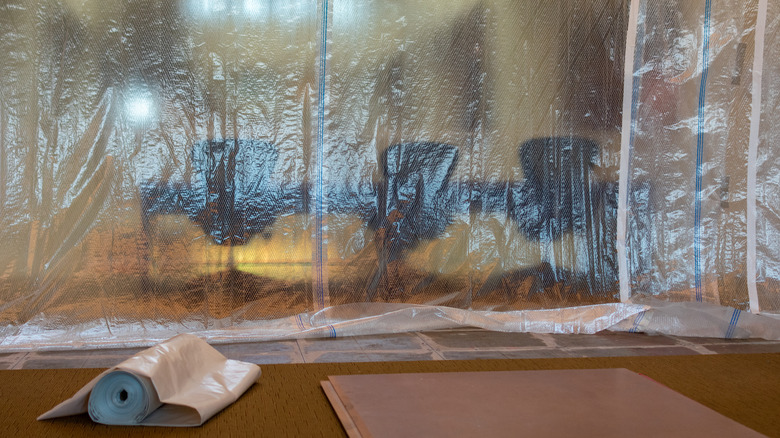
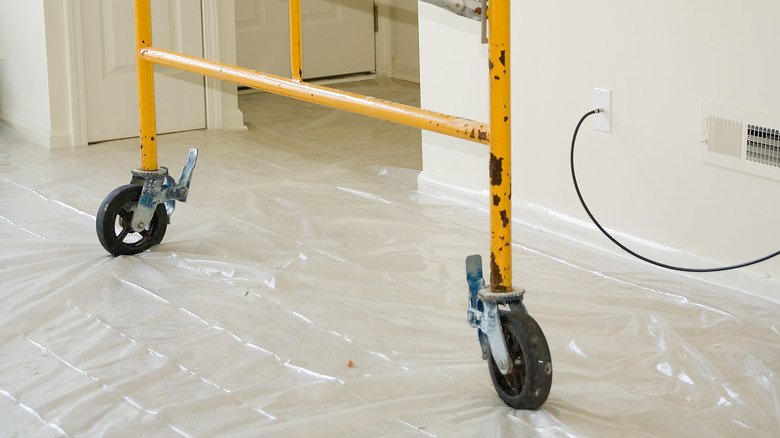
As we said before, avoiding dust in the first place is far better than cleaning it up. There's a lot you can do to improve the situation, even if you're not installing the drywall yourself. Prepping your home for the project can reduce the dust clean up after. Isolating the room or area being drywalled, by taping plastic in doorways and other openings, can keep dust contained. Use more plastic to cover surfaces like countertops and furniture. You will need ventilation for the sake of your health, and it's a good idea to use a strong fan and cross-ventilation to exhaust dust during the work.
If you're performing the work, use a drywall mud pan to control where the excess lands and apply a minimal amount of mud in thin layers to reduce the necessary sanding. You should also keep your joint compound knife clean, removing even the smallest dried clumps. Clean the space as thoroughly as possible along the way. Moisten dusty areas before sweeping or wiping with a cloth, to keep the dust from becoming airborne. Simply scrape away and vacuum any stray joint compound on the subfloor before installing carpet or other flooring. And don't use compressed air to attempt to move drywall and joint compound dust around. You'll only send it airborne only to settle again elsewhere in the space.