How To Change Up The Color Of Your Leather Couch With Dye
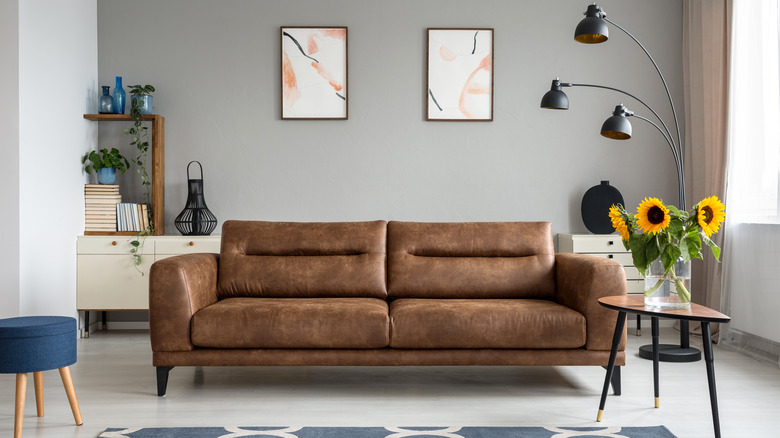
Leather furniture can often be one of the most stunning elements in a room, giving the decor a rich and sumptuous feeling that few other materials can match. Over time, however, leather upholstery can fade, crack, and stain, leaving us to wonder how best to save them. In addition, as trends and aesthetics change, different shades of leather can strike our fancy or fit our decor schemes better. To keep the furniture you love for longer — or to adapt it to your current needs — you should consider dyeing it.
Dyeing is a DIY, low-cost, high-impact option for transforming your leather furniture, perfect for even the largest and often most used pieces in the home — the sofa. Stains come in a variety of shades and tones, are fairly inexpensive, and are easily applied by hand. While it's not as likely to totally transform, say, a black leather piece into a white one, staining leather can tweak the color a few shades darker or lighter or change neutral shades into bolder colors like red, blue, or green.
Preparing your leather couch
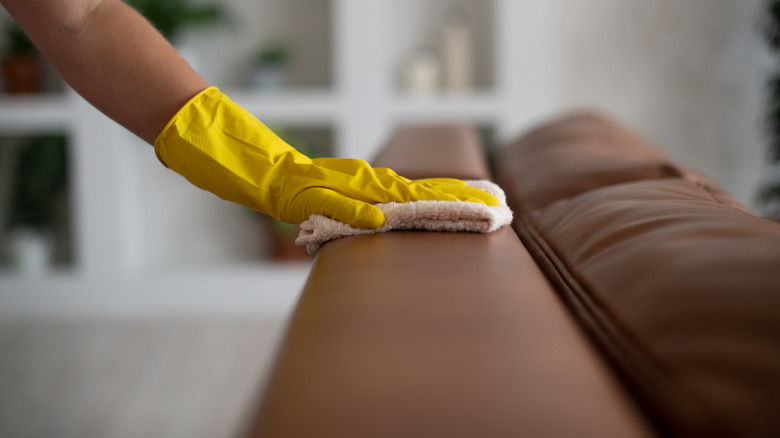
There are a number of different leather dyes and stains available, depending on the intensity of the color change you're looking for. In the video above, TikTok user atonoflove chooses a re-coloring balm, which gives a subtle refresh. Whatever the product, you will get the best results if your leather surface is completely clean. This will ensure the end result is less likely to pool or puddle around debris or imperfections. You can use a solution of soapy water and a microfiber cloth, or for more heavily soiled pieces, a leather cleaner. Make sure to thoroughly clean the arms and cushions of the couch as well.
Next, wipe the surface over with an alcohol wipe to remove any cleaning solvent that remains on the surface. Before you begin your process of applying the dye, make sure you are in a well-ventilated area such as a room with open windows, an open garage, or outdoors. Allow the leather to dry for at least a half hour after cleaning. Remember to wear a mask and gloves when applying any leather product, and keep children or pets away from your work area.
Applying color to the leather
Once you have chosen your stain color, first perform a small test in a non-visible area to make sure you are getting the results you want. Overall, it's best to stain the larger piece of furniture in smaller parts, which gives you more control over the process and prevents streaking or pooling of color. Use a piece of fine sandpaper to lightly sand the area, removing any existing colorant or stain on the leather. This step is more important if you are going darker to lighter than vice versa, but either way will give a you better surface for the stain to seep thoroughly into the leather evenly.
To prepare the surface further, add a coat of leather oil, which will help the surface remain supple and easy to work with. Begin applying your stain or dye with a cloth or sponge. Depending on how dramatic the color change is, you will require anywhere from one to six coats of the stain. Allow each coat to dry thoroughly before applying the next one. The final step is to apply a leather sealant product, which comes in both glossy and matte finishes. This will seal your color and prevent any fading or rub-off during use.