What Is Sanding Sealer And When To Use It
Whether you are an experienced woodworker or trying your hand at refurbishing wood furniture for the first time, incorporating sanding sealer into your toolkit can enhance the quality of your projects. Commonly used in woodworking to prepare wood surfaces for further finishing, the thin, soft, fast-drying sealer is designed to create a smooth and even surface by filling in tiny pores or imperfections in the wood grain.
This base coat contains zinc stearate or resin that helps to seal the wood and provide a protective layer. The specific composition of sanding sealer can vary depending on the manufacturer and the type of wood being finished. It is particularly useful when working with porous woods, which tend to absorb finishes unevenly. By applying sanding sealer to these woods, you can create a more uniform surface that will be easier to finish. Sanding sealer can also be used on non-porous woods to help create a more even finish.
Sanding sealer is applied after the wood has been sanded and any holes filled with wood filler. The sealer fills in any remaining gaps or crannies in the wood, creating a smooth surface ready for further finishing. Once the sealer has dried, the surface is sanded again to remove any excess sealer and prepare it for the final finish.
Pros and cons of using sanding sealer
One of the most significant advantages of using a sanding sealer is that it can quickly help create a flawless surface that looks great and is more durable. Sanding sealer can also enhance the natural grain and color of the wood, making it look warmer and richer.
However, there are also some potential downsides to using a sanding sealer. One of the most significant concerns is that sanding sealer is relatively soft, which can cause issues when using it under a harder finish like lacquer, such as cracking and chipping. In addition, sanding sealer is not recommended when protection against water is required, as it may not provide an adequate barrier against moisture.
Another factor to consider is that sanding sealer may not be necessary or appropriate for every woodworking project. For instance, it is not recommended for stained wood as the process will abrade the stain.
How and when to apply sanding sealer

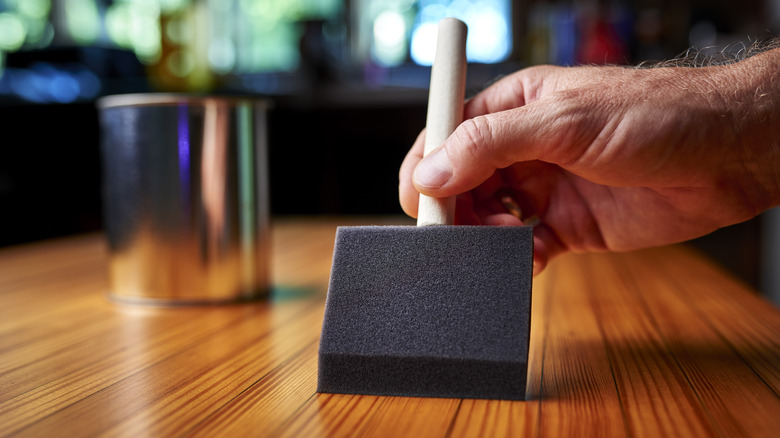
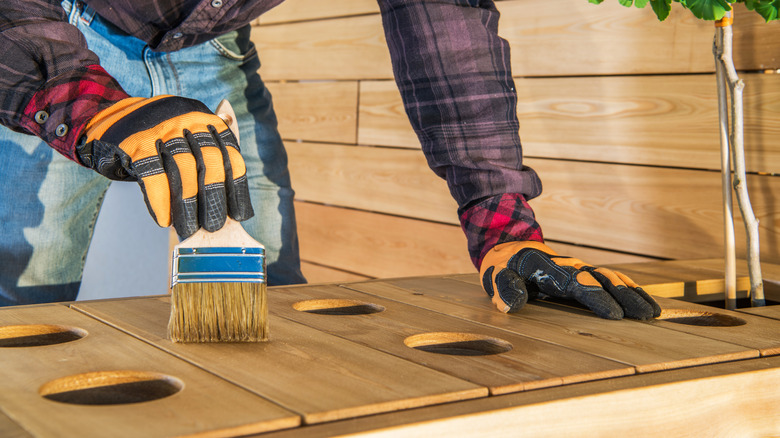
Before applying the sealer, sand the wood and ensure it's free of debris or dust. Next, use wood filler to patch any significant imperfections in the wood. Then, brush on a thin coat of the sealer to the entire surface of the wood. Finally, allow the sealer to dry completely. This typically takes one to two hours but may take longer in high humidity.
Once the sealer has dried, lightly sand the surface again with a fine-grit sandpaper. This will help to smooth out any brush marks or imperfections in the sealer. If necessary, repeat the process of applying sanding sealer and sanding once more to achieve the desired smoothness and uniformity, but don't use more than two coats. Once sanded smooth and completely dry, you can apply your final finish coat.
Always follow the manufacturer's instructions for the specific sanding sealer you are using, as drying times and application methods can vary. Also, be sure to use proper ventilation, as some types of sealers can emit harmful fumes. By following these tips and techniques, you can achieve a smooth and even surface on your woodworking projects.