How To Find The Source Of A Water Leak In Your Home And How To Fix It
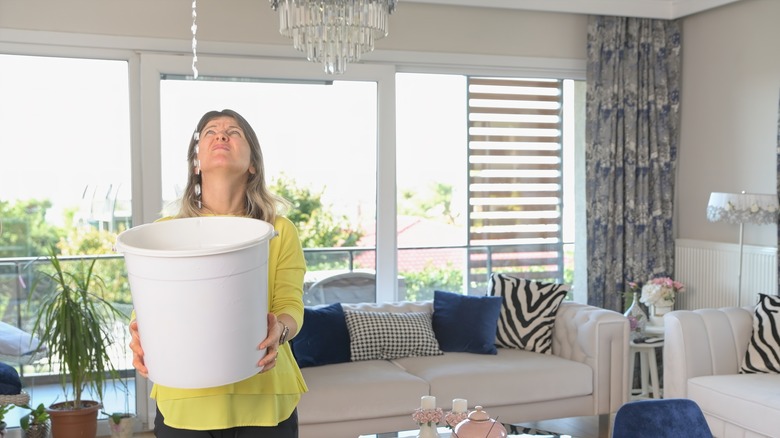
Homeowners should be more alarmed by water leaks than just about anything else, but they're often ignored, or not even recognized in the first place. If you suspect you have a leak, it's critical to deal with it promptly to avoid downstream consequences like rotting wood, electrical problems, mold, and high water bills.
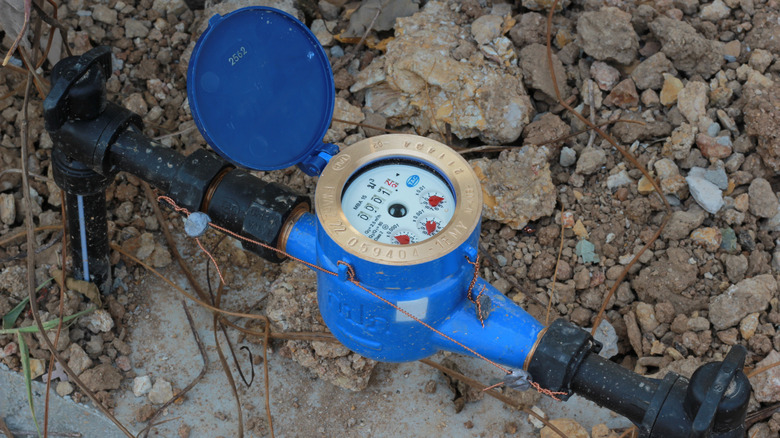
Some water leaks simply waste water, while others pose a hazard to structures or landscapes at the same time. (We'll only discuss wastewater leaks where they affect diagnosing leaks, but wastewater presents a whole other set of potential problems.) The less damaging sort of leaks are those that simply route water from a supply directly into your drains, like a running toilet or a dripping faucet. These won't immediately damage your home, but they cause high water bills and can be a little too easy to ignore. Water leaking anywhere other than a drain line is, of course, inviting disaster. If you're not sure, the easiest way to confirm you have a water supply leak is to watch your water meter during a period when absolutely no water is being used. Don't forget to turn off easy-to-ignore appliances like ice makers while checking.
Sometimes you'll spot an apparent leak and realize that the water isn't coming from your water lines but from some other source. Drains, roof leaks, water intrusion through walls... there are a lot of potential sources of damp spots and rotting wood, and they should all be taken seriously.
Find and fix a toilet leak
Toilet leaks might be the most invisible leaks of all, since all the evidence goes into a bowl of other water, then down the drain. Toilets can leak from tank to bowl or bowl to drain without your ever being aware of it. To confirm your toilet is leaking water from its tank to the bowl between flushes, simply put some dye in the tank. (Your water company might provide dye tablets or strips; food coloring works fine, but must be flushed right after the test to avoid staining.) If the toilet remains unused and you have a leak, you will see color in the bowl within about 20 minutes.
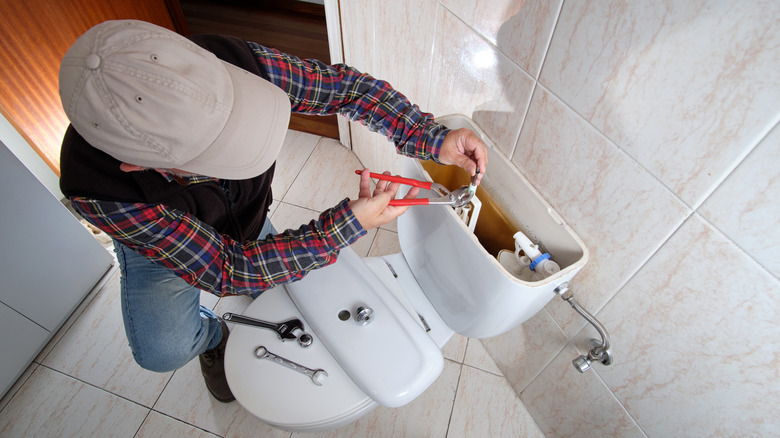
When you have a toilet leaking water from the tank to the bowl, it's almost always caused by one of a few mechanical components inside the tank. A worn, warped, or disintegrating flapper that doesn't form a good seal between the tank and bowl is the most likely culprit if your toilet fails the dye test. These are usually very simple DIY replacements for which you can find a kit at your local hardware store. Dye in the bowl can also be caused by a toilet's handle mechanisms, which are easy to replace. A malfunctioning fill valve can cause water to enter the bowl via its overflow tube. Replacement fill valves look more daunting than they are. In all cases, these can be replaced by simply removing the old devices, sticking in the replacement, and tightening everything back down.
Find and fix a faucet or pot filler leak
Faucets and their cousins, pot fillers, are likely sources of water leaks. These fixtures have moving parts and deal with literal constant pressure to leak... so they often do. If you find a pool of water under your sink, odds are you're dealing with a supply line issue. Check the connections in your supply lines, tubes that are often covered with braided metal or PVC that run from the shut-off valve to your faucet or fixture. Water is most likely to escape where those connections are... the joint at the wall if there is one, at the shut-off valve, or where the supply line connects with the faucet itself. Pot fillers are usually connected directly to your home's plumbing within a wall, and are less likely to leak.
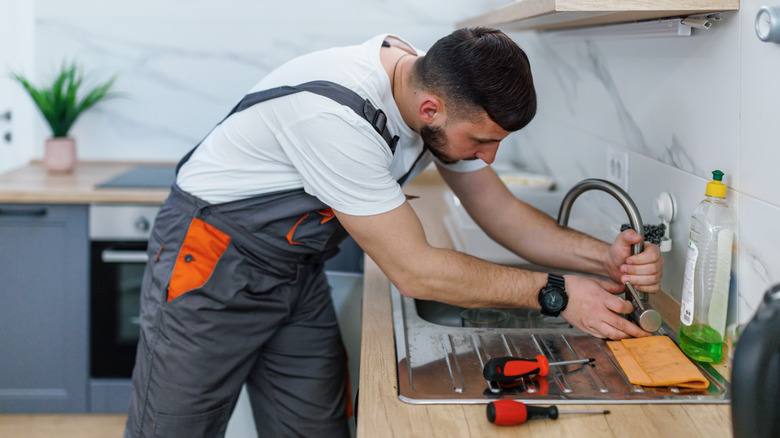
To repair a leak in the shut-off valve or on the wall side of your supply line, cut off water to the house (or, if you have a manifold system, to the particular faucet that's leaking). If your leak is on the faucet side, turn off the shut-off valve itself. You can often remedy a leaking supply line by simply tightening all the connections, but if that doesn't work you might need to replace any washers and Teflon tape used to install the line. You can also replace the entire valve or supply line. With all faucet repairs, it's often a good idea to replace any worn parts, even those that are not leaking yet.
Find and fix a faucet drip
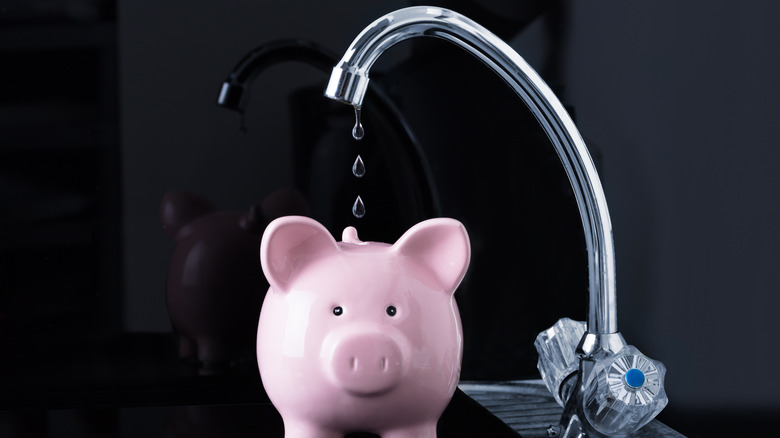
A tap that's dripping is easy to identify, as the rhythmic sound might drive you a little bonkers until it's fixed. When you use your faucet, you might also find that it doesn't drip, but leaks water near its base. Exactly how your faucet leaks varies by faucet type; there are ball-type, cartridge, ceramic disk, and compression faucets, and each has slightly different causes, but they generally manifest as drips from the business end or from the faucet base.
The process for fixing a faucet varies a little by type, too. They all start with some disassembly that varies by type, manufacturer, and model, but basically involves removing the handle to reveal the inner workings. The next step is to replace worn or broken components. Ball-type faucets have a lot of parts that wear over time; you'll have the option of replacing a pair of springs, a pair of rubber seats, and a gasket, and a full repair kit will also include a ball, cam, cap, and an adjustment ring, depending on the design.
Cartridge faucets are considerably simpler; after disassembling everything, you'll pull out the cartridge, replace its O-ring, and probably replace the entire cartridge. You'll replace the neoprene seals on a ceramic disk faucet, but it's uncommon to need to replace the ceramic disk itself. Compression faucets work like most outdoor hose bibbs, and you'll want to replace the O-rings that cause leaky handles, along with the rubber seat washer. Most kits also come with a new seat screw.
Find and fix a showerhead leak
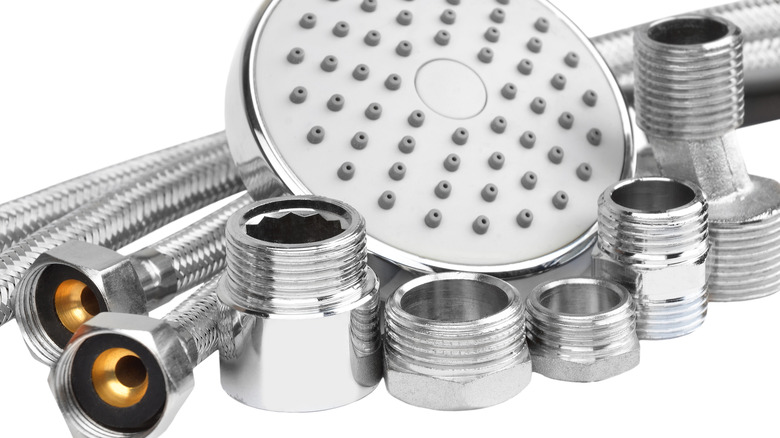
Showerheads are similar to pot fillers in that they are partly plumbed inside a wall (often a tiled wall), and so can be difficult to diagnose and repair. And showerheads have another problem all of their own that can cause a lot of wasted water. In most cases, the showerhead itself will only leak when the shower faucet is on. If your shower diverter (the part that redirects water from a faucet up to the showerhead) isn't in good repair, a lot of water might also run down the drain unused while you're showering.
Since tubs and showers don't always have an easily accessible shut-off valve, you might need to shut off the water for the house while making a showerhead repair. Leaks where the shower stem attaches to the showerhead can usually be replaced by simply unscrewing the showerhead, applying Teflon pipe tape, and reinstalling the showerhead. If the leak is inside the wall where the stem attaches to a support piece called a drop ear, the same solution usually works, though the repair is a bit more awkward to access. Unscrew the stem, apply Teflon tape to its threads, and reinstall.
If your shower diverter is letting lots of water run through the faucet, investigate your diverter. Spout diverters – those little knobs you pull on your water spout – can be replaced for a few dollars. Diverters incorporated into recessed shower valves can require a cartridge replacement much like a standard faucet, though cleaning sometimes does the trick.
Find and fix a dishwasher leak
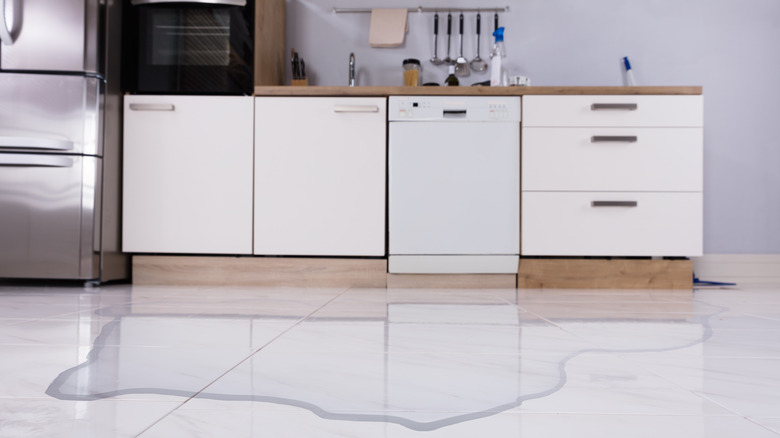
Appliances can be tricky because they're often the only thing in the house that works a certain way, and often there are a lot of potential causes for a water-using appliance (a dishwasher, washing machine, refrigerator, and even some dryers) to leak. Dishwashers have a surprising number of vectors for leaks, so it's not shocking that they leak fairly often. Fortunately, they are usually easy to repair. A leaking dishwasher will almost always make itself known via a puddle on the floor under or around the machine. (If you find water between the dishwasher and the sink drain, you might have a drain line leak instead.)
There are several potential causes for this one puddle of water. Dishwasher inlet valves are often plastic and are very easy to cross-thread when installing. If the water is coming from around the inlet, try removing the brass connector, wrapping the inlet with lots of Teflon tape, then reinstalling. A clogged filter in the bottom of the dishwasher is another common cause of leaks, and can be both fixed and avoided by routine cleaning. If your dishwasher isn't draining properly, this could cause leaks when the tub is overfilled, so check your drain line has an air gap or a high loop. An improperly leveled dishwasher can also leak, so check the adjustment screws at each corner. Damaged door gaskets should also be replaced to avoid leaks.
Find and fix a refrigerator leak
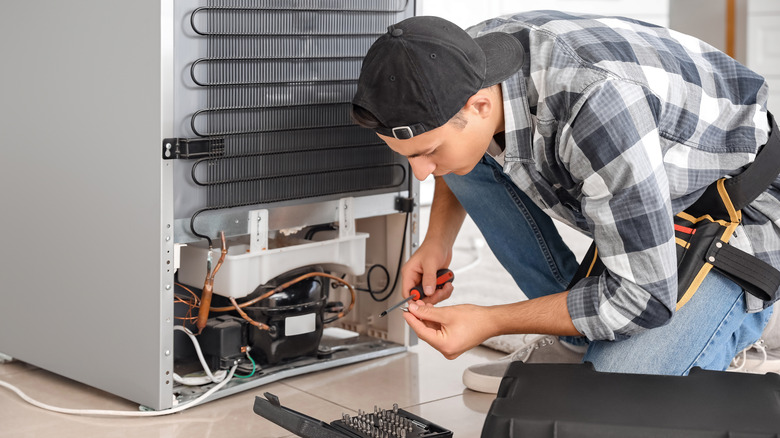
Refrigerators with in-door water service or ice makers will occasionally leak, but it's not always easy to figure out where or why. This is partly because of common designs that result in leaks that are frozen, which can make them difficult to diagnose. Eventually, though, you usually end up with a puddle of water, just as with the dishwasher.
There are a few common causes of refrigerator water leaks. First, shut off the water to your fridge using the valve hidden in a nearby cabinet. Make sure your fridge is level; usually you're looking for a slightly higher front. The back of a refrigerator usually has rollers, and you might need to pull the fridge out to adjust them. A clogged defrost drain line can also cause leaks, so make sure the line is unobstructed by clogs, routing, or pressure from anything inside your freezer. Inspect all water lines running from the shut-off valve, as well as to and from the water dispenser and ice maker.
Find and fix a clothes washer leak
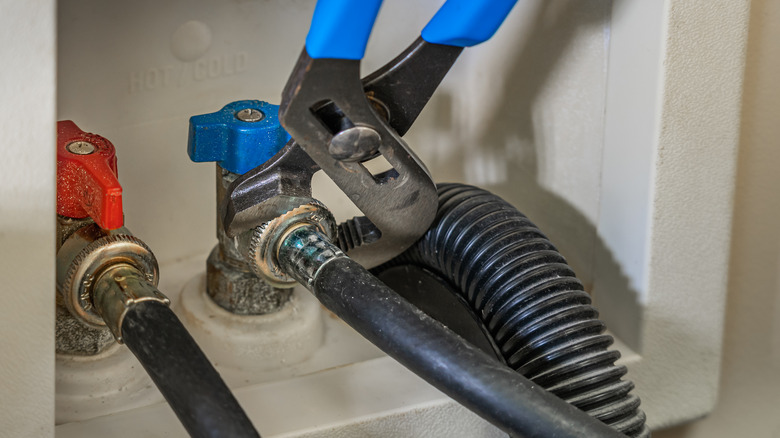
Washing machines, much like dishwashers, have a habit of leaking in a variety of ways, and it sometimes takes some diagnostic prowess to figure out what's going on. If it's an option for you, keep your warranty paperwork handy, because modern washers can be difficult for a DIYer to deal with. As with most indoor leaks, you're going to look for a puddle of water. It helps to pull the washer out and start a full cycle on the largest load setting. Pulling it out helps in accessing and isolating the area that's leaking... from the supply hoses, for example, or the front of the machine. Open any access panels and look for leaks as the tub fills. Follow the water and drain lines as you inspect. If your washing machine is in a space exposed to freezing temperatures, inspect the water inlet valve for cracking and leaks. You should also check the door seal for leaks.
Leaking hoses are the best-case scenario. Replace them or their rubber washers as needed. Replace any hoses or hose clamps that appear to be leaking. Spring clamps in particular seem to be a common cause of leaks. If the leak appears to be coming from a part like an inlet valve or pump, remove and replace the part. Leaking internal seals like the air dome seal or the center post gasket can require a lot of disassembly, so consider getting a pro involved if you find a leak in one of these.
Find and fix a water heater leak
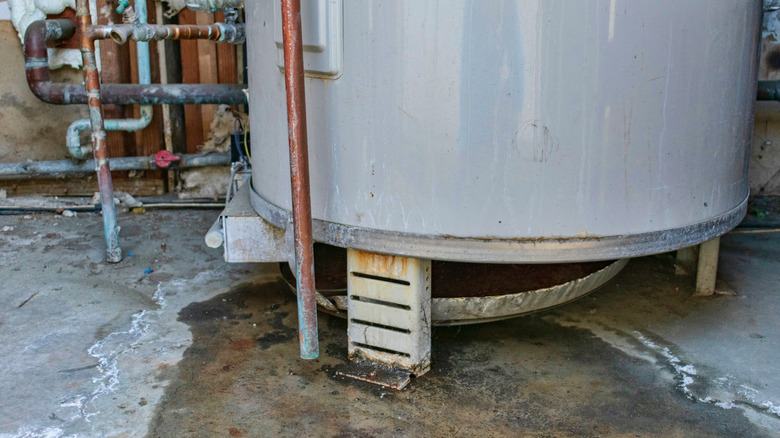
Water heaters are installed on pans with built-in drain lines for a reason: they are probably the thing in your house that's most likely to have a substantial leak. And this isn't about little faucet drips, but potential flooding. When you see a puddle of water underneath your water heater, or water in your water heater's overflow pan, your first step is to rule out condensation as the culprit. Gas water heaters and electric heaters in cold rooms can collect a lot of condensation. Turn the gas or electricity off and see if the pooling continues. If it does, look for leaking fittings in the hot and cold lines attached at the top. Check for leaking around the pressure release valve on the side of the water heater, and inspect the drain valve at the bottom for signs of leakage.
Condensation can often be remedied by wrapping your water heater in a blanket of insulation sold specifically for this purpose. Be sure that your water heater has a drain pan. Leaking water lines sometimes need only be tightened, and can sometimes be fixed only with Teflon tape. A bad pressure relief valve should be replaced. A leaking drain valve can be tightened to see if that stops the flow; if not, you'll want to replace the valve. If you eliminate all of these causes, you will likely need a pro to replace your heater's sacrificial anode rod, or to replace the heater altogether in the case of a cracked tank.
Find and fix hose and spigot leaks outside
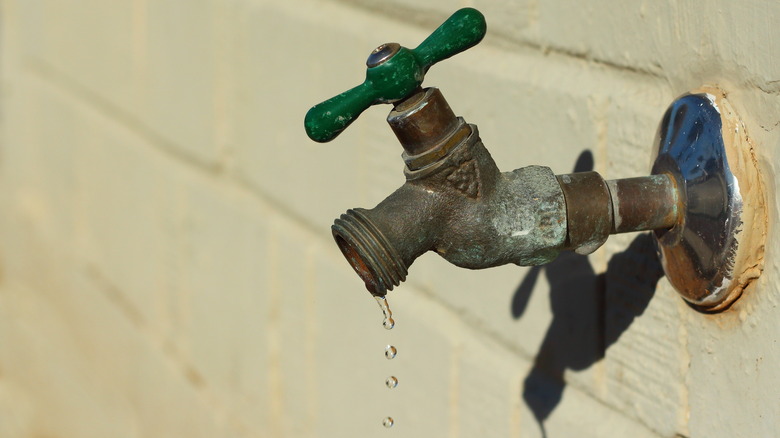
Hose bibs, garden hoses, outdoor kitchen faucets, and other outside water fixtures undergo wear on an altogether different level from exposure to the elements and freezing temperatures, compared to water lines secreted away in a cabinet or wall. The good news is that they tend to be a little easier to fix. In some ways, irrigation systems are more complex than your household plumbing, but made of significantly inferior components. You can usually find sprinkler leaks by turning on the system one zone at a time and looking for unexpected water. Finding leaks is similar to looking for pooling water in your house. Wet, spongy topsoil and areas that are greener than nearby parts of your lawn are signs of a leak. You can usually track down the culprit by simple proximity: is there a hose bib, garden hose, or some other fixture near the leak? Inspect nearby candidates carefully.
Hose or hose bib leaks can sometimes be resolved by simply adding a new rubber washer to the hose connection, or by using Teflon tape to seal the connection. Note that you shouldn't leave garden hoses under pressure when not in use. A leaking hose bib can usually be repaired with a kit that replaces the spigot's bonnet, O-rings, packing, washers, and screws. Irrigation system components can usually be replaced by a DIYer, but call a certified pro if you're not confident in your ability to make the repairs.
Find and fix water line leaks outside
Waking to a pond in your front yard tends to turn the mind toward catastrophe, and water supply leaks can be a costly mess. But you can often do the work yourself and save a fortune. Unexplained standing water in your yard between your water meter and the house is a likely sign of a broken main water line. It's worth noting that you'll want to check with your municipality before attempting any DIY repairs to your water main; in some cases, and depending on what type of pipe your main is, doing so could be illegal.
If you do decide to go ahead, you've got some digging ahead of you, especially if you live in a northern climate, where pipes are buried at least 4 feet deep. A little exploratory digging near the pooling water can confirm this. Note that if your water line is run inside of a protective sheath, such as a larger-diameter PVC pipe or a special sleeving used for Pex lines, the leaked water can travel a long way from its cause.
To fix the leak, shut off the water at the meter and at the home's main water shut-off valve, if it has one. Use a string to connect your meter to the point of entry into your home; the pipe should run beneath the string. Using a shovel, dig until you expose the break in the pipe, then dig well below and to the sides. If your pipe is rigid PVC, you'll also need to dig at least a few feet along the length of the pipe in either direction. Because of the way a repaired pipe is sleeved, it must be lifted during the process, which is impossible if too little pipe is exposed. After replacing the damaged section of pipe and before filling in your hole, turn the water back on and check your repair.
Find and fix leaks in walls
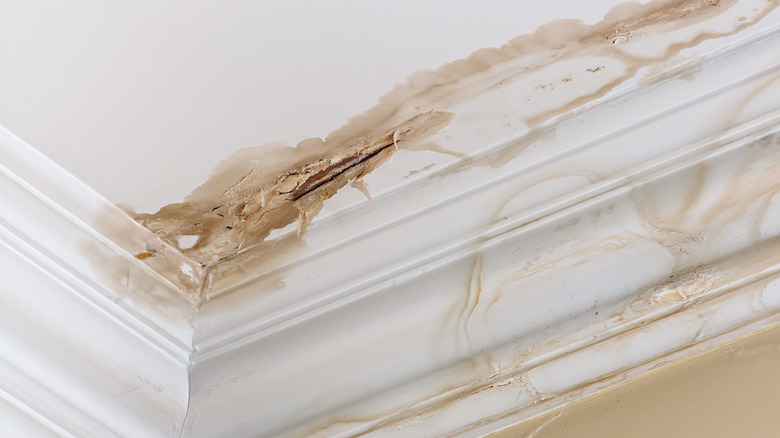
Leaks in walls are probably the most difficult to identify and resolve; fortunately, they're also the least common. Finding them is usually a matter of looking for moisture where it shouldn't be. This could take the form of a puddle next to a wall, discoloration of a wall, peeling paint, wall texture changes, and sagging or bowing of the wall. Also be on the lookout for mold and musty scents, which can be an indicator of unseen mold. And leaks often make noise, so listen for dripping or other watery sounds where they shouldn't be.
Fixing leaks within walls is almost always a matter of calling a plumber, but you can help the process by eliminating other possible causes of errant moisture. Check nearby appliances and exposed fittings for leaks. Look for leaks in your foundation walls. Check clogged gutters, which can overflow back into walls. These causes for apparent leaks might require help from someone other than a plumber.
