Simple Tricks That Will Make Any Drooping Hydrangea Thrive Again
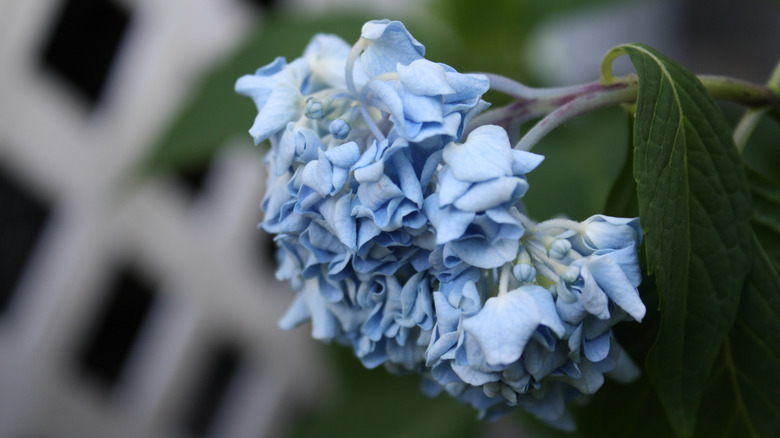
There are many reasons why your gorgeous hydrangeas are starting to droop and flop over to one side or the other. And while you may at first feel stumped as to what's causing the problem, a little detective work is usually all you need to get to the bottom of it. More often than not, it's simply an issue with the current environmental conditions as opposed to something more serious like a plant disease.
It could be that it's too hot outside and they're not receiving enough water, but it could just as easily be that they've become too top-heavy and require a support structure. Or, you may ultimately find that your shrub has been planted in a less-than-ideal location, and it would be much happier being transplanted to the other side of the yard. Regardless of what's going on with your hydrangeas, there are some very simple tricks that are sure to revive your blooms so they thrive again.
Build a structural support system
There are times when even the healthiest hydrangeas will droop simply because the blossoms are top-heavy. Just like a large tomato plant, a hydrangea bush will benefit from a support structure. When you're starting out, you can use something like a tomato cage to train young plants. But while an average tomato plant may only grow a few feet tall, you could have a flourishing hydrangea stretching to 15 feet high. And they tend to grow just as wide as they do tall.
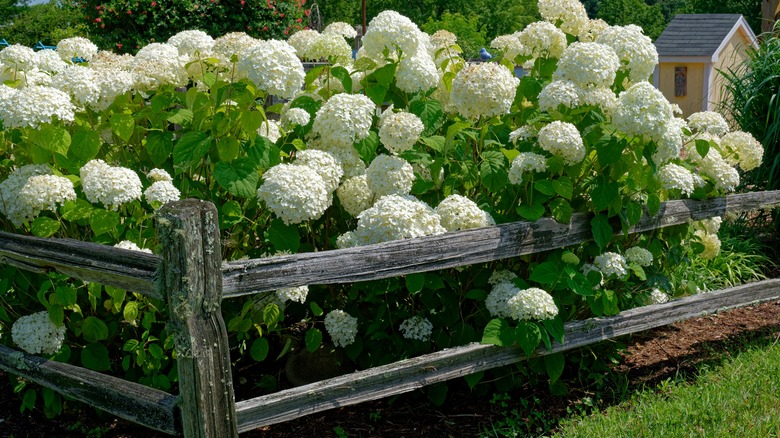
A wrought iron garden trellis, chicken wire, or more substantial fencing will let you corral errant branches so that you don't have to prune them back if you don't want to. The degree of support you put into place will depend on how many shrubs you have. One nice thing about garden trellises is they tend to be lightweight and easy to move around. Chicken wire is a good option for something inexpensive and practical. And rather than building a new fence to contain a big group of hydrangea bushes, you might want to start out by planting your young hydrangeas along an already existing fence line on your property.
Bust out the dowels and the zip ties

It might not be possible to get into serious structural support just yet. If that's the case, you can get a lot done with just a few dowels or poles and some gardener's tape, zip ties, or twine. As with cages, you can insert stakes into the ground before you even sow your seeds and start to train seedlings from the get-go. Of course, you're most likely reading this because you already have fully grown hydrangea flapping back and forth in the wind, or worse, falling to the ground and getting trampled in the mud. If that's where you're at, strategically arrange the stakes throughout the hydrangea patch wherever they need the most help. Then use your fastener of choice to loosely secure the stems to the post to make them stand up straight.
Whether you choose zip ties, tape, or twine, it's important to remember not to pull anything taut. You don't want to risk crushing or otherwise damaging the stems. In a pinch, a twist tie from the grocery store will work, too.
Dig up your hydrangea and plant it somewhere else
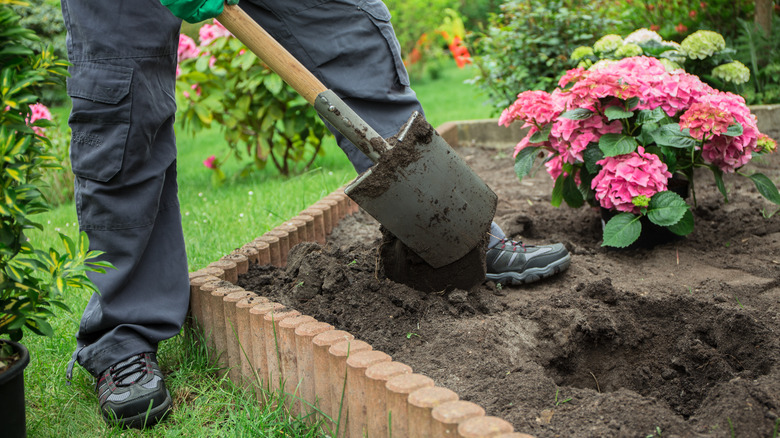
If you take a close look at the situation and realize your hydrangea bush has been planted in the wrong spot, it's okay to carefully dig it up and transplant it somewhere more suitable. They could be flopping over due to not getting enough water or receiving too much sun, so transplanting them can fix your problem. Wait until the onset of fall to deadhead the spent blooms, and once the shrub has gone dormant and the leaves have fallen you'll know it's time to make the move.
Dig your new holes first, then bring your shovel over to the existing hydrangea bush and dig out a wide circle around the base that will include the entire root ball. For larger shrubs, it could be a two person job to get it out of the ground. Be gentle with the roots as you transport the hydrangea, but move quickly so as to minimize exposure time. Once your plant is situated in its new home, backfill the hole with the original soil, give it a good watering, and cover the top of the soil with compost and mulch. As with all transplanted trees and shrubs, don't plant it any deeper than it was originally, and don't go crazy with the soil amendments. Just let it rest in the new location for a while and over time you'll be able to tell if it is performing better.
Don't over fertilize hydrangeas
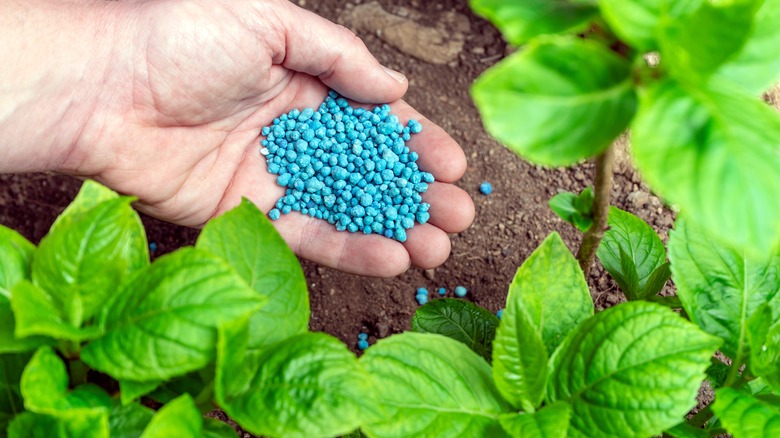
Fertilizing your plants will certainly lead to bigger, showier blooms, but it won't necessarily be as good for the stems. In fact, the opposite can happen, and in the case of over-fertilizing, you can inadvertently create weak stems that have an even harder time supporting the larger flower heads. When you shock a plant with an excessive amount of fertilizer, the plant grows too fast, and the roots fail to soak up enough nutrients and water from the ground to keep it alive. In the end, some parts of the plant will look healthy and vibrant, but the internal structure will be suffering.
When choosing a fertilizer, steer clear of formulations high in nitrogen and opt instead for a balanced, all-purpose product like a 10-10-10 fertilizer with equal parts nitrogen, phosphorous, and potassium. It's generally considered good practice to apply slow-release granules to hydrangeas in the spring, but read the instructions from the manufacturer to make sure you're using the right amount at the right time. Rather than applying lots of chemicals, consider supplementing throughout the season with high-quality compost.
Give your hydrangeas a good pruning
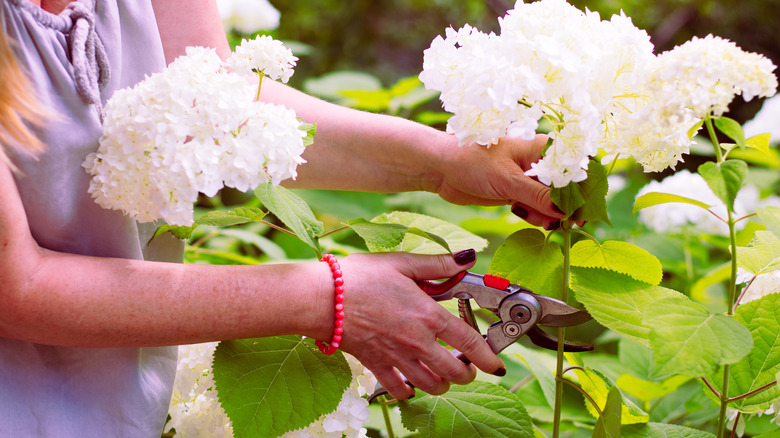
One of the reasons hydrangeas droop is that they become leggy, especially young plants that have yet to flush out enough to support the heavy blooms. Pinching back new growth at the top helps the plant become fuller from the bottom up. And some (but not all) hydrangeas can be cut back right down to the ground at the end of each year to help the stems grow back stronger the next season. Before you start making cuts, it will be helpful to understand whether you have panicle, bigleaf, or smooth hydrangeas. Each type blooms at a slightly different time of year, and this determines whether they are producing flowers on old wood from the previous season or new wood from the current season. Having this information will help you determine when it's best to prune.
The downside of never pruning your hydrangeas is that they will become quite messy over time. They'll also stop producing such impressive flowers. Regular proper pruning leads to the strongest and healthiest shrubs that stand upright and display massive flowers.
Increase their water intake
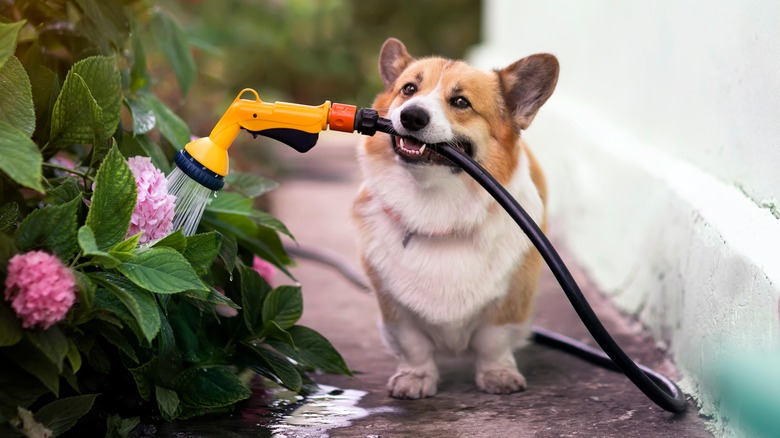
If you have a landscape full of many different types of plants, you may find that your hydrangeas require more frequent watering than the rest. So, even if you just watered everything else yesterday, the hydrangeas may already be starting to wilt and asking for more. Using a moisture meter or just the tip of your finger, check a few inches down into the soil around your flowers to determine if they are drooping because they are thirsty. If the soil is dry and cracking, go ahead and give the plant a good soak.
The next step in keeping them sufficiently watered is to cover the base of the plant with a few inches of high-quality mulch. This will lock in the water you just gave it and prevent the plant from drying out so quickly. Remember that container plants in general require more water than those planted in the ground, so don't be surprised when, again, your potted hydrangeas are ready for a drink days before everything else on the patio.
Keep hydrangeas cool
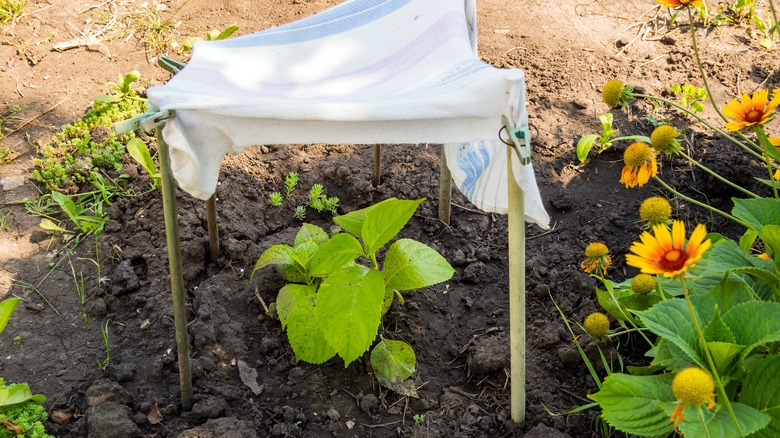
Hydrangeas certainly require a significant amount of direct sunlight to thrive, but that needs to be balanced with the heat, especially during severe stretches of high temperatures. For plants that can't be moved, the best way to help them cool off is to give them extra water so they can take it up from their roots, but it may be that the scorching sun above is creating the real problem.
Constructing a temporary cover is another thing to try. Obviously, this will be easier if you have young plants, but even for a larger shrub, you should be able to get creative with an old sheet, some dowels, and clothes pins or potato chip bag clips. What seems ridiculous now may just be the hydrangea-saver you need after you fall head over heels in love with your abundantly blooming bigleaf varietal. And if it works well for your flowers, then it could be something you consider for a bigger section of the garden. A larger setup would require post beams, something to securely fasten the fabric to the posts, and tension cables secured to ground anchors. It's certainly doable on a budget, and it could mean the difference between underperforming shrubs and more flowers than you know what to do with.
Let tall hydrangeas lean on each other
Maybe the problem is a lot simpler than it seems. For the truly budget-conscious (or anyone short on time for that matter), a quick fix may be as simple as twisting the branches a bit so that they can rely on each other for support. Tuck the young stems behind the thicker woody stems and interlace them almost as if you're plaiting long hair or braiding a loaf of challah bread, and you'll often find that they can prop each other up without any further support.
This is a good thing to take care of proactively before a big rainstorm because the weight from the rain is very likely to pull down some of the more top-heavy stems, leaving you with branches that have been squashed in mud and damaged beyond repair. If the branches are too heavy or slippery to stay in place on their own, use more zip ties to loosely connect them to each other.
Plant thick-stemmed varieties to begin with
Because drooping stems create a problem that every hydrangea owner deals with at some point, wholesale growers have created hybrids that are stronger and more resilient than the originals. Some new varieties, like the Incrediball (Hydrangea arborescens 'Abetwo' Incrediball), are specifically bred to have thicker stems. Not only does this cultivar offer strong stems, the flower balls can grow up to a foot in diameter.
By focusing on stronger stemmed varieties at the outset, you grow shrubs that can withstand heavy blooms, strong winds, rain, and more without drooping or flopping over to the side. Besides Incrediball, other cultivars to consider are Fire Light and Bobo panicle hydrangeas, and Invincibelle Spirit smooth hydrangeas. You can find them online at reputable nurseries. It's always a good idea to consult a local nursery where qualified staff members can assist you with finding the sturdiest variety that will perform best in your climate zone.
Reach for the Epsom salts

If the idea of sharing your precious bath salts with your garden plants makes you gasp in horror, let us explain why it might be worth buying your hydrangeas their own bag. Of course, we don't want you missing out on your relaxing home spa time, but we do want your hydrangeas to be just as happy as you are, and this one household essential can do a lot to make them flourish.
Epsom salt (magnesium sulfate) is a naturally occurring mineral that provides important micronutrients to the soil, aids in seed germination, and even deters slugs. Start with a ratio of 1 tablespoon Epsom salt to 1 gallon water. Mix the two together in a watering can and saturate the soil and roots once every few weeks. Over time you should notice stronger plants that are less likely to droop.
You don't want to apply too much magnesium to your soil, so it's a good idea to confirm a magnesium deficiency before getting started with Epsom salt. Also, note that Epsom salt differs greatly from the table salt we use to season our food and the rock salt we use to melt ice in the winter. Neither of those can be used in the same way as Epsom salt, and it is best to refrain from applying them to your flowers, or any plants for that matter.