Ten Common Mistakes To Avoid When Painting Your Front Door
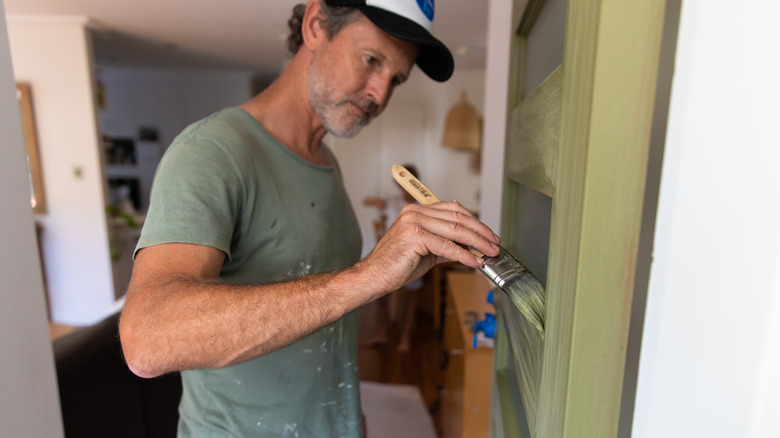
The front door of your home is more than just a barrier between the wider world and your safe place. It's one of the first things people notice about your house, and as we all know, first impressions count. Giving your front door a fresh coat of paint is an enjoyable and rewarding experience. A well-crafted entrance that is painted to perfection shows that you're a person with high standards and believe in making your home as friendly and appealing as possible.
While a can of paint and a brush can transform your front door and give it a new lease of life, the job needs to be done right. There are certain mistakes that can make the project turn into a job you wish you never started. It's not simply a case of randomly choosing a color, slapping it on, sitting back, and enjoying the new look. So before you begin, take some time out to brush up on the common pitfalls and how to prevent them.
Choosing a color that's not right for your surroundings
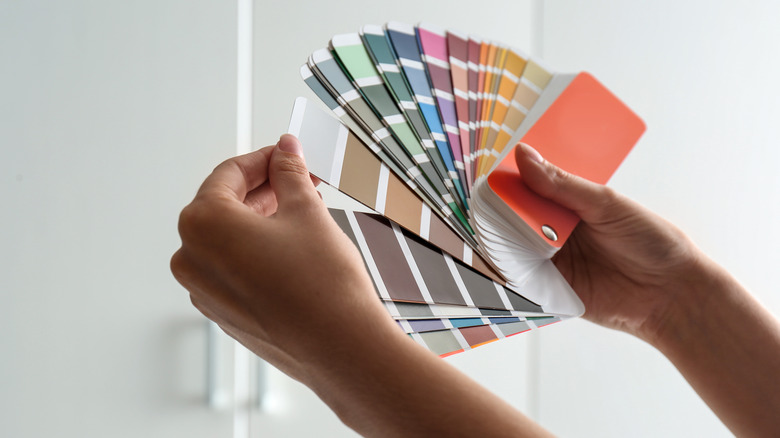
Without the various shades and hues of color, the world would be a pretty drab and dreary place. What applies to nature also applies to the realm of design. We make a point of carefully selecting what exact color paint works well with the room's decor. So, we should also think carefully about the color of our front door in regard to its surroundings. As a rule of thumb, it's wise to choose a dark color if the exterior of your house has a light hue and a light one if the facade of your home has a darker aspect. This creates both balance and contrast in your design scheme and prevents things from looking muddled.
Look for other exterior accents for cues as well. What color is your garage door or your shutters if you have them? You can choose to match these, go with a shade in the same family, or opt for an entirely different hue altogether. The key is making sure that all of the colors on your home's exterior complement each other for a polished and welcoming look.
Opting for the color white when you live in a busy area
As the lightest color, capable of reflecting the entire wavelength of light, white may seem like a safe choice for your front door. White doors have a lot of positives on their side. They create a sense of calm and an illusion of space and are warmly welcoming to any guests. However, all bets are off if you live in a busy area. White may not clash with many other colors and it may possess a certain timelessness but it's a nightmare to keep clean, especially if you reside in a neighborhood with a lot of traffic.
If your main entrance experiences a lot of action, a white front door will cause you no end of trouble. All that dirt and grime from vehicles and passers-by will need a lot of cleaning and touching up. In next to no time you'll be scrubbing and painting until the point you question your decor choice. Plus, data suggests that painting your front door black will increase the curb appeal and value of your home.
Picking a color that's on trend instead of something timeless
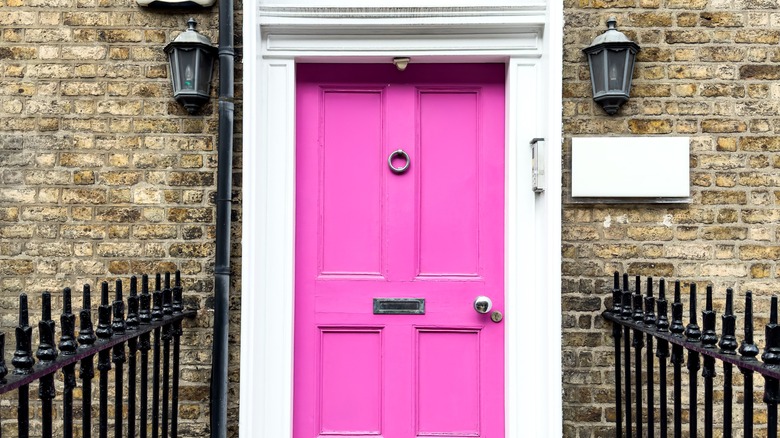
Another trap many people fall into is to follow fashion instead of function and go with what's on trend as opposed to something timeless. That's OK if you plan on painting your front door every couple of years. But it's a big mistake if you're a 'paint it once and leave it for a long time' type of guy or gal. It does not matter how much they're in fashion or on trend, there are certain colors experts agree you should avoid when painting your front door.
Andre Kazimierski, CEO of Improovy Painters Denver, tells Livingetc, "You can get away with some pretty 'out there' colors if it suits your home's aesthetic, style, and exterior paint job, but generally, you might want to avoid extremely garish shades like hot pink which you'll have a hard time matching to your home no matter what."
If you are dead set on a Barbie-themed front door why not try a pastel or dusky pink that'll give your entrance a classy and understated appearance? High-energy colors such as orange also have the potential to make your house look lurid. Allito space interior designer Allison Garrison points out to Livingetc, "A bright orange door can be jarring and off-putting which isn't ideal in a spot that you want to feel welcoming. For something more inviting, try a soft coral or a moody terracotta instead."
Failing to wear the correct safety gear
So you've decided on your front door's color, purchased the paint, put time aside for the job and you're all good to go. But wait, before you crack open that paint tin, dip the brush, and go for broke isn't there something you're forgetting? You bet your bottom dollar there is and it's called the correct safety gear. Any DIY job from putting up a shelf to installing a shed has the potential to go wrong if proper safety protocols are not adhered to and painting your front door is no different.
Check your front door for any rust, algae, mold, or moss before you begin. It will need to be removed before painting. Most will come away easily with some standard cleaning solutions but be careful, particularly when removing mold that you wear a protective mask and a pair of gloves. Take the same precautions when sanding down the front door and also wear a pair of safety goggles. When it comes to actually painting the door you don't want to get any on your hands and you definitely don't want to be exposed to those toxic paint fumes for any length of time, so mask up and put the gloves on.
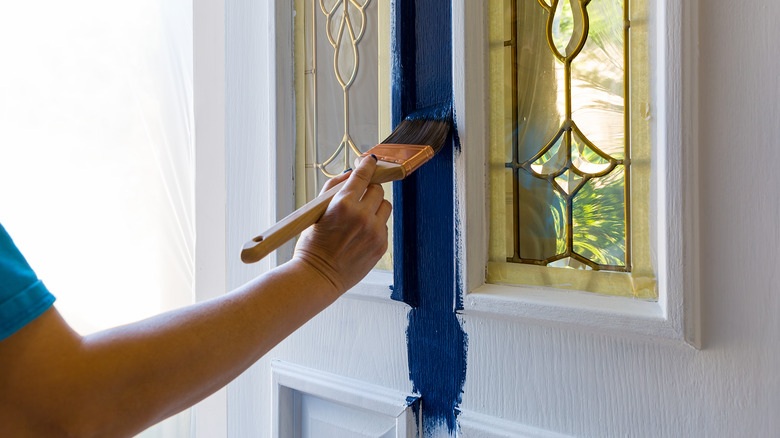
Neglecting to smooth away any unsightly bumps before you begin

It's always tempting to go for broke by painting your home's front door as soon and quickly as possible. When you've had that eureka moment and are busy pursuing a vision of everything your front door could be, you may want to take shortcuts to get the job done. In the interest of time, you may neglect to smooth away any unsightly bumps on its surface before you begin. This is a big no-no! Poor preparation is the biggest reason why things go wrong when painting your front door.
Even if your door is in tip-top condition it will still need sanding to help prepare it for priming and painting. However, you can usually get away with a little gentle sanding in the direction of the wood grain. However, for front doors with peeling paint, unsightly bumps, or a multitude of scratches you need to go in all guns blazing. Don't attempt to rush the sanding process because you'll pay for it at a later date.
Use a scraper or putty knife to remove any chips of paint that are on the large size. Take a palm sander to remove the rest and any other blemishes. It's wise to begin with a low grit before moving up the gears to a medium grit and then ending with a high grit. Lastly, wipe away any dust particles with a tack cloth to prevent them from spoiling the integrity of your paint job.
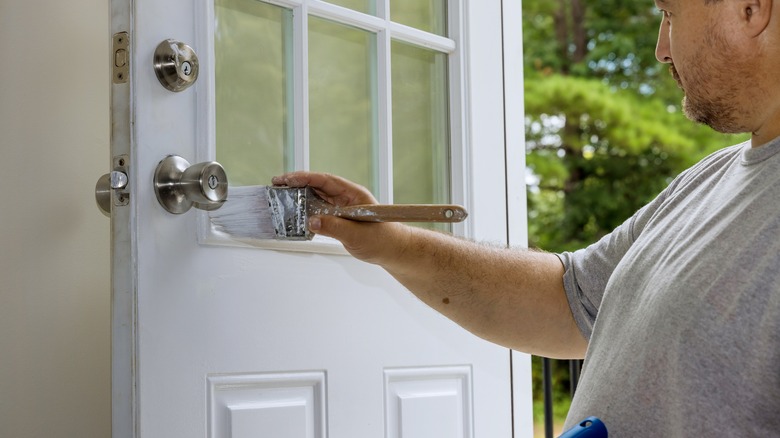
Opting not to use a primer
Once you've sanded your front door and it's looking sharp, smooth, and ready for a new coat of paint it's tempting to get a little gung ho with the paintbrush. But before you do, make sure you apply a coat of primer. Opting to not use a primer is a common mistake and an easily avoidable one. Many paints boast they don't need a primer before application. However, it doesn't take long to apply and it's always best to hedge your bets when it comes to the aesthetic of your front door. Particularly if you're painting over a front door that's been sanded or one that is quite an intense and dark shade.
The purpose of a primer is to ensure that the paint sticks to the front door smoothly and cohesively. A layer beneath the top coat will help ensure that your paint job will last and hold up well in all types of adverse weather conditions. You can use a primer that loosely matches your chosen coat of paint but white primer works well at stopping any of the original paintwork from showing through. Before applying primer, as well as sanding, ensure any unsightly holes or cracks have been filled in thoroughly.
Forgetting to cover any existing hardware with tape
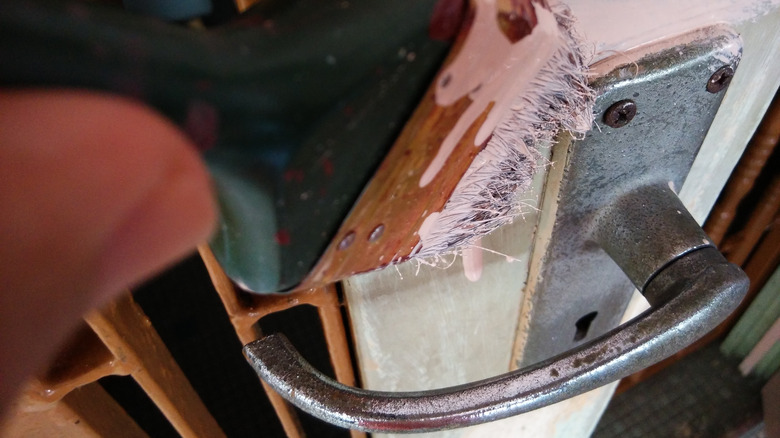
There's nothing worse when it comes to painting your front door than accidentally getting a few splashes and sploshes on the existing hardware. One minute the radio is blasting, you're busy finding your rhythm, and stroke after stroke of paint is flying on endlessly, and then, bang! Disaster! You realize you've got more than a little paint on your handle, letterbox, door knockers, bells, and glass panels. And to think it could all be avoided if only you had covered any existing hardware with tape before you began your project.
A little masking or painter's tape can save a lot of grief when it comes to painting, particularly front doors. And don't just concentrate on the obvious things like the door handles or letter boxes. Ensure you tape off any internal areas, such as the locking mechanism, to avoid paint getting in and causing all manner of problems. Of course, if you really want to take no chance, take off any removal hardware before painting. This way you can clean it up and if the mood strikes, give it a new look with some metal paint to properly compliment your freshly painted front door.
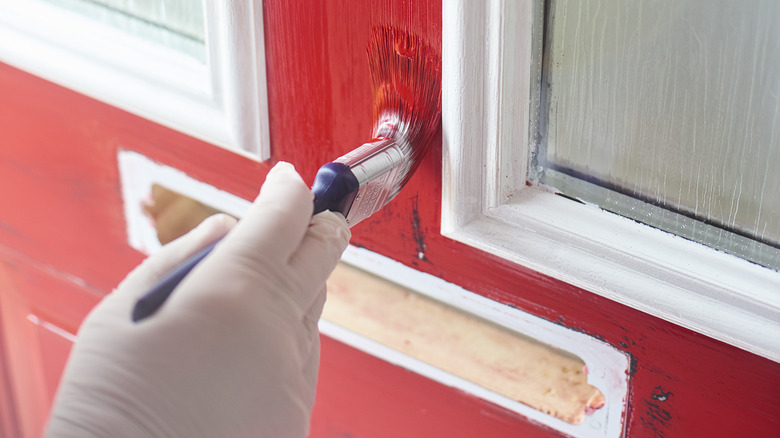
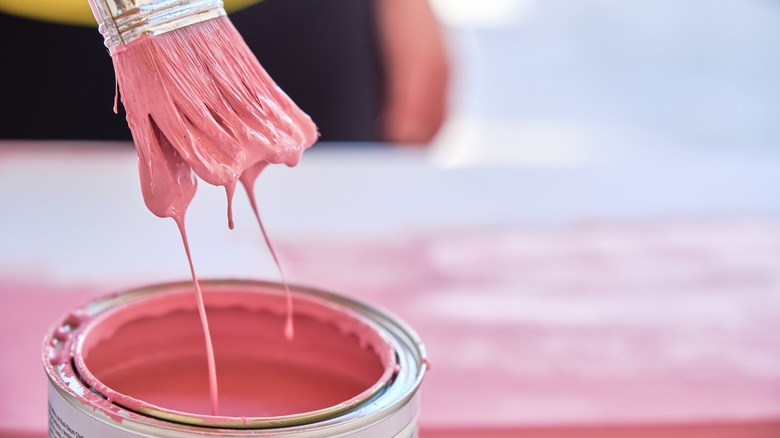
Using the wrong type of paint

You'll be surprised how many people use the wrong type of paint when it comes to painting their front door. It may sound like a rookie mistake, but with a vast array of different types and shades of paint on the market, it's one easily made. The golden rule is to never let any type of paint tailored to interiors anywhere near your front door. Even if the manufacturer boasts it can be used on woodwork.
Selecting the right finish is also key. A flat or low-sheen one can be tough to clean while too much of a gloss will highlight every imperfection. A semi-gloss exterior paint is a tried and tested all-rounder when it comes to coping with the knocks, shocks, and elemental conditions we expect our front doors to cope with daily. Consumer Reports paint testing engineer Richard Handel explained, "Semi-gloss finishes are usually easy to clean, so they'll continue to look good for years."
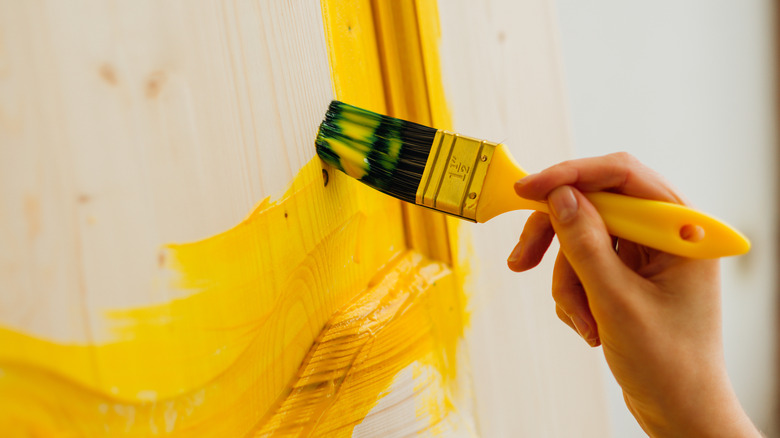
Thinking that one coat of paint will do the trick
Another big trap that many people fall into when painting their front door is thinking that one coat will do the trick. Even with a door in prime condition, you'll need at least two coasts to guarantee the color sticks around for the duration. A front door that looks lackluster and shabby gives off completely the wrong impression and the washed-out vibe doesn't really work on an entrance to a home.
If you're painting on bare wood, the grain will probably still work its way through after two coatings. And what's worse than the old color rearing its ugly head over time because you skimped on the paint? To give your door that solid and no-nonsense vibe it's always best to apply three coats. Working on a dry day with no drizzle is best. So if you can, plan your painting project around the weather forecast. Start early and always check the paint can for drying guidance.
Rushing the job
A less-than-obvious mistake that trips many people up when painting their front door is failing to realize that patience is a virtue and rushing the process. Proper preparation is key to getting the job done right. Firstly, you need to check you have the right tools and materials for the job. Secondly, ensure you have evaluated how much time you'll need to allocate to sanding, cleaning, priming, and the actual painting.
Thirdly, you'll need to know beforehand how many coats of paint your front door will need and prepare accordingly. It's important to follow the paint manufacturer's instructions but usually, each coat will take an hour or two to dry. You'll also want to leave the door open several hours after applying the final coat to let it dry out completely.
When painting your front door find a rhythm that is right for you and work in sections. Don't apply too much paint, ignore missed spots, or allow the paint to drip. Brush in clean and straight lines and constantly evaluate your work as you go along. If you are diligent and careful with your paint job it will give your door a new lease of life and make the entrance to your home that much more welcoming.