11 Stunning DIY Projects You Can Create With 1x2 Wood
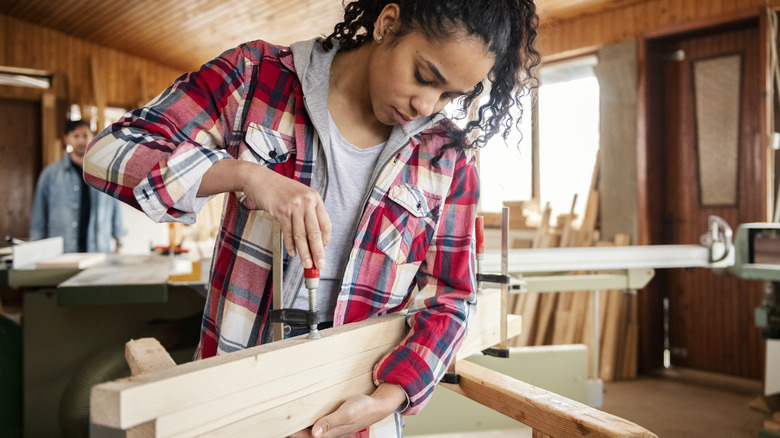
Woodworking is an ancient craft that has existed for at least over 400,000 years. Wood is a sturdy, renewable resource that's stood the test of time because of the sheer number of things we can build with it. As time has passed, working with the material has become increasingly easy, with pre-cut panels sold in neighborhood hardware stores. The wooden 1x2 board is a versatile, inexpensive, and widely-available crafting material. So, whether you have some scraps on hand or want to test your crafting skills, we've put together a collection of stunning DIYs that you can make with this specific plank. These DIY projects are budget-friendly and have ample room for creativity and customization.
Though many of these ideas are woodworking projects even beginners can do, several call for tools such as saws, hammers, and drills. You'll also need protective gear when cutting or sawing wood. Goggles and ear plugs keep your eyes and ears safe when sawing, and thick gloves prevent splinters or cuts. You can find these items and other decorative materials such as paint at your local hardware store.
1. Tea towel ladder display
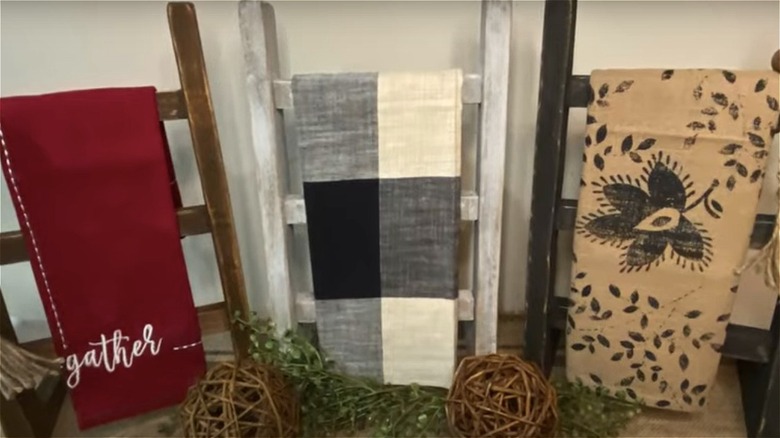
A tea towel stand functions a lot like a drying rack, but it's more decorative and much smaller. Construction requires one 1x2x8, a saw, sandpaper, stain or paint, a paintbrush, 1¼-inch nails, a hammer, a measuring tool, and wood glue. Cut your wood into five pieces: three 7-inch pieces and two 16-inch pieces. The longer pieces will be the sides, while the shorter ones will be the rungs. Attach the rungs to one side with nails and glue, then attach to the opposite side. Once painted or stained, prop the stand up on a countertop for a decorative way to organize your tea towels.
2. Laptop stand
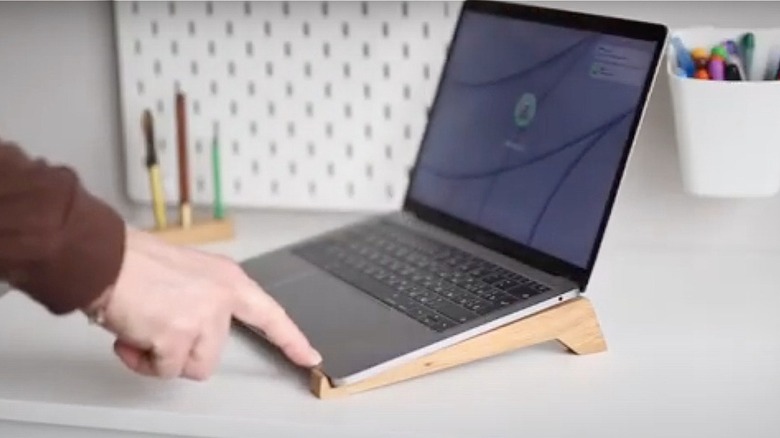
Elevating your laptop will bring it closer to your eye level, so you'll spend less time hunched over and looking down. This will improve your posture and keep your eyes from straining. To reap these benefits, you can build a laptop stand, and there are multiple ways to complete this project. One configuration that can be made entirely with 1x2s is like a frame with an open top, while alternative models use a sturdy but thin wooden panel atop the frame. The vertical sides should narrow towards the bottom with a curved edge to keep the laptop from slipping off the wood.
3. Footrest
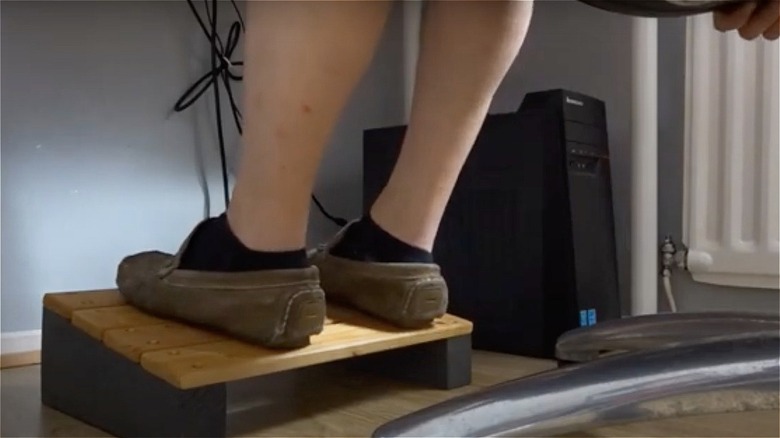
Sitting at a desk all day affects your posture. A footrest modifies your seated position so that your back is more firmly against the chair. Though you'll need more than a 1x2, a slanted footrest is pretty straightforward to make. The project consists of cutting one long board into two vertical angled sides and connecting them with four horizontal 1x2s using nails or screws. Most side panels should be cut at an angle between 10 and 20 degrees. The angle should be adjusted according to the length of your legs so you can rest comfortably.
4. Spice rack
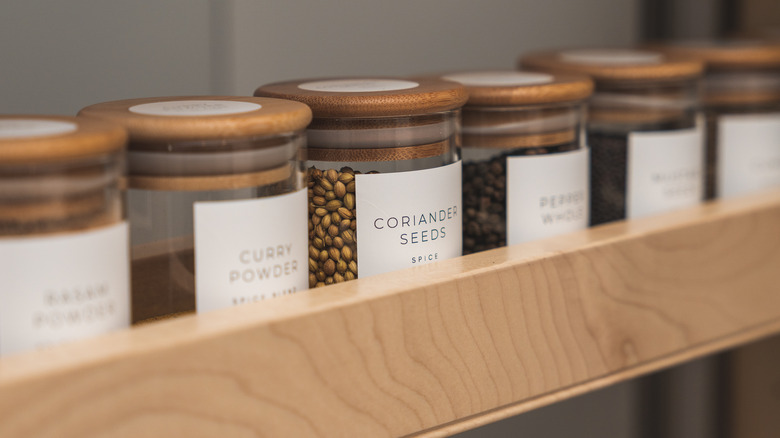
To keep your spices where you can see them without sacrificing limited counter space, build a spice rack. This can be freestanding or mounted directly onto the wall with L-brackets. Mount them in straight rows for a classic look, or scatter them for a more dynamic display. You could cut and sand a 1x2 into multiple pieces or keep it the full length to display all your spices along one piece of wood. 8-inch pieces will hold a number of spices without overwhelming the wall, but the length of the shelves is entirely up to you.
5. Entryway wall storage
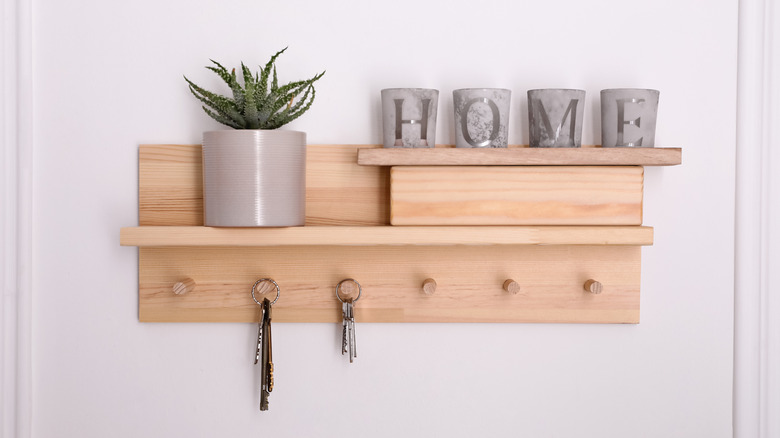
A 1x2 wooden board is easily transformed into a one-stop location for keys, leashes, scarves, and other items you need when leaving your home. Simple construction calls for one 1x2 cut to 12 to 18 inches long, hook screws, and a drill. Another configuration includes an additional shelf to go on top, two sides to connect the pieces, wood glue, nails, and a hammer.
6. Rustic wall art
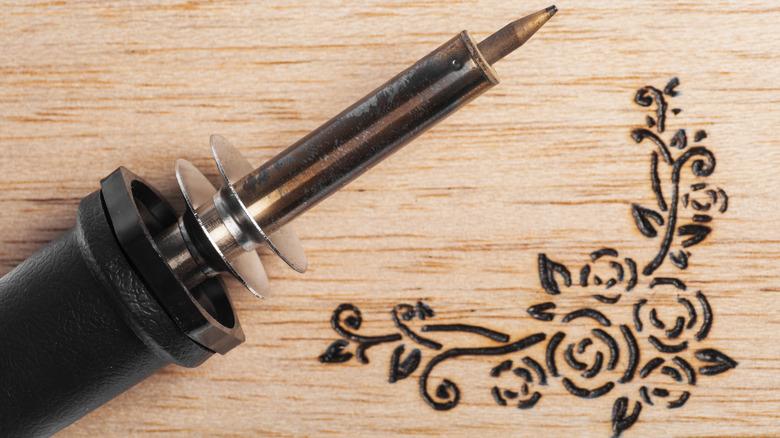
Wood is a natural element, so it makes for beautiful rustic or earthy art. It also makes a lovely canvas for paintings. Wooden 1x2 panels can be glued together side-by-side to form a flat base for your design. The other materials needed depend on your artistic vision. Wood stain, paint, and decorative accouterments are great choices. You can also weather the wood for a more rustic look. And, if you're feeling really creative, consider using a wood-burning tool.
7. Serving tray
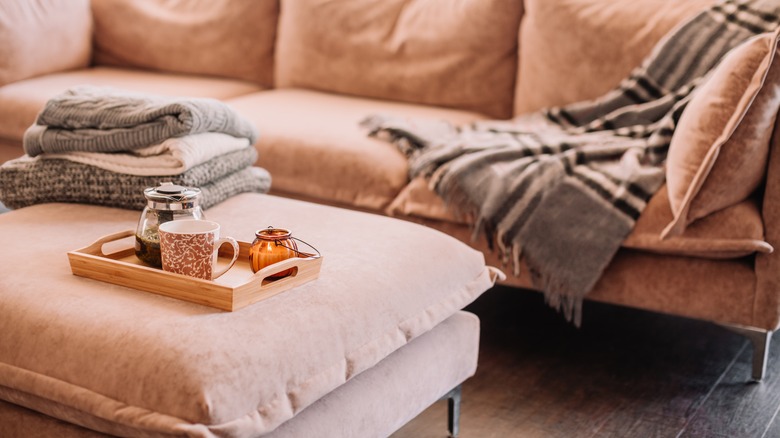
Beginning crafters with multiple pieces of scrap wood can transform those pieces into an elegant serving tray. You'll need eight pieces of 1x2 scrap wood that are between 12 and 16 inches long, wood glue, wood stain or paint, two decorative handles, handle-appropriate screws, a screwdriver, and dishwasher-safe Mod Podge. This project may also require a saw if you need to cut the wood to size. Start by gluing the eight pieces of wood together, side by side. Then, add your stain or paint and follow up with the Mod Podge. Lastly, screw one handle to either end of the tray.
8. Cutting board
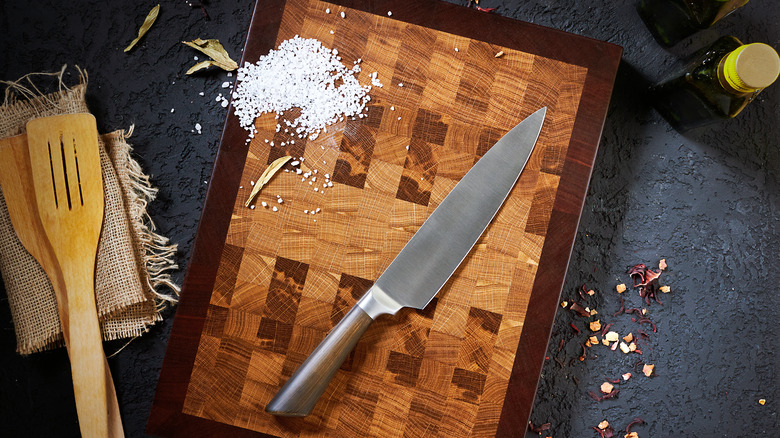
If you have a saw, sandpaper, wood glue, and a food-safe sealant, you can make a cutting board that rivals high-end models that cost hundreds. Make a checkered pattern by mixing dark and light ½-inch blocks. Different woods will offer color variation, as will staining the pieces. Gluing wood scraps together horizontally looks equally attractive, but vertically makes it look more natural for those who like a rustic touch. Then, once everything's attached, cover the entire piece in the clear sealant.
9. Wall shelves
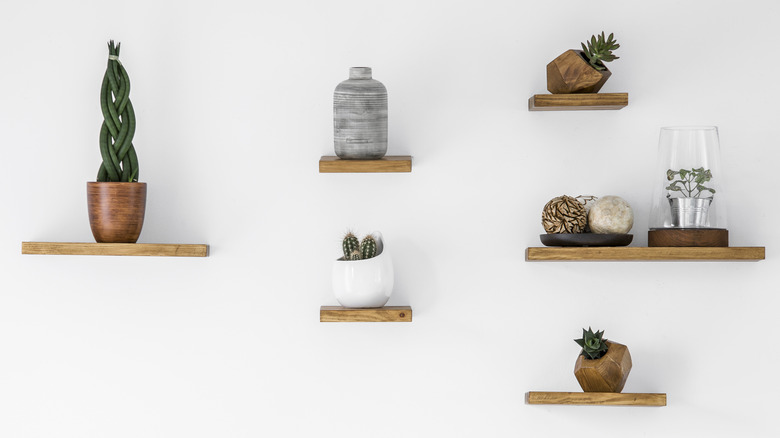
You needn't do much to take a 1x2 and turn it into shelves. Basic shelves require a saw, screws, sandpaper, a drill, and L-brackets. Use wood stain for a more natural look, or paint the shelves to make them fit your room. If you want larger shelves, glue two panels together and mount the fused piece. However, be sure to check the weight capacity of any hardware you purchase before placing decorative items on your shelves.
10. Drawer organizer
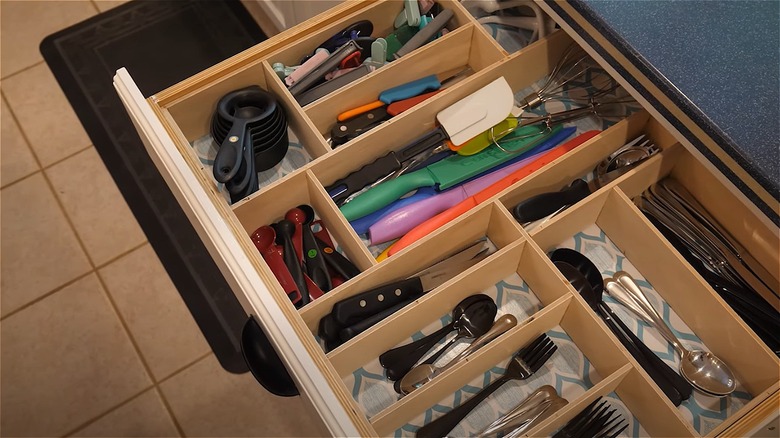
An organized drawer is a peaceful one, and the versatile 1x2 is perfect for creating sectioned areas. First, measure the drawer. Then, determine how many sections you wish to create. Cut the 1x2 into pieces according to your desired dimensions. Glue the pieces together for security, or leave them unattached yet tightly-wedged together. The benefit of skipping the glue is that you can rearrange the sections later if desired. You can also include a drawer liner on the bottom before adding the dividers to add more color and interest.
11. Large plant pot stand
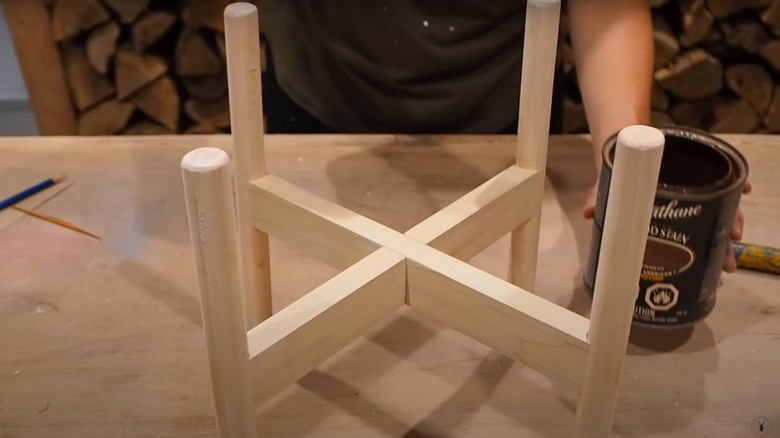
Elevate larger plants with a DIY stand. For this project, you'll need 1x2s for the platform and four wooden dowels for the legs. You'll cut the 1x2s to the same length and cut out ¾-inch notches in the middle, then cut rounded edges out of the sides with a forstner bit. You can then attach the wooden dowels for legs with small dowel pins and wood glue, then press the two notches together to attach the frame. Finally, leave the wood bare or stain it for a luxe appearance.