Why You May Want To Think Twice Before Using LED Light Strips In Your Home
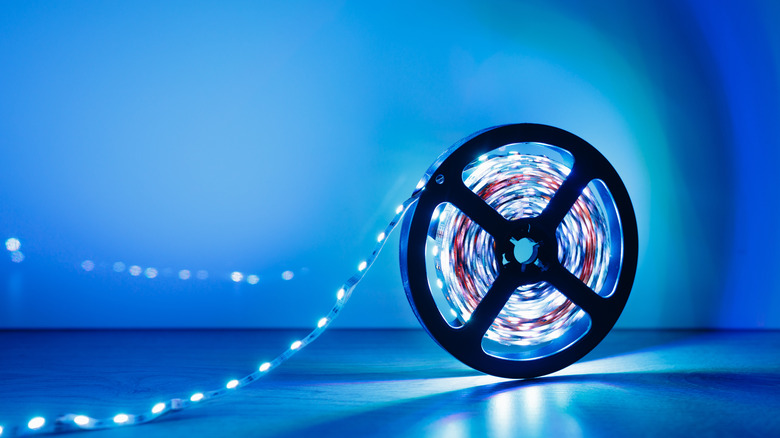
For several years running, LED light strips have been the must-have accessory for teen/tween bedrooms and gaming spaces. The product is also a mainstream favorite, and now these easy and effective strips are available in a variety of grown-up hues. Because of this, they are being used as a cool lighting trick to add ambiance wherever needed around the house. The possibilities are many and varied, including under cabinets, shelves, beds, and anywhere else that benefits from a soft glow. Best of all, no new light fixtures are required to achieve the effect! All that said, however, LED light strips have come under fire for the effect they have on some surfaces, which is making homeowners rethink using them in certain situations.
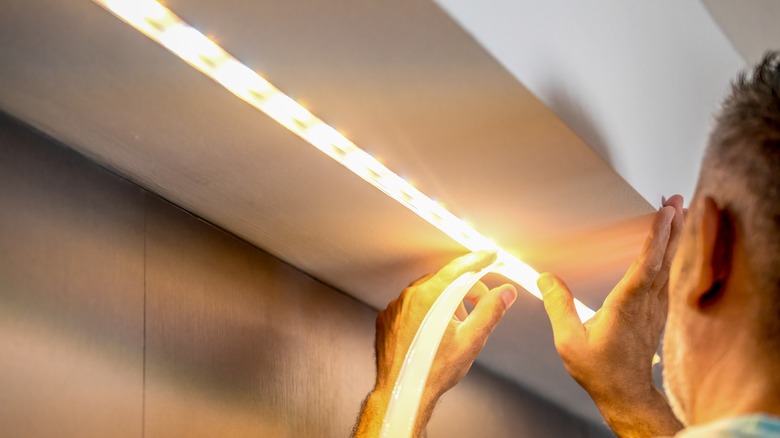
The product is typically made of a long, thin, and flexible circuit board covered in small LED lights. Depending on the product, many LED light strips have color-changing and dimming options, too. It can be cut to size, plus the strip is peel-and-stick in nature, so it can be easily adhered to just about any surface. However, that's often where the problems start, as many a painted wall has been compromised by LED light strips.
Avoid LED light strip damage to painted walls
Many an annoyed homeowner have tried to remove or adjust LED light strips, only to discover that the paint peels away along with the adhesive (wallpaper and textured surfaces are also at extra risk). Some of this is due to the quality of the particular brand, as well as the adhesive it uses. Whatever the case, it's obviously not desirable to wind up with long, skinny patches of missing paint. Some of the damage, however, is due to user error. Resist the oh-so-common urge to simply rip it off as that is likely to wreck the paint completely.
Instead, when you want to take the light strip down, take some precautions. First, use a hair dryer to heat up the strip. This will relax the adhesive. Then, use an instrument that won't damage the wall, like a butter knife, to gently pry the end of the strip off of the wall. Once it is lifted, carefully peel back the length of the strip until it's completely detached. This can take some time and patience, but if done correctly, this technique should spare your wall from any damage. It's also much easier and less time-consuming to do this correctly than re-paint an entire wall!