DIY A Beautiful Pendant Light Using Upcycled Glass Bottles
We may receive a commission on purchases made from links.
Upgrading light fixtures around the house breathes new life into the room. A minor change can change the outlook significantly without changing anything else. When you incorporate eye-catching light fixtures, they become the focus of the whole room. Purchasing a new lighting style can be expensive, but you can easily DIY a striking pendant light using upcycled glass bottles. Whether you're a wine bottle collector or haven't taken your glass bottles to the recycling center, save them and repurpose them by hanging them around your house. They'll give any room an eclectic look. Plus, they're effortless to make and hang in your living room, dining room, or kitchen.
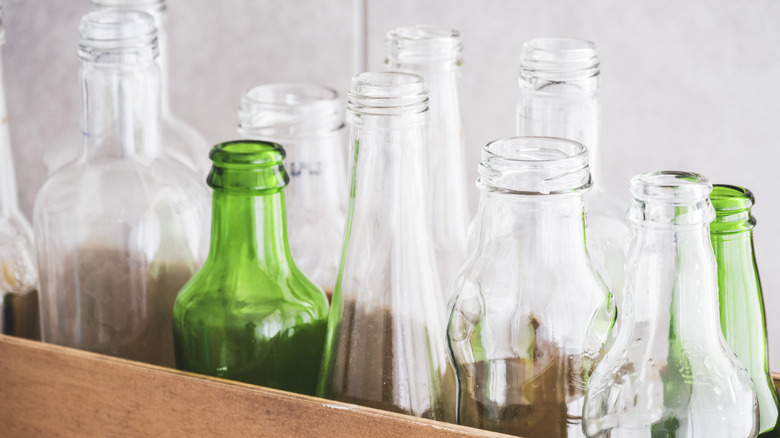
You'll need three to four glass wine bottles of your choosing. If you don't drink wine, there are glass water bottles that you can use. However, if they're clear bottles, they'll emit brighter light in the room. Darker-colored glass bottles like green, blue, or black are great choices if you prefer muted light. In addition, you'll need a pendant light fixture, light bulbs, a glass cutter, fine grit sandpaper, a bowl of hot water, and protective gloves. When shopping for your pendant light fixture, ensure the wire is thin enough to fit through the bottle's neck. You can purchase a light bulb cable and light bulb from Ace Hardware for $23.99. Or, buy the cable and light bulb separately to create a unique style.
Creating your glass bottle pendant lights
Once you have all of your materials, set them up in the kitchen so that you have access to the sink. Start by removing all the labels from the bottles if they have any. Simply place your bottles in a large pot, pour white vinegar and soap over them, and fill the pot with water. Boil the water for the soap and vinegar to work its magic. Turn off the stove, let the bottles sit for 20 minutes, then remove the labels. They should slide right off. You can scrub any residue with the soapy water.
Next, dry your bottles and cut off the bottoms using a glass cutter to score the bottles. After scoring, run the bottle under hot and cold water, alternating between the two until the glass breaks. Then, add some water to your sandpaper and run the edge of the bottle along the sandpaper until it's extremely smooth. Finally, grab your light bulb and cable, insert the wire in the hole you cut and through the neck, attach them to the mounting base, and hang it from the ceiling.
If your cable doesn't include a mounting plate, Home Depot sells one for $5.97. You'll also need a circuit tester to ensure the light fixture will turn on. Further, if your cable has an attachment plug, you'll need to remove it to thread it through the bottle and expose the wires to attach it to the circuit tester.
Customize your pendant light fixture
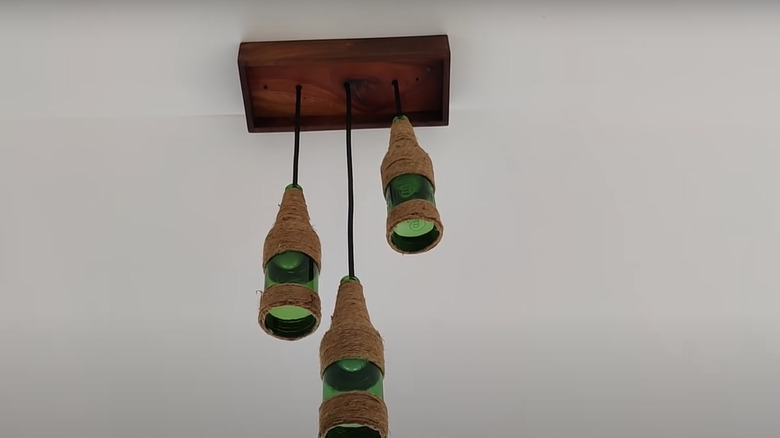
Instead of hanging individual pendant lights near each other, you can create a cluster of lights by using a wood block with three holes to thread the wires through them and connect them to a single circuit. In addition, you can decorate your bottles beforehand by wrapping them in twine or ribbon for an elevated look. Youtuber SRG Crafts used a wood block to hold the wires so that it could bear the weight of the bottles and light bulbs. It will be used as your mounting plate. You can purchase any wood block from Home Depot for about $5. Transform a basic wood block with a wood stain or paint to stand out in the room. Ensure you sand and prime the block so that the paint sticks.
Then, drill two to three even holes, depending on how many lights you want to hang from it. Once the wires are threaded through the holes, wrap twine at the base, cover it in electrical tape, and super glue it to the board so it doesn't slip down to the bottles. After the wires are secure, combine them as directed on the cord's packaging to connect to a single wire that you can attach to the circuit tester and have all of them turn on. Use electrical tape to connect the wires. Once they're installed, drill the wood board to the ceiling to secure the wiring. Turn on your power and test your updated light fixture.