Turn Simple IKEA Floor Tiles Into A Dreamy DIY Privacy Screen For Your Balcony
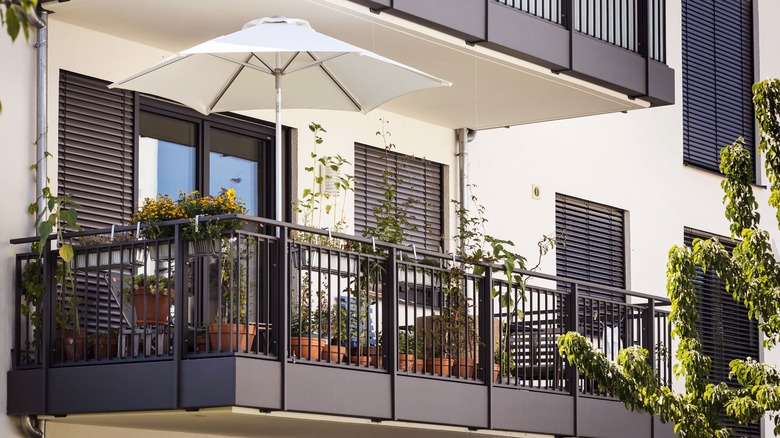
Balconies in an apartment complex or house allow you to enjoy the outdoors without actually having to go outside. You can sit and enjoy the fresh air while still being in the comfort of your home. But the downside to having a balcony is needing more privacy if you live close to neighbors with balconies. Apartment complexes have similar layouts in their units, specifically when they have balconies. Some buildings will add a wall to either side to create more privacy for the renter, but they won't always design balconies to be secluded, so it can be challenging to create a cocoon around your balcony. However, there are many ways to DIY a simple screen to make your space secluded. IKEA ALTAPPEN floor tiles and a wooden frame can give you the perfect, dreamy privacy barrier you've been looking for.
The IKEA tiles are meant for balcony floors, but YouTuber Collette turned them into a gorgeous privacy screen. The tiles effortlessly lock and snap together, making them straightforward to assemble. There's no need to grout the tiles, making the assembling process quicker. The best part about using this specific IKEA product is that it's made of plastic, so it can withstand any harsh weather and is UV-stabilized. The tile package has nine tiles for $15.99, so you might need a few boxes, depending on your frame size. You'll also need a wood frame, zip ties, a saw, and wire cutters.
DIYing your privacy screen
You need a wood frame to attach the tile to create a tiled privacy screen successfully. Before starting this project, you can quickly make one by using four pieces of lumber to create a large rectangle. It should be the same size as the area you want to cover on your balcony. Once you build your frame, it's time to arrange the tiles. YouTuber Collette laid her frame on the floor and then arranged the tiles on top to determine how many would fit in each row. She fit three-and-a-half tiles across the top, cutting a bit off the fourth tile with a saw and wire cutters. Your privacy screen may require four, five, or six tiles across the top, depending on size.
After you figure out how many tiles fit evenly at the top, put the first corner tile where you want it to sit on the frame and drill it in, adding screws through the holes. Then, snap the rest of the tiles across the top until you get to the other side of the frame and drill the last tile into the frame. Move to the next row and repeat the steps until the entire frame is filled with tiles. If you need part of a tile, not the whole thing, measure and cut off the piece you don't need with a saw and wire cutters. Finally, install your privacy screen on your balcony. Secure the screen to the rails with zip ties.
Other ways to create a privacy screen for your balcony
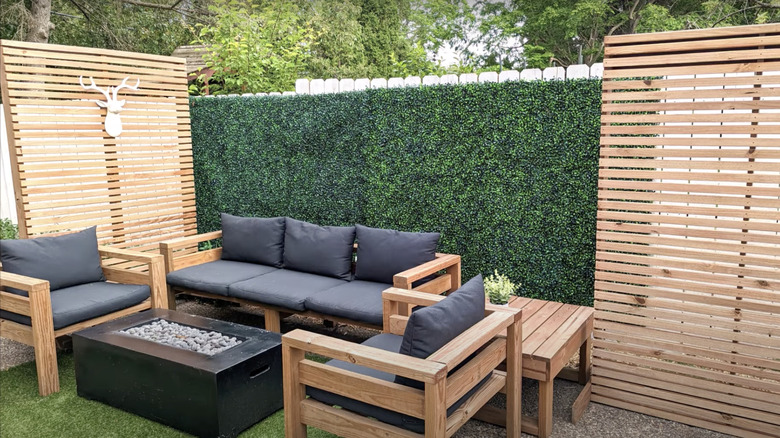
The IKEA ALTAPPEN tiles add texture and intricate detail to the privacy screen, but you can change the design if you're looking for something that matches your home's aesthetic. For instance, if you enjoy wood elements and have a bohemian design around your home, construct a basic wood slat privacy screen. Instead of adding the tiles to the frame, screw long wood boards horizontally across it. As you move down the frame, evenly space out the boards. You will want to add a wood board to the middle of the frame if yours doesn't have one already to give the slats more stability. To ensure your privacy screen doesn't fall over, add a piece of wood perpendicular to the sides of the frame to give it legs and another wood board across the bottom backside to create a pocket. You can add bricks or cement bags for extra stability.
On the other hand, if you have created your dream oasis with a boatload of plants on your balcony, dress up your wood frame with greenery. Hang plants along the wall or grow ivy to cover the entire surface. If you don't have a green thumb, use faux greenery to give your balcony a lush look and pop of color. Amazon sells faux ivy for $15.99, perfect for covering an entire wood frame and giving you the ultimate isolated balcony.