8 Creative DIYs That Will Give Your Fridge A Stunning Built-In Look

We may receive a commission on purchases made from links.
Built-in refrigerators aren't necessarily a new idea, but they are certainly having a moment right now. If you search "luxury kitchen" on Pinterest, nearly every pin that pops up will feature a refrigerator encased in cabinetry and flush with the countertops. As you might imagine, refrigerators designed to be built into a kitchen — known as integrated refrigerators — are more costly than standalone versions (and they also tend to offer less food storage space).
Fortunately, it is possible to capture the quiet luxury vibe of a built-in fridge without its hidden downsides (and without actually buying one). We've rounded up the internet's best tips for making your standalone refrigerator look more like a bougie built-in. From peel-and-stick vinyl to learning how to roll up your sleeves and build your own cabinetry, there's an option for every budget and every skill level.
Add a trim kit
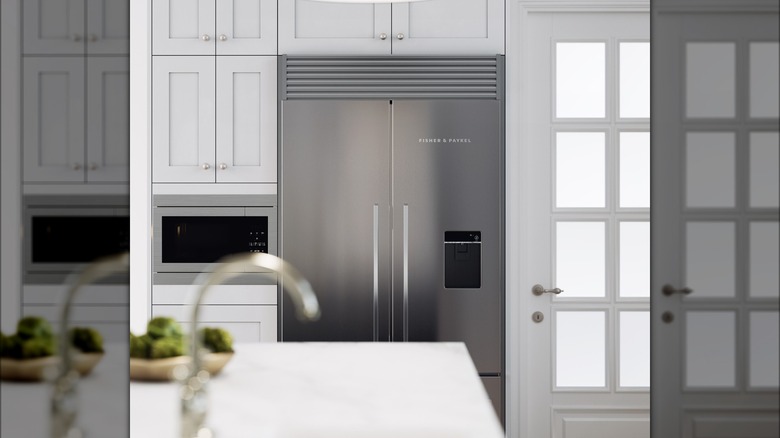
If your refrigerator already has cabinetry surrounding it, you can create a more built-in appearance by covering the gaps between the appliance and the cabinets with a trim kit. A trim kit consists of specialty trim pieces designed to fit your model refrigerator and blend the fridge more seamlessly into its surround (while still providing proper ventilation). These trim pieces are the same color and material as your refrigerator so that when they're attached, the illusion of an extended appliance built into the cabinetry is created.
Installing a trim kit is a beginner-friendly process that only requires a few screws and a screwdriver. If you're interested in purchasing a trim kit, you can enter your refrigerator's information on the Refrigerator Trim Kits website to purchase a kit for $339. The whole installation process typically takes 10 to 15 minutes and results in a much more finished look for your refrigerator.
Cover the sides with paneling or beadboard
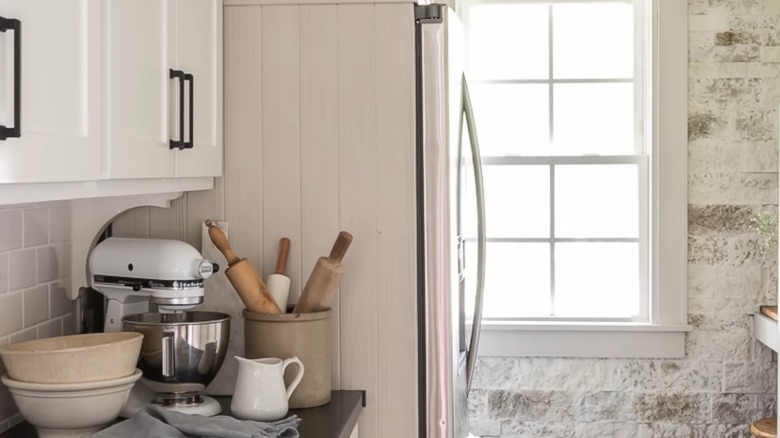
Looking to upgrade the appearance of your kitchen on a budget? If investing a few hundred dollars in a trim kit isn't feasible for you right now, that doesn't mean that you can't up your fridge game. Simply covering the exposed side(s) of your refrigerator with inexpensive paneling or beadboard can give it more of an intentional, built-in appearance. The main caveat when it comes to covering a major appliance, of course, is the need for proper ventilation. Be sure to locate your refrigerator's vents and cover around those areas.
If you'd rather not permanently affix a covering to your refrigerator by using adhesive, you can create a removable cover by attaching paneling with industrial-strength Velcro tape. You can snag a 16-foot roll for about $17 on Amazon. Classic white beadboard is available at Home Depot for $12.98 per 32 inches x 48 inches, and the retailer also sells a wide variety of woodgrain paneling. And yes — you can paint wood paneling.
Opt for deeper countertops
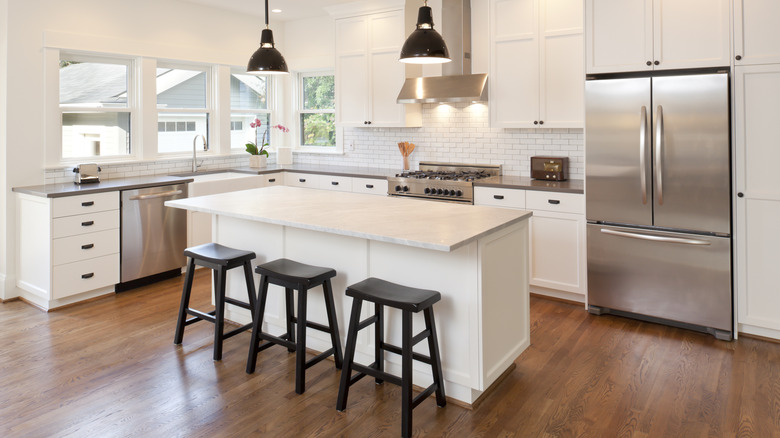
If you're open to committing to a larger kitchen project to achieve your refrigerator's aesthetic goals, consider extending your countertops to match the projection of your fridge. For those who have already been hoping to upgrade their countertops, this may make more sense than attempting to recess a standalone fridge or installing custom cabinetry alone. According to Caesarstone, a standard countertop is 25.5 inches deep including the overhang. However, countertops with a 30-inch depth are not unusual or difficult to find.
Keep in mind that extending the countertops will require an extension of the supporting cabinets as well. If you're up for the overhaul, find some deeper cabinets you love to enjoy a basically new kitchen. If you'd rather not invest in new countertops and new cabinets at the same time, you can stack a couple of 2x4s behind your standard cabinets to make up the difference. You can find a plethora of 30-inch deep countertops at major home improvement stores including Lowes and Home Depot.
Build custom cabinetry
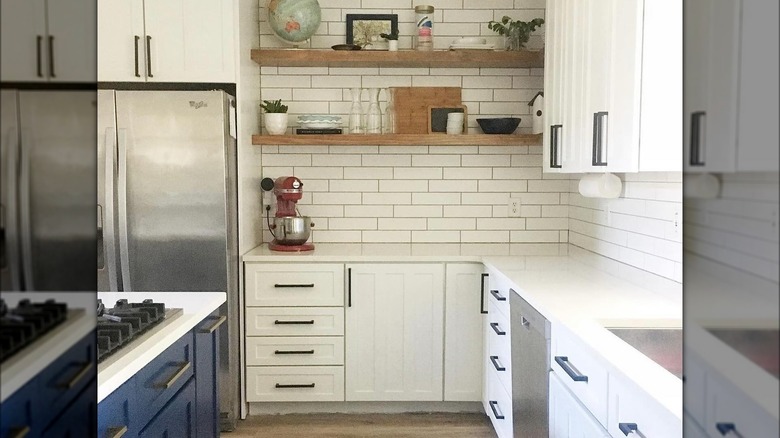
Building your own refrigerator cabinetry really isn't that difficult. If you have some basic tools and DIY experience, you can probably pull it off. The secret? Building a simple surround to accommodate a premade over-the-fridge cabinet. You can simply build the sides out of plywood, attach a few support boards across the back, and install the cabinet. Be sure to leave enough space within your cabinetry to allow for ventilation. According to AJ Madison, this means leaving at least 1/4 inch on each side and at least one inch in the back for modern refrigerators. If your fridge is on the older side, it's best to check its manual for ventilation requirements.
Once you've built the unit, you can paint the surroundings and the cabinet the same color to make it look like they've never been apart. For a more finished look, add some edge banding and install some crown molding. If you'd like to follow a step-by-step guide for building your own affordable refrigerator cabinetry, check out this tutorial on the Ana White blog.
Try peel-and-stick vinyl
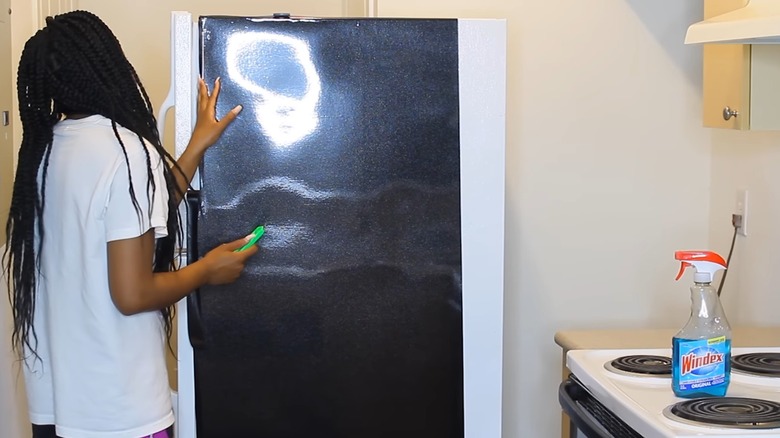
If you're looking for a low-cost, low-effort way to get your refrigerator closer to qualifying as on-trend, you may consider simple peel-and-stick vinyl options. From specialty stick-on fridge wraps to simple peel-and-stick wallpaper and even vinyl auto wraps, the possibilities are endless, even if the medium isn't perfect or permanent. For a built-in look, just look for a vinyl option that matches (or comes close to matching) your kitchen cabinets. Once you apply it to your refrigerator, it will blend right in. Just be mindful not to cover your fridge's vents.
If your goal is simply to make your fridge look a little less standard and more customized, there are many affordable removable vinyl refrigerator door wraps available on Amazon for less than $30. When applying peel-and-stick vinyl to your refrigerator, it's important to remove all the bubbles that can pop up under the wrap. While high-end kits might include a squeegee-like tool for this purpose, a credit card or a plastic paint scraper should do the job just as well. A sharp utility knife will also make the process of cutting your vinyl down to size and removing any excess much easier.
Install cabinet doors
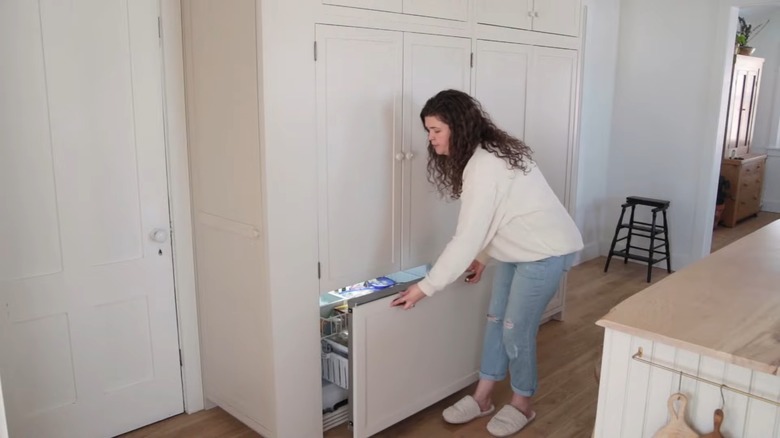
Scan the social media account of any home décor influencer and you're sure to see a refrigerator disguised as a pantry cabinet. While we can't tell you why this is currently a trend, we can tell you how to achieve it. If your standalone fridge is already housed within a surround, all you'll need to do is attach cabinet door panels to the door(s) of your refrigerator and freezer and to the surrounding cabinetry (via hinges). If your refrigerator is not within a surround, consider following the steps mentioned above to build your own.
Depending on the size of your fridge and freezer doors, you may also be better off building your own cabinet door panels than trying to find some that match your other cabinets in the size you need. You can learn how to build shaker cabinet doors inexpensively by watching Wood Nerds' how-to video on YouTube. Then, paint or stain the doors to match your existing cabinets, remove the fridge's door handles, attach the door panels as instructed by The Merrythought on YouTube, and enjoy your new "built-in" fridge.
Create a mini-fridge bar
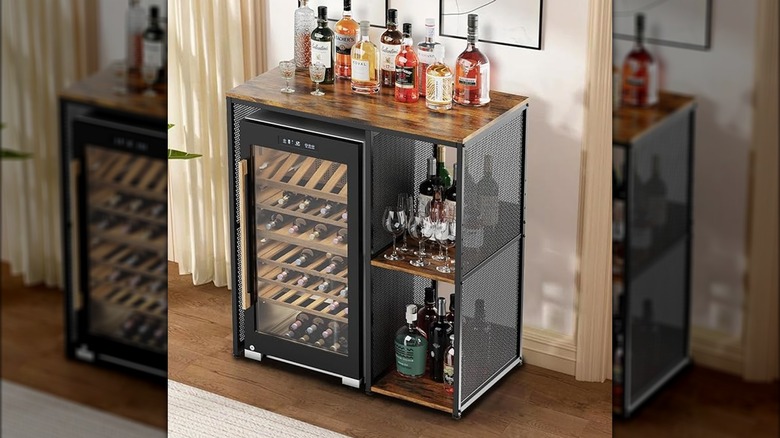
If you're looking for a way to make your mini-fridge look less "college dorm" and more "sophisticated adult," consider giving it a more built-in look by incorporating it into a new DIY bar. Coffee bar? Wine bar? Mocktail bar? That part is up to you. If you're skilled with power tools, you can follow along with Charles Long's bar-building tutorial on YouTube. As always, be mindful of ventilation. A mini-fridge requires a 1/4 inch gap on both sides and in the back to vent properly, according to Wayfair.
If carpentry isn't your strong suit, you can create your bar setup by purchasing a premade three-tier mini-fridge stand for $159.99 on Amazon. Go the extra mile by matching your mini-fridge's doors to the stand using peel-and-stick vinyl, or let it shine as-is and have fun setting up your coffee syrups, tea bags, or liquor bottles. Beauty is in the eye of the beholder — even when you're talking about kitchen appliances.