How To Safely Change The Blades On Your Craftsman Oscillating Tool
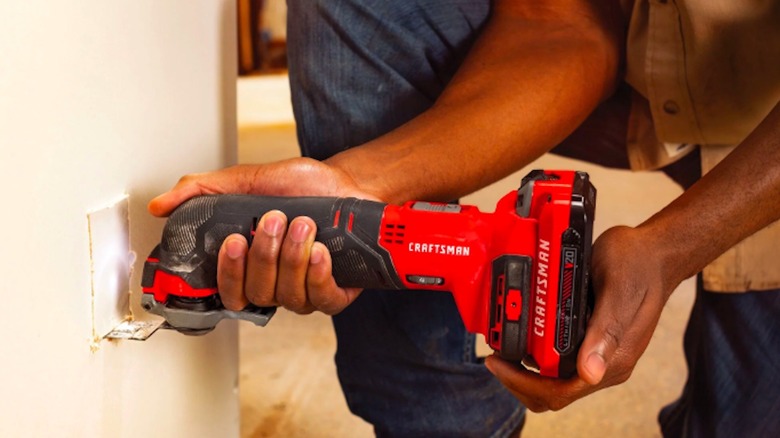
If you're considering the best tool to help with something like grout removal, you could certainly do the job by hand with a saw or blade. However, if you'd prefer to make the job go faster with less manual power, a variable-speed oscillating tool is a great option. It can also help you remove ceramic tile floors. In fact, it's useful for all kinds of work like cutting drywall, getting rid of rust, removing paint, removing adhesive, and trimming wood, plastic, and metal.
The oscillating tool contains a small blade that moves quickly back and forth in a sawing motion, usually up to 20,000 times per minute. Because it uses a small edge, it generates less heat and vibration than larger options, meaning it works especially well for delicate work that requires precise control of the blade.
As the blade dulls, it takes longer to complete your work, and you may not get the best quality cut. When you notice the edge becoming dull, replace it and restore performance for your oscillating tool. We'll show you the steps you need to follow to swap out a blade for a common oscillating tool — the Craftsman cordless model (available for $79 at Lowe's).
Follow the tool's safety instructions
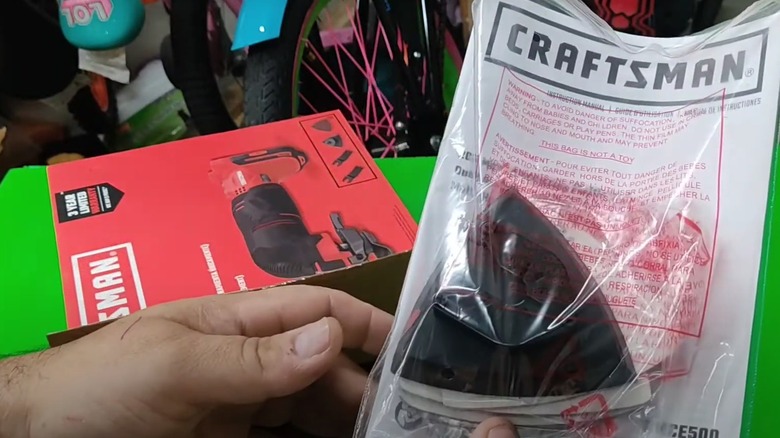
Before swapping out your oscillating tool blade for a new one, read through the safety instructions in the operational manual. This is especially important the first time you do this process. Pay attention to the recommendations — you don't want to cut yourself because you didn't understand the safety requirements.
Most importantly, always unplug the oscillating tool and remove its battery before you begin working with it so you don't inadvertently start the machine with your fingers near the blade. The blade has sharp edges, so you should handle it with care. If you recently used the oscillating tool, the blade may be hot, so allow everything to cool down before you attempt to swap out the dull blade for a fresh one.
Remove the existing blade from the oscillating tool
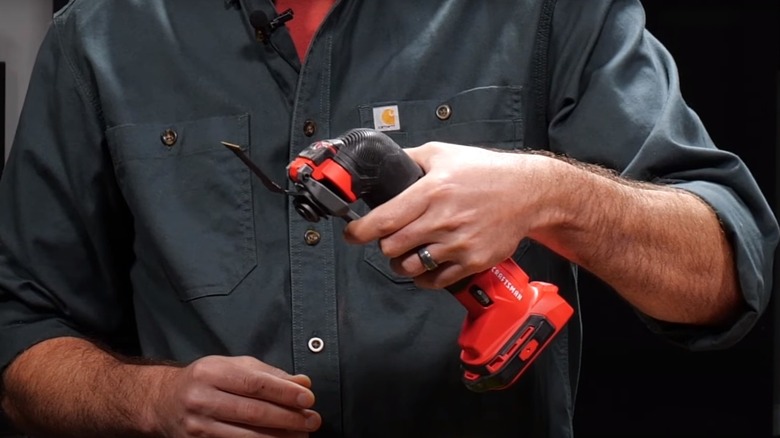
Grab the oscillating tool by the upper part of the handle so the blade is facing forward. Now, use your index finger to squeeze the lever that's hanging downward at the front. Hold the lever tight toward the handle to open up this area.
Use your free hand to carefully grab the upper part of the blade and pull it loose. Pull it in the same direction as the blade is aligned. If the blade is in a vertical alignment, pull it upward. If it's in a horizontal alignment, pull it outward. Once you remove the old blade, you can discard it. An older blade may show signs of wear, like chips or scratches, that indicate it's not safe to use.
Look inside the area where the blade connects to the teeth of the tool. If any debris, remove it with a nylon brush or canned air. As you make cuts with the tool, tiny particles may work their way into this space. Cleaning them out ensures that your new blade will fit properly. Once the area is clean, release the lever.
Insert the new blade

Depress and hold the lever again to expose the teeth inside the tool. Note that the blade has matching teeth cut into it — slide it downward to engage them with the front teeth of the Craftsman oscillating tool. Make sure each set lines up properly so they tightly fit together. Once you're sure the teeth are matched up, release the lever. This locks the blade in place.
If you need to adjust the orientation of the blade to reach into tight spaces, depress and hold the lever. Grasp the blade and turn it until it reaches the angle you want to use. Release the lever to lock it back in place. Do not pull upward or outward on the blade while you're turning it or you could inadvertently loosen it by disengaging the teeth.
You're now ready to use the tool. Start by operating it at a slow speed for a little while after changing the blade. The clamp on the Craftsman oscillating tool pinches the blade tightly, so it may feel like the teeth are inserted properly, but it's just the clamp holding it in place. If this is the case, the blade could fly out of place when under the pressure of making a cut. By operating slowly at first, you can make sure the teeth are engaged before putting the tool under extra stress at a faster speed.
Other ways to change oscillating blades
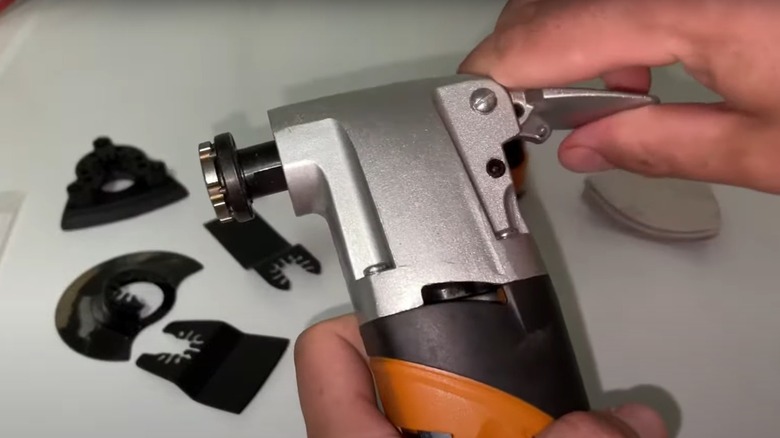
Although these instructions focused on the Craftsman model, other oscillating tool brands may use different methods for removing an old blade and inserting a new one.
Some have a locking lever that's at the back of the tool, rather than at the front like the Craftsman model. Of course, you still lift the lever to unlock the blade and press it back down to lock it in place again. Elsewhere, some units have an extra bolt you need to remove after lifting the lever as an extra means of securing the blade. And others still require a hex wrench to loosen the bolt before allowing you to remove it. After inserting the new blade, you need to reinsert the bolt and tighten it.