Converting Your Unfinished Attic Into Usable Space Is Way Easier Than You Think
We may receive a commission on purchases made from links.
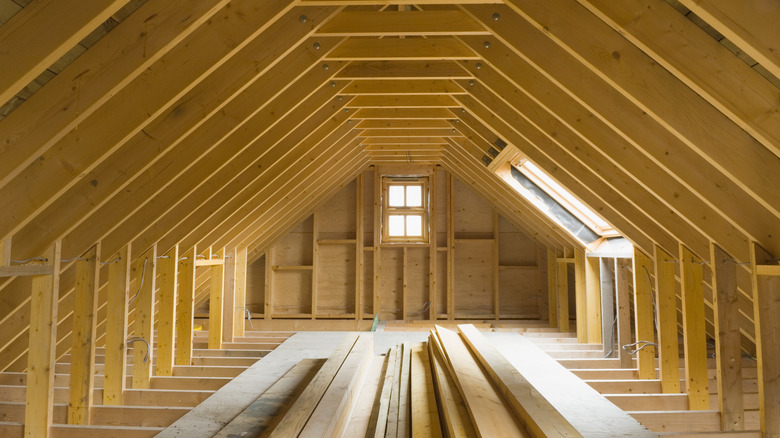
Using an attic to store items that are not used for most of the year frees up space in the garage and storage closets. You can reorganize your garage to fit all of your belongings better. While the attic can sometimes be a smaller area, you might be surprised how many things you can fit inside, especially if you design the best layout ahead of time. Every home has a different-sized attic, but you can still make use of any space you have. TikTok user @lance_ramsey has a small, narrow attic, yet he built shelving compartments to fit multiple storage bins.
Transforming a hollow attic into a usable space provides a place to store away kids' toys, holiday decorations, or blankets that need a new home. Plus, it can increase your home's value. Instead of leaving the empty attic for the next homeowner to spruce up, you can easily convert it with just a few items and watch its resale value increase. Depending on the size of your attic, the number of materials we list will be different from what you need, so you can adjust accordingly. You'll need to create a foundation and shelving. All you need are 2 x 4-inch wood boards and ¾-inch plywood pieces, plus a saw machine, a measuring tape, and a drill gun with screws — as well as storage bins and additional wood to make a shelf, if you would like.
How to add the foundation and shelving in your attic
Designing your layout before converting your attic into a storage unit will help you determine the dimensions you need for the wood boards and plywood. Plus, you can design the shelving according to your needs. TikTok user @lance_ramsey installed a long shelf in his narrow attic to store smaller items on top with ample storage bins underneath. Ready to get started? Create your foundation. Lay down the wood boards evenly spaced out vertically and horizontally, covering the entire accessible floor. Connect the boards with screws. Then, lay the ¾-inch plywood boards on top of the wood planks, securing them in place by drilling them into place. You want each plywood board to lie snug next to the other.
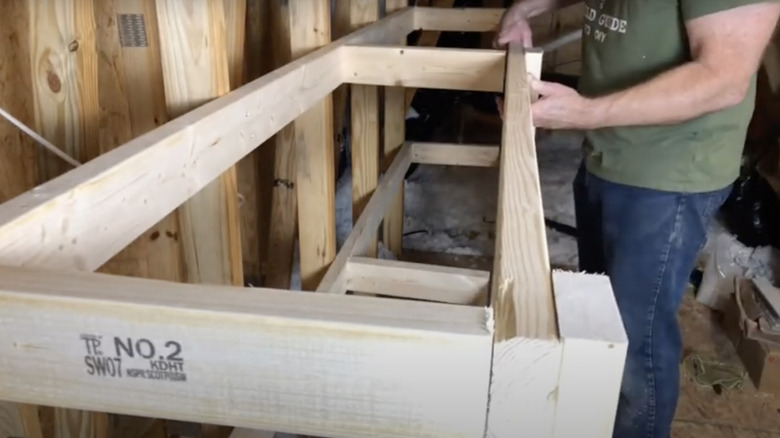
After you complete your foundation, measure the height of your storage bins (if using) to know how tall to make your shelf. Take the measurements and cut your wood boards to that size. Drill one of the wood boards upright into the diagonal ceiling beam. Repeat this step, drilling a board into every other two beams. Attach a long horizontal wood plank in the center of the short wood pieces you drilled to create a lip for your shelf. Then, make another lip on the opposite end by drilling taller wood planks into the identical beams you used and attach another long, horizontal plank inside. Finally, slide your plywood over the lips, covering the entire surface and attaching them with screws.
Installing a shelving unit in an oversized attic
TikTok user @lance_ramsey worked with a small, narrow attic, so he was limited to storing only a few items inside. However, he made excellent use of his space by using storage bins to hold items and hanging seasonal wreaths to add to the opposite vacant wall. While his method works for smaller attics, it can also work for larger spaces. In addition, you can create a taller shelving unit if you have higher ceilings. Installing wood shelves on a flat, tall wall will be easier than cutting wood pieces to fit between the beams.
You'll need back support boards, which are long 2 x 4 wooden boards hung horizontally on the wall with space between each board. You can hang about four boards, then hang about another four 2 x 4 pieces of wood vertically and evenly spaced out on the front side with temporary screws. The temporary screws will need middle supports to hold the plywood. Measure them wide enough to hold items and bins and attach them to each post using pocket holes. After the middle supports are in place, repeat the first few steps: attaching 2 x 4 boards horizontally on the ends of the middle supports, then adding 2 x 4 boards vertically to create your front side. Finally, slide in the plywood boards and fill your new shelves. Customize your shelving unit by cutting the wood boards to fit the length and height of your attic's wall.