Give Your Space A Floral Spring Update With A Few Affordable Dollar Tree Finds
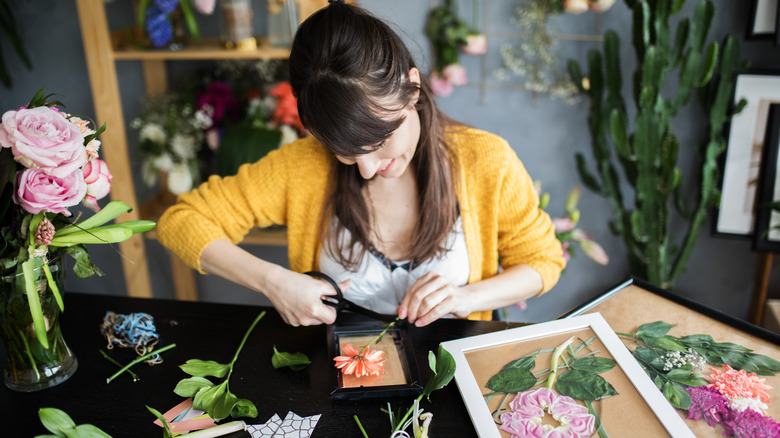
Spring is all about starting over and starting fresh. It's saying goodbye to the cold weather and welcoming the longer, warmer days; trees and flowers are ready to bloom, and we're ready to go outside. Many folks take a few days to prepare their home with spring cleaning to restart their lives. There's a deep scouring of every room, the boxing up winter coats, and refreshing the space with new decor. It's also another opportunity to shop for spring decorations. Fill your space with pastel colors, plants, and beautiful floral adornments. Luckily, you can do all of it on a budget when you DIY embellishments with items from Dollar Tree. Instead of buying and displaying flowers around your home, DIY gorgeous floral wall art using Dollar Tree's 3-D flowers and farm life wood signs.
The wood signs hold the flowers, giving them a solid wood background. You can hang them on a wall in the entryway, living room, or kitchen, or set them on a long shelf, allowing you to swap them out with new decor. In addition, you can customize the DIY to give it a more springy appeal with a fresh coat of paint, or include extra faux flowers for contrast, color, and texture. YouTuber Dazzling Designs by Denise created a chic design with mirror border stickers from Hobby Lobby and mirror squares from Dollar Tree. A few tools you'll need are a hot glue gun with glue sticks, Gorilla glue, and scissors.
Give your space a floral spring update
For one piece of flower wall art, you'll need a single 3-D flower, two farm life wood signs, a single pack of mirror border stickers, and four mirror squares. But, if you want to make multiples, you'll need to double everything except the mirror border stickers. Of course, if you want to customize your wall art, you'll want to get your extra materials ahead of time.
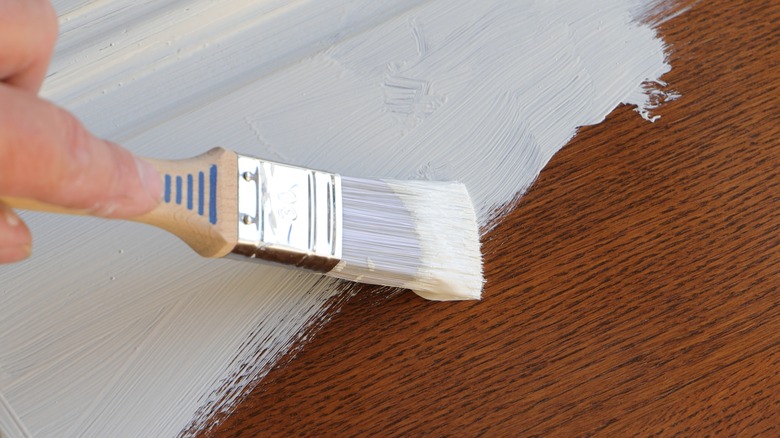
Start by painting your 3-D flowers. They're made in a blush color, so you could keep them that way if you prefer the light tone. YouTuber Dazzling Designs by Denise spray painted her flowers metallic gold, but the flowers would look beautiful in white, yellow, pastel pink, or other spring colors that will brighten up your home.
As the paint is drying, remove the twine from the wood signs, then glue the front sides together to expose the bare backside. Next, glue one strip of mirror border stickers around each side of the wood signs with Gorilla glue to cover the minor gap, and hot glue the mirror squares to one side of the board. For a glimmering look, skip the mirror squares and cover the front side of the board with the mirror border stickers for more texture. Finally, use Gorilla glue to attach the 3-D flower to the mirror squares. Put a couple of heavy items on top to allow the glue to set. Allow the flower wall art to dry overnight. When it's fully dry, display it in your home.
Customizing and hanging your floral wall art
If you don't like the look of many mirrors in your home, customize the floral wall art to accompany other home decor or color palettes. The wood signs are solely used to hold your 3-D flowers, but you can use any wood or plywood you might have at home to use as your backing as long as they're the same size. In addition, instead of covering the wood with mirror squares, paint or stain it to add color to your space. For a farmhouse interior, stain the wood for a rustic look. Or, paint the wood white or black for a different neutral color. For a more maximalist interior, use patterned wallpaper for the background to create a stunning statement piece. Choose a simple wallpaper pattern with lighter tones to allow the 3-D flower to stand out.
Once you finish making your floral wall art, decide where to hang it. If you made a single piece, you can put it on a bookshelf, a console table in your entryway, or a shelf in the kitchen. You could also leave one of the twine strings on the wood signs to hang it on your wall easily. However, if you make three or four designs, you can arrange them vertically or horizontally on an empty wall. YouTuber Dazzling Designs by Denise hung her wall art along one of her doorframes, which bedazzled the entire area.