Easily DIY A Nate Berkus-Inspired Pantry Organizer On A Dollar Tree Budget
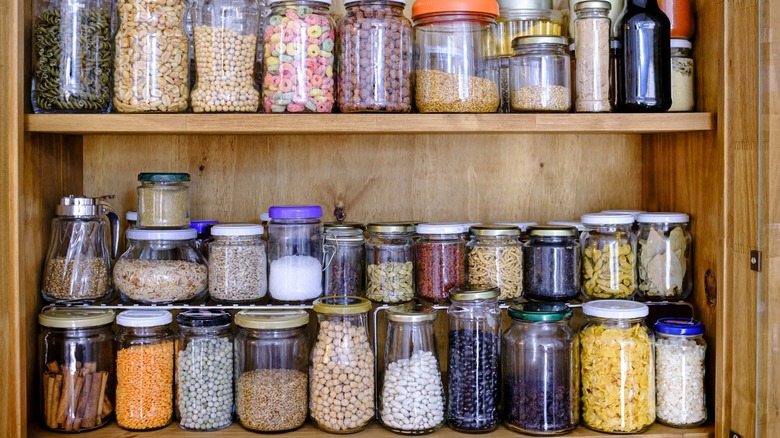
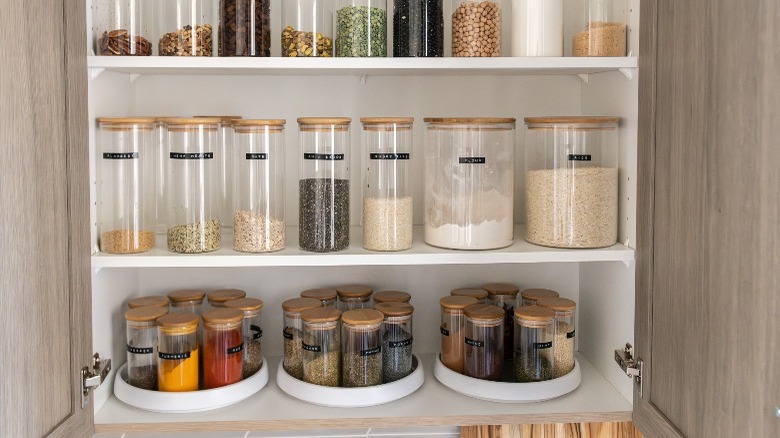
Everyone appreciates a well-stocked pantry for the ease and variety it brings to meal preparation. However, a common hurdle with a full pantry is keeping everything organized, especially small items like spreads, spices, jars, and cans. In such cases, a lazy Susan or turntable can be a game-changer. These rotating organizers allow you to access what you need with a simple spin, eliminating the need to rummage through entire shelves. In one of his videos on Instagram, Nate Berkus shares how happy he is using a two-tier Nate Home turntable in his pantry. But you don't have to shell out money to get one. If you're on a budget, you can easily DIY your own turntable pantry organizer with some Dollar Tree products.
The DIY only requires two main items: a two-pack stove burner cover, which you can buy at Dollar Tree for $1.25, and a split pin fastener, which you can easily purchase in any craft or bookstore. The key step is to join these two covers using a split pin fastener. Additionally, you will need washers and adhesive for assembly. You can also use tiny beads to enhance the smoothness of the turntable's rotation.
How to DIY a turntable organizer for your pantry
First, create a center hole in each burner cover. One method, shown by Faithful Designs by Christy, involves tracing the cover onto paper, folding it several times, and cutting the tip to mark the center. Alternatively, use a ruler to draw intersecting lines from the cover's widest points; where they cross is the center. Make the hole with a nail.
To enhance the functionality of your turntable, glue washers onto the decorative side of the smaller bottom cover. These washers facilitate a smoother rotation of the upper cover against the base. The number of washers you use should correspond to the weight of the items you plan to place on the turntable; heavier items will require more washers. Connect the two covers using the split pin fastener. Arrange them so that the larger cover is on top, with its decorative side facing down, and the smaller cover is at the bottom, acting as the base. The designed side of the smaller cover should be in contact with the underside of the larger cover.
Other ways to enhance your turntable organizer
If the washers alone aren't providing enough smoothness, you can add tiny round beads at the center of the washers. This can help reduce friction and improve the spinning motion. If you choose to add beads, use thicker washers. Thicker washers provide a stable base to keep the beads in place and ensure smooth, consistent turntable movement. Alternatively, you can use an old fidget spinner to create your turntable. While using your DIY lazy susan, you might find that turning it can be challenging if the base isn't stable (especially since the item is pretty light and thin). To address this, securing the base to the surface will make it easier to use. You have a couple of options: one is to use hot glue to firmly attach the base to the surface where it will be placed. Another approach is to take advantage of the hollow underside of the base cover. You can stick an item like a bottle lid inside this hollow space and then glue the lid (and consequently the base) to the surface.
Aside from using your turntable in your pantry, plenty of other places can benefit from these turntables. For instance, lazy susans are a kitchen's best friend (and a prime place to use them). At the same time, these organizers can also help bring order to your chaotic laundry room!