This DIY Adds Function And Style To Your Basement Support Polls
Other than expensive timber framing and the industrial or industrial farmhouse aesthetics (which can certainly turn out gorgeous rooms), we tend to hide the structural work that goes into home construction. And, of course, we also hide the inner workings of a home — ductwork, electrical cables and boxes, plumbing, and the like. Steel support columns present an opportunity to do both kinds of concealment by wrapping the posts and leaving enough room inside for electrical switches and receptacles. There are a number of ways to skin this pole, but we like the way YouTuber Mitch Deitrich (@MitchellDeitrich) attacked the problem with form-fitting DIY brackets and enough construction adhesive to make you pit some future demolition crew.
Off-the-shelf wraps for Lally columns (that is, cylindrical steel support columns) exist, but they tend to be round and include no room for switches and outlets. Unfortunately, many cylindrical column wraps are almost as thin as the posts themselves, and this very thinness is one of the things that bugs us visually when we look at a round support post. And square or rectangular wraps tend to be more in keeping with the average home's aesthetics, and straight surfaces are also certainly easier to trim out.
How to wrap a steel support column
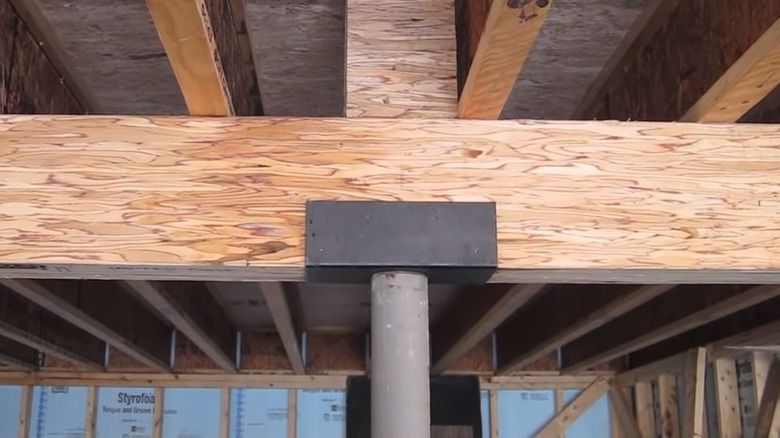
The various methods of wrapping a support column include different ways of attaching flat boards to the cylindrical post, and Mitch Deitrich's method seems sturdiest and most flexible. (This assumes your Lally columns are straight, which isn't necessarily a given. We'll get back to that in a bit.) Dietrich's method is to make brackets by drilling a hole the same diameter as the column through a board, then cutting it in half so that you have two parts that can sandwich the post. Rather than wrapping the post in a square column as most do, however, he offsets the circle in a larger board, leaving room on the side to accommodate electrical wiring, boxes, and (if necessary) conduit. He stick the brackets to the column with construction adhesive.
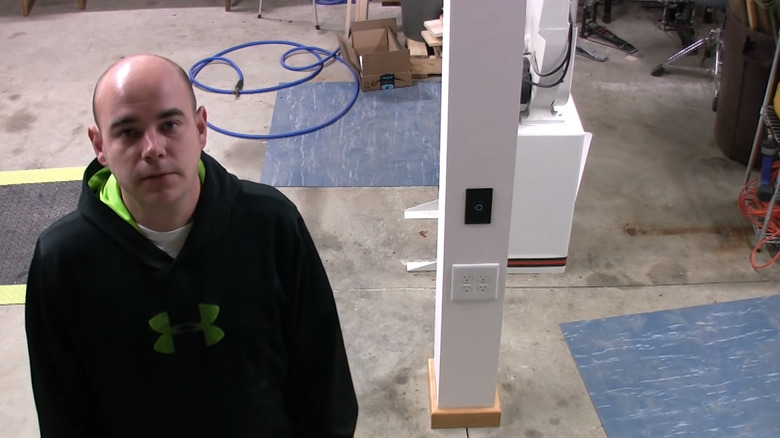
Deitrich marks the location of the brackets on his cover boards to make it easier to nail them into place. The bottommost bracket is made of PVC rather than wood to resist any moisture you might expect from the typical basement floor, and he trims the wrapped column top and bottom with DIY mitered cherry trim. The cherry seems a bit out of place against the concrete basement floor, but the overall effect is very professional and polished. The most impressive part is probably the electrical wiring: The brackets have cutouts for electrical conduit, and he uses offset conduit to make sure everything lines up perfectly.
Some alternative approaches to post-wrapping
Of course, each post-wrapping method has its advantages. For example, in a basement chock full of hidden mechanical goodies and a video thumbnail chock full of fonts, Edward of the YouTube channel Ideal Direct Home Improvements & Indoor Gardening demonstrates a simple post wrap using mitered boards, shims, and expanding foam to hold it all together. If the foam bit strikes you as odd, that's understandable — we found it a little strange too. But it allows him to ensure the columns are perfectly plumb without constructing complex brackets made mostly of math and frustration. He basically builds the wrap as a three-sided box, installs it over the post, and levels it with shims, adjusting as necessary before attaching the cap board and trim at the top and bottom. As a means of dealing with a crooked column, it's brilliant.
Another YouTuber, @jazbuilding, makes his wrap from boards ripped from plywood and includes room for electrical switches and receptacles. His method is different — and might seem a little over-engineered until you consider that he didn't need to buy an expensive and probably one-time-use hole saw for his version. He devises a nailer that is, in profile, a rectangle with two triangular strips added to the sides to hug the steel column. Afterward, he threads hose clamps through holes in the nailer to attach the nailer to the column. With the nailer in the center, he can leave a cavity of almost any size for electric wiring and boxes.
Of course, if the wiring isn't important to you there are easier ways to turn an unsightly basement support pole into a stunning finished feature. And if visual appeal is your priority, HGTV's Jenn Todryk has a simple tip to add charm to bulky structural columns in your home.