How To DIY A Rolling Tool Cart For Space-Saving Storage In Your Garage
A rolling tool cart is the sort of thing that every woodworker or DIYer eventually ends up building one of — or seven of — in most workshops. They're handy in two important ways: they allow you to maximize space by moving things out of the way when not in use and take certain tools where you need them so you can work more efficiently. Outfitted with drawers and shelves to store all the accouterments related to the tool, it makes a very functional package. Just about any power tool designated as a "benchtop" tool is a candidate for a rolling cart. They tend to be too heavy to carry around, too large to store easily, and too important or frequently used to relegate to a corner.
I've seen a few of these rolling carts with varying levels of complexity, but I've distilled the process down to the bare necessities and built one for you. "Bare necessities" means that these steps largely forego niceties like trim. But there's a nod to finish at the end, so I'm not a total barbarian. But remember that this is a shop cart, and unless you have clients tromping through your workshop, the most important thing is that it's functional. It's a very flexible project and isn't necessarily just for tools. With a bit of waterproofing, this rolling cart could also be a house-cleaning game-changer. A rolling cart is also a clever way to hide your small appliances for a clutter-free kitchen.
How difficult is it to DIY this rolling tool cart, and how long will it take?
Primarily because of the rabbets and dadoes, this is not the most basic woodworking project, but neither is it overly complicated. It is, however, time-consuming. I estimated eight hours to build this cart, and at the 12-hour mark, I thought I could see the finish line ... which came around the 20-hour mark. It's not a fair comparison because I was also taking photos, but you can easily expect to spend a day or two on it, depending on your skill level. If you have great demands on your time, you might find that a store-bought cart will serve just fine.
One critical but time-consuming step you must not neglect is planning and sketching before you build. If you don't start with a plan and work carefully, you will end up re-doing work. This not only makes the project take a lot longer but also sometimes causes makers to abandon such projects altogether. Remember the old adage: SketchUp once, measure twice, cut once.
What materials and tools you'll need for your cart
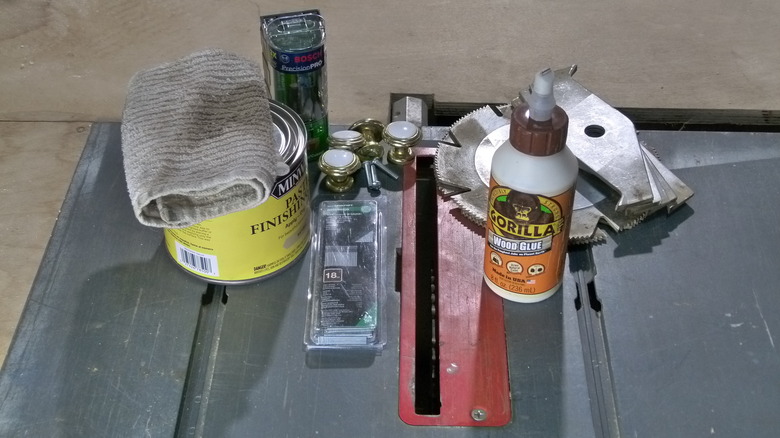
You'll have a fairly simple bill of materials at the start of this project:
-
A sheet or so of plywood, depending on your cart's size
-
¼-inch plywood for drawer bottoms
-
Wood screws
-
Brads
-
Wood glue
-
Locking casters
-
Furring, plywood, or solid wood strips
-
Drawer pulls and screws
Cut, rabbet, and dado your plywood
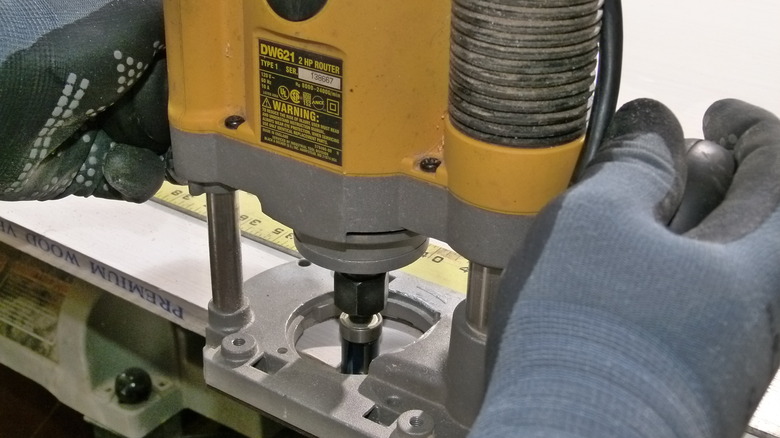
Start by building the carcass of your rolling cart. I used a straight edge and a DeWalt Atomic 20V Max 4 ½-inch saw (but you could use a track saw or a large table saw) and used a router to cut rabbets and dadoes. You could also use a table saw with a dado stack or run the board through your table saw one kerf at a time. Break down your plywood according to your project's plan. Cut all similar pieces to size at the same time. This saves time and ensures that similar cuts are in the same place, like that the dado for a shelf on the left-hand side is in the same location as the dado on the right. You'll notice that this design has no back because I followed Bob Claggett's design from the YouTube channel I Like to Make Stuff, which allows drawers to be removed from either side.
Clamp a straight edge at the right distance from the edge of your sides and select a rabbeting, dado, or straight router bit that matches the width of your plywood. Cut rabbets in the top and bottom of each side for the top and bottom to fit into. Reposition your straight edge and cut a dado for each shelf on each side. Note that each drawer has a shelf underneath it so that it's fully removable; there are no drawer slides in this design.
Attach the top, bottom, and shelves
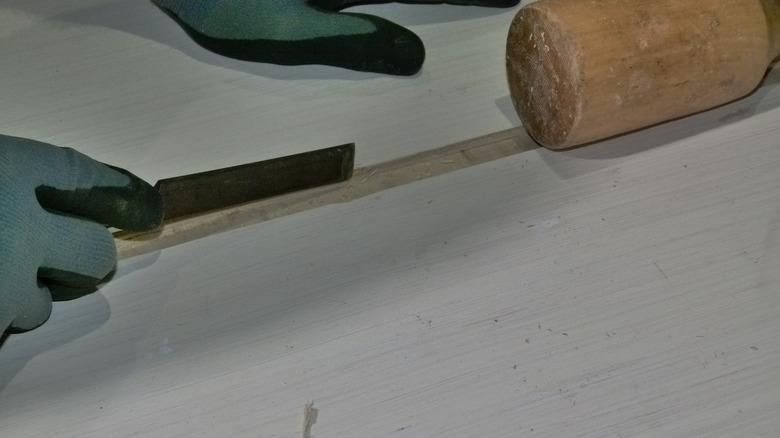
Use a sanding block, hand plane, or sander to ease the edges of each shelf that will fit into dadoes in your workpiece. In my case, the rather aggressive ¾-inch trimming/cutout router bit took off slightly more than ¾-inch of material, so no easing was necessary. Add glue to the shelf edges or dadoes and tap the shelves into place with a wood mallet. Clamp the top, bottom, and shelves carefully into place and brad-nail through the sides to hold the piece in place while your glue dries. As long as you don't jostle the carcass too much, it might be safe to remove the clamps after applying the brads. If you don't have to remove the clamps (to use them on the drawers, for example), leave them in place.
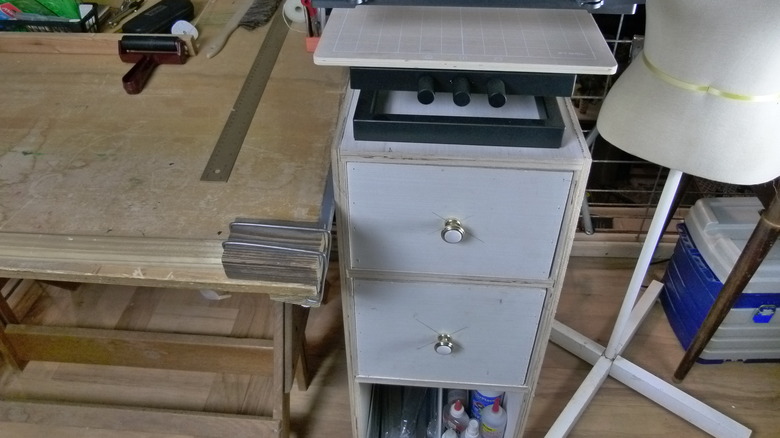
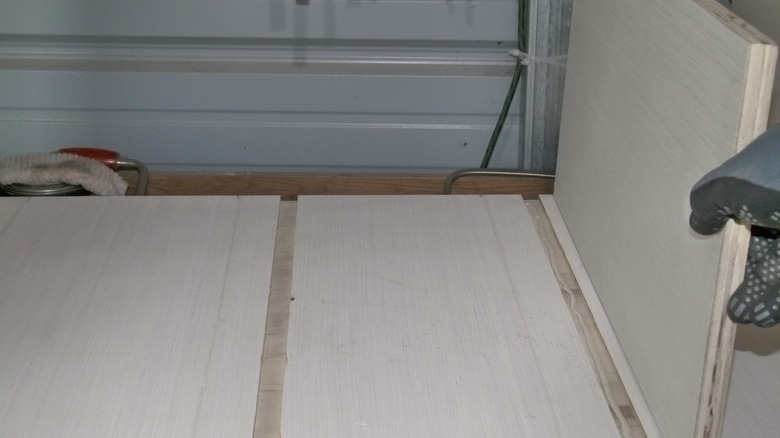
Build your drawers and retention rails

I cut my drawer components separately from the overall plywood breakdown in step one, but you can cut them all at once if you're careful. Sometimes, it's safer to have a finished piece before building drawers and the like so that you can double-check your dimensions against the actual build. Cut the drawer fronts (two fronts and no back for each drawer) and sides. (The sides don't have to be full-height, but there doesn't seem to be a great reason to make them smaller other than slight weight savings.) Glue the edges and brad-nail them into place just as you did the shelves above. I added rabbets into which I could recess the ¼-inch plywood drawer bottoms by running each of the drawer's boards through a router table.
You could also add the rabbets using a trim router, then squaring up the corners with a chisel so that the bottoms will fit. Cut the bottoms to size. Add glue to the rabbets and clamp or brad-nail the drawer bottoms into place. Allow to dry per your wood glue's package instructions. If you're leaving some shelves open for items like bottles or large tools, cut your furring or plywood strips to size. Glue the boards into place at the same location on both sides (that is, both fronts) of the cart and clamp, nail, or screw.
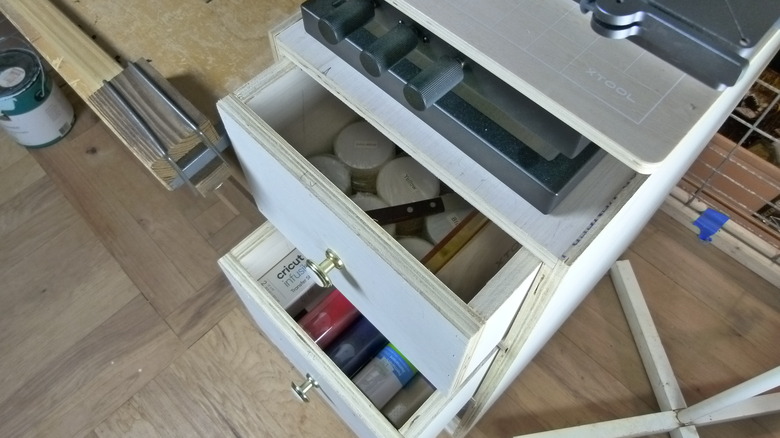
Install your drawer pulls
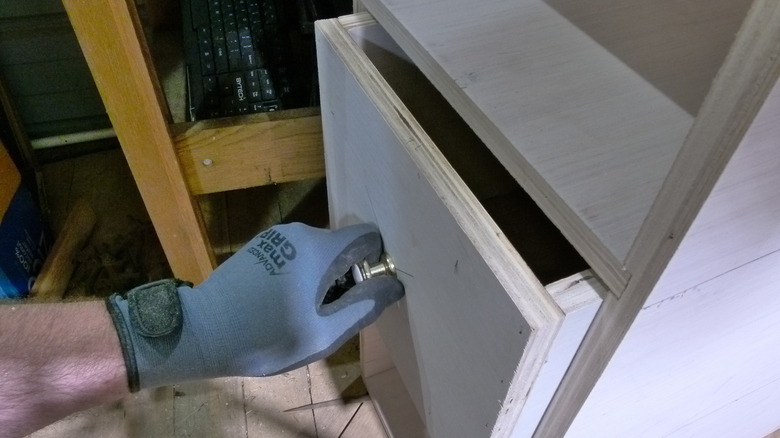
I originally intended to walk you through the process of making your own drawer pulls. However, drawer pulls are dirt cheap or even free from old furniture, and rabbeting the small wood pieces is probably a bit riskier than is strictly necessary. So, I installed some from my trove of reclaimed hardware by drawing lines from corner to corner and drilling where they crossed in the center of each drawer face. Pulls typically attach using 8-32 screws; I used 1-inch 8-32 screws with the ¾-inch plywood, but the measurement will vary based on your wood choice and the design of your pulls.
If you were to make your own drawer pulls, the process might look something like this: Cut your solid wood into roughly the shape you want for your drawer pulls, remembering that you'll need a pull for each "front." Rabbet the rough pieces for finger holds, then sand all the exposed corners of the pulls. Measure and mark the pull locations, glue the pulls into place, then screw them into place from inside the drawers with two screws for each pull. You can also add knobs to any cabinet without drilling any holes by using adhesive-backed pulls if your drawers won't hold anything heavy.
Finish and install hardware
If you plan to add a finish (or want a smooth surface), sand the entire rolling cart carcass with increasingly fine sandpaper using either a hand-sanding block or a random orbital sander. Fill screw holes with wood filler and allow to dry according to package instructions. Apply the paint, lacquer, stain, or finish of your choice. The plywood I used had a smooth, sanded finish and was primed on one side, and I didn't add anything more. You might choose to add edge banding to hide the plywood's edges or other improvements.
A rolling tool cart will, of course, need casters. My original plan was to install locking casters, but I found that I only had three of the same size on hand, so I used some low-profile rollers instead. In the long run, many carts will need locking casters to be usable. Most casters, especially taller ones, will sometimes need support blocks to make the assembly sturdier. This is usually just a matter of attaching substantial blocks of wood, around 2 x 4 inches, for each caster. Different casters are installed in various ways. Some simply attach with screws, while others require a through-hole for a post, so take careful note of sizes and requirements before attaching your supports. I finished by applying paste finishing wax to the bottoms and sides of the drawers to make them slide smoothly. Don't apply paste wax to any surface you plan to stain or paint later.