Don't Throw Out Rotisserie Chicken Containers Without Trying This Garden Hack
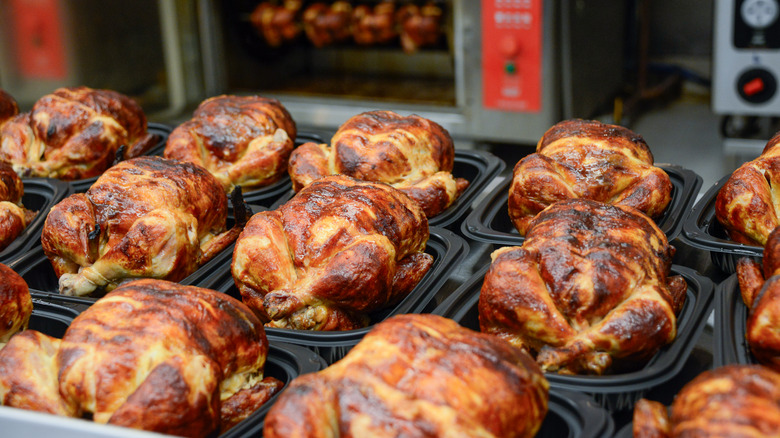
When it comes to rotisserie chicken, there is no shortage of people waiting to chow down. Stores like Walmart, Costco, and your local grocery store stock them by the dozens — and for good reasons. But, instead of tossing the chicken container in the trash or recycle bin, you can use it in your garden as a seed-starting container. These plastic containers, with their dome-shaped lids, can easily be upcycled and used to get your seeds off to a great start. The transparent lid also allows the seedlings to get adequate light. In addition, it can protect the seeds from harsh winds and pests. They are the perfect size for a new batch of seeds and can be used for sprouting both indoor and outdoor seedlings. The containers create a mini greenhouse with the warm, humid environment that seeds need to sprout.
Seedling containers, also known as propagation trays, come in various sizes. Some may be priced as low as $5, while others could cost as much as $35. So, for the $10 to $20 that you are paying for the chicken, saving the tray may be worth it if you are constantly buying new ones or are planning to start a new plant. This allows you to save those funds for other seed-starting supplies, such as fresh soil, plant labels, fertilizer, and germination mats. If you have been looking for ways to grow a healthy garden, while keeping costs low, this hack may be worth trying.
Setting up your container seed tray and customization tips
Many gardeners prefer the budget-friendly aspect of starting seeds instead of buying plants. And if this sounds like you, then this hack may be right up your alley. Once you have your rotisserie container, wash it thoroughly to remove any chicken and oil. Now add dividers for the seeds. For this, you can use cut-up toilet paper or paper towel rolls, egg cartons, or folded newspaper. Make the dividers no more than 3 inches wide; this way, you can fit 12 to 15 in the container comfortably. Do not worry about adding drainage holes to the container since seeds do not require as much water as plants — just be careful not to overwater. Set the container in the sun and monitor your seeds over the next few days to ensure that condensation is forming along the container's lid — this means it is working! When you transplant the seedlings, adequately prep your soil for successful planting.
This simple garden hack is not limited to chicken containers. You can also use plastic takeout containers, storage bins, pie, or cake pans. They are all stackable; they typically come with transparent plastic lids, and they are wide enough to adequately house a sizeable number of seeds. If you need drainage holes for specific seeds or you are struggling with watering, use a pair of scissors or a sharp knife to cut them out. You can also take things further by cutting a small hole in the lid if your container's location requires less humidity.