Turn Leftover Ribbon Into A Gorgeous Summer Wreath With This Easy DIY
We may receive a commission on purchases made from links.
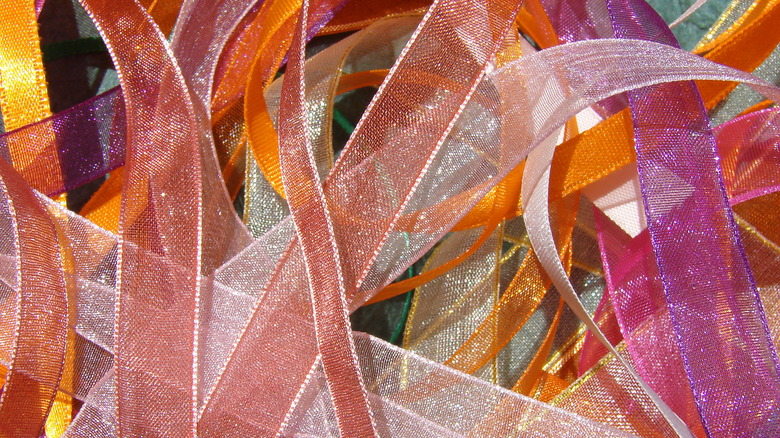
If you're a thrifty crafter, chances are you have stashes of leftover materials with too much potential to throw away. Ribbon bits are commonly saved items deemed too pretty to become trash but often sit unused for years. A perfect solution to the problem? Turn your best intentions into a cute creation in no time at all with a leftover ribbon wreath to welcome summer.
We took inspiration from the YouTube channel Crafting with Hard Working Mom for this easy DIY, although there are many ways to try this design that bundles brightly-colored ribbon pieces from past projects into cheery flower shapes on a wire base. Within a short time, you can have an eye-catching wall hanging or door decor with a small price tag. Using bright colors is ideal for summer, but an eclectic mix of hues, textures, and patterns will morph your scraps into a festive wreath.
You'll need a pile of ribbon scraps at varying lengths, some crafting wire, a pair of scissors, and a wire wreath base that appears to align with the amount of ribbon. Assess your ribbon supply before sourcing a wire wreath frame; the more ribbon you have, the larger the wreath base you can use. For extra savings and eco-friendliness, you can often find unwanted wreath frames at thrift stores for just a few dollars. You can use repurposed twist ties for a free and eco-friendly alternative to crafting wire. If you use crafting wire, you'll also want a pair of wire cutters. A tube of superglue may come in handy, as well.
Prepare your ribbon bundles
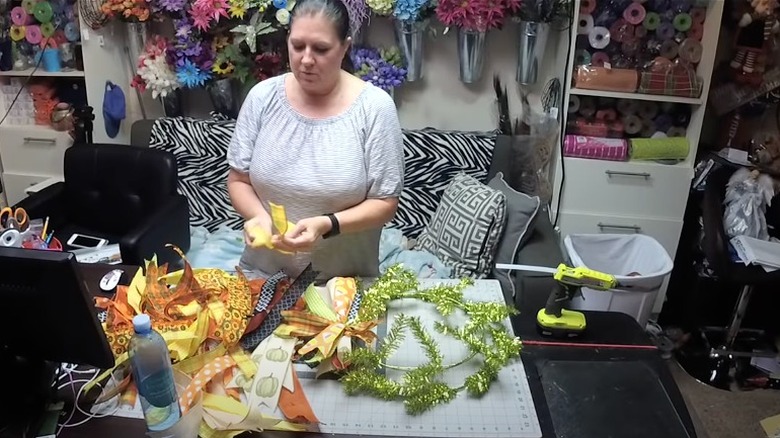
Start by assembling bundles of four or five ribbons of similar lengths and trim any longer pieces so all pieces are roughly the same size, as seen in Crafting With Hardworking Mom's tutorial. Create clean edges for each ribbon piece; the simplest method is making a diagonal cut at about 45 degrees on each end. Without adding too much more difficulty, you can cut a V-shape into each end of the ribbon with two diagonal cuts that meet in the center. If needed, dab a thin line of superglue along the cut ends to prevent fraying.
Arrange the ribbon bundles in a flower pattern by laying each piece on top of the other. Then, lightly holding the pieces together at the middle, fan each ribbon out at angles into a flower shape. With wire or a twist tie, secure the ribbon pieces together at the center where all the pieces meet. Once they're connected, manipulate the ribbon pieces individually so that they fan out in a flower shape. Continue until you have enough flowers to cover the entire wreath form.
It's wise to mock up how the flower bundles will look on the final product. Once you have about 10 to 15 bundles, lay them out on top of the wreath for an idea of how closely spaced you'd like them. This way, you'll also have a better estimate of how many total bundles you'll need.
Finishing your summer wreath
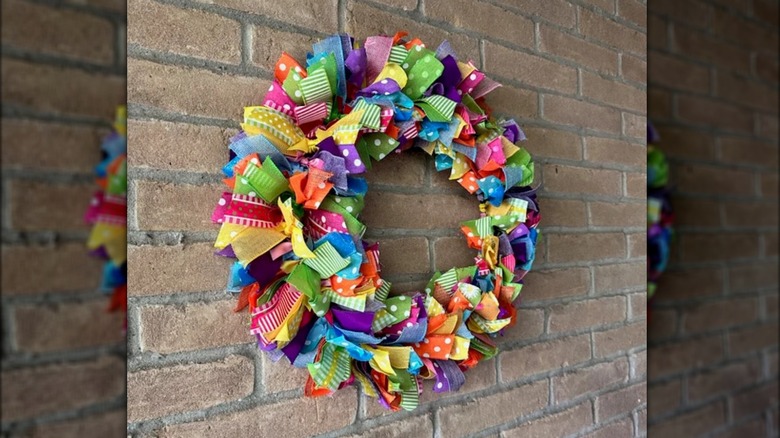
Before you add your first ribbon flowers, tie a loop of extra ribbon to the back of the wreath. This will be your hanger; it's easier to tie it on while the wreath is bare. With more craft wire or twist ties, fasten the bundles to the individual wire circles that make up the wreath. How you space your bundles will depend on the size of each "flower" and how densely you'd like to arrange them. Using wire rather than glue, you can remove and replace the "flowers" until you decide on a look you love.
Continue wiring your bundles to the wreath form until you have fully covered it. Scout out a spot that could use a splash of summer color, and hang your creation to enjoy. If you're worried about hammering in a nail or hook to hang it, try our damage-free hack for hanging wreaths. If you hang your wreath in a room rather than on a door, try this easy wreath trick to make your home smell divine. Instead of using a wintery cinnamon scent, try a citrus or floral aroma for summer vibes.