DIY A Stunning Faux Burl Wood Coffee Table On A Budget
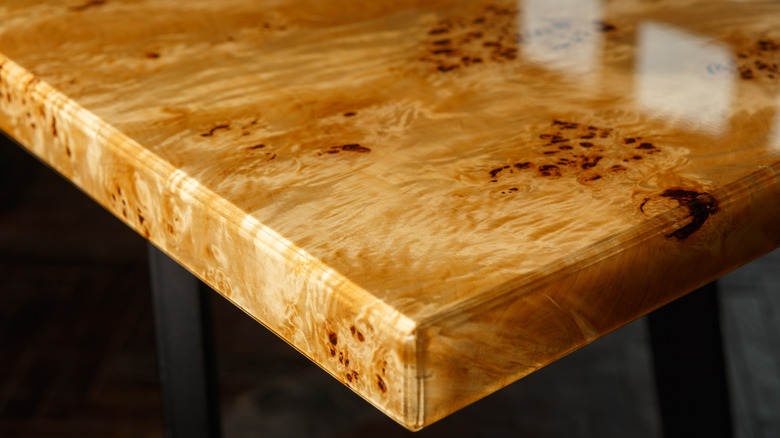
Burl wood furniture can be one of the best ways to add a dash of rich, natural material to your interior space as well as the great texture and dimension real, unfinished wood can provide. Perfect for end tables, nightstands, desks, and coffee tables, the rugged and visually dynamic burl wood look is making a comeback. It's as equally stunning in rooms that incorporate modern minimalism as it is in those with more rustic touches. While burl wood furniture pieces can be expensive, running from a few hundred dollars to several thousand, YouTube DIYer Lexie Byers DIY recently showed off an amazing hack that gives a similar luxe and rugged look for much less. By using a simple inexpensive table, some peel and stick wallpaper, and a two-part epoxy resin, you can create the same look for a fraction of the cost of real burl wood furniture.
The paper gives any table it covers the look of real wood, while the resin coating over the top adds increased durability and a sleek shine that makes the table seem more modern. It also helps the coated surface stand up to spills, scratches, and dust.
How to make a faux burl wood table
This fun DIY works with any table, including the one in the tutorial procured inexpensively from Amazon with simple screw-in legs. You can also do this with a thrifted table or any piece you may have laying around your home for additional savings. While a small table will usually require only a roll of the burl wood wallpaper, make sure to measure larger pieces to account for additional paper needed. Clean the surface of the table thoroughly before covering it in paper. Start at one edge, removing the backing and smoothing out any bubbles with a spatula or straight edge.
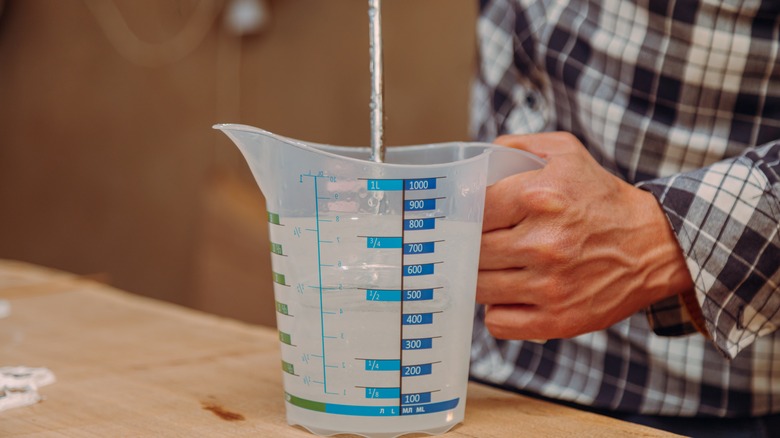
The two-part Mas Table Top resin is easy to use, requiring a 1:1 ratio you can mix in a silicone mixing cup with a wooden stick. Before you add the resin coat to the top, make sure to add painter's tape around the perimeter to keep drips from getting underneath. Pour the epoxy resin over the tabletop, making sure to use gloves and a mask for protection. You will want the top slightly raised with something underneath that will allow the resin to drip and cover the sides. Use a spatula to disperse the resin evenly, then remove any bubbles by heating with a heat gun or hair dryer from a few inches away. Allow the surface to cure for 24 hours before use.
Options for customization
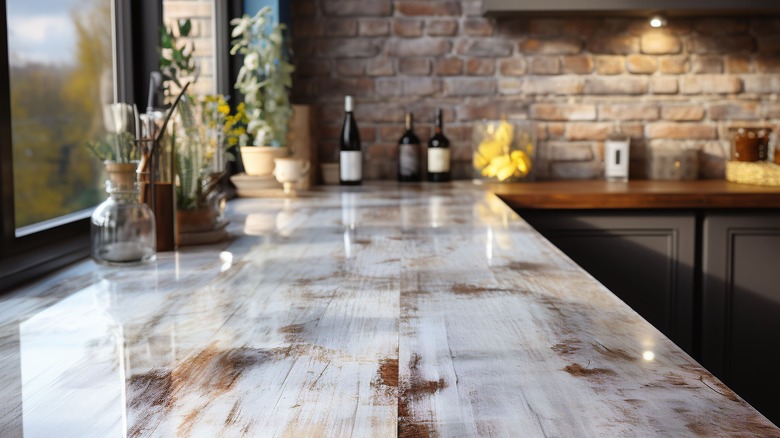
While this project is a smaller one, you can easily use this method to cover even larger pieces of furniture like dining tables, desks, bookshelves, and countertops. It also works with other prints and varieties of peel-and-stick wallpaper, so you can make a DIY faux marble or stone finish tabletop, or choose a fun graphic print or pattern. You can also use it as a chance to preserve photos and ephemera on a table surface beneath a glossy exterior. Just use Mod Podge to adhere elements, then add an epoxy resin coat. You can also make your tabletop a stunning piece of resin art for your home.
If you do not want to use epoxy resin, you can get a similar look with a clear spray coat with a bit of gloss, or by adding a layer of high gloss Mod Podge over the surface of your paper. While these will not have quite as much shine or durability as the epoxy, they can work just as well for tables that get more limited use and do not have to worry about moisture or scratches.