A DIY Cutting Table Will Make All Of Your Home Projects So Much Easier
We may receive a commission on purchases made from links.
Setting up a cutting table is a game changer for crafty DIYers, providing a durable work surface and another practical storage option to keep your crafting supplies organized. The best part, though? Cutting tables offer an opportunity to flex your creativity as you DIY a custom build with the perfect level of comfort and convenience.
You can easily build a cutting table by arranging storage devices as supports for a tabletop. Four-cube shelf units like the Brightroom 4-Cube Organizer ($45 at Target) work perfectly for this, supplying the ideal spaces to manage your tools and materials. Add cubes in different arrangements to make the desired size. Two units back to back can make a small square table, while several units next to each other can make a longer setup. You can also add spaces between units to make room for items that won't fit in the cubes.
After settling on your cutting table's arrangement, secure the organizers by attaching a wood base, like a custom-cut piece of plywood, to the bottom of them. Drive screws through the base and into the organizers. On top, you can lay table tops, thick plywood, or even old doors, anything that is at least one inch thick and covers the tops of your storage units. Attach the organizers to the tabletop with corner braces (about $12 for 20 at Home Depot) to complete the rough construction. Finish by laying your cutting mat on the top, and you're ready to get crafting!
Tips for building your cutting table
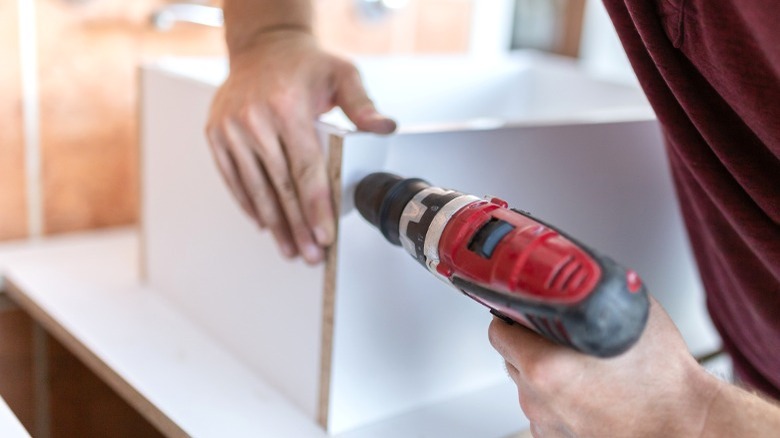
When fixing corner braces to the shelf units and table top, technique matters. Many shelf unit frames use MDF or particle board, materials that don't always hold screws securely. When you don't neatly drill holes into your cabinets with the proper method, screws may rip out of the frames. You could easily ruin the build if you ever lift or move the table. For the strongest hold, attach the braces to the shelf units' sides rather than the edges. Use one-inch fine-thread screws. Drill pilot holes with a bit slightly smaller than the screw's root diameter (width of the shaft without threading), and apply adhesive to the holes before attaching your screws.
Various adjustments can give your cutting table the function, appearance, and stability you want. Add flare by sanding the table as needed, priming the surfaces, and painting it your favorite colors. Or, apply contact paper to add a natural aesthetic to the top, just as you would to give kitchen counters a granite look.
Consider suitable dimensions for your cutting table based on your height. Dining height is 28–30 inches, while counter height is 34–36 inches. Counter height is ideal for working while standing or sitting in a counter-height stool. Since four-cube organizers often stand about 30 inches, adding a one-inch base and table top plus two-inch wheeled casters (e.g., Everbilt Swivel Plate Casters, $6 to $7 per wheel at Home Depot) will bring it close to counter height, giving you a comfortable, versatile setup.

