Repurpose Your Sea Glass Collection Into Stunning Beach-Inspired DIY Wall Decor
Treasure found on the beach doesn't have to be in a wooden coffer unearthed with help of a map. Magically tumbled glass shards are hard not to pick up and keep once you spot them among the pebbles and sand. If you're a lover of sand and sea, you doubtlessly have a collection of these delights going underused. Get this sentimental clutter out of the trinket bowl and showcase it as part of a memory-filled art piece. With little more than a frame and glue, arrange your finds into a simple yet satisfying display. This easy project not only highlights each fragment's individual shape and color but lets them play together, leaving you with truly trendy wall art.
This thoughtful art idea will spruce up any room while gifting you with momentary mental visits to the seaside. Dust off your bowl of glass pieces or other delights found on the shore. Find a picture frame large enough to accommodate the collection; the frame should have a gap between the backing and the glass to fit irregularly shaped shards. You'll also need clear-drying craft glue, a pencil, scissors, and white textured art paper (like thick watercolor paper). You may want some spray adhesive to stick the paper to the frame's backing; regular glue can cause the paper to pucker.
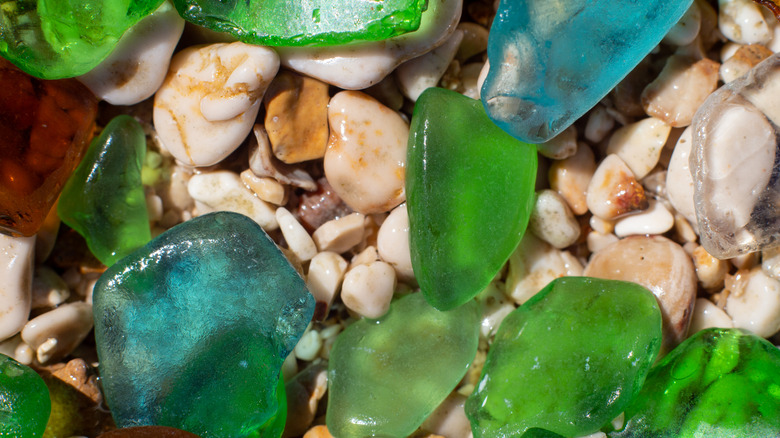
You might have a wealth of white or clear glass rather than colorful bits. Set upon paper in an appealing shade, you won't miss the blue and green glass at all. If you have other seaside finds, like broken ceramics, shells, old toys, or plastic specimens, these guys can stand in for a glass assemblage.
Beach-found bespoke art
Disassemble the frame and trace the backing on your paper. Cut the shape you just traced and set it behind the frame. On the paper, trace a faint pencil line around the interior of the frame so you'll know the area that will be visible once your work is behind the glass. Experiment with a few layouts on a flat surface before setting your bits on the paper; this will keep the paper cleaner. Mock up a square color gradient, a heart, or a hand or paw print. Why not arrange the glass bits in the shape of the state, island, or country where you found them? It's not a bad idea to sketch on the paper the profile you'll be filling with your collection.
Spray the frame's backing with the adhesive and smooth the paper over it. Lay out your arrangement in the outline you drew or in a freehand shape. Once you're content with the spacing between all of the glass parts, begin gluing them in place, starting at the outer edge and working towards the center. If you want to save a few bucks on the adhesive, you can make this strong non-toxic glue with common kitchen ingredients. Be sure to give the glued design plenty of time to cure before hanging it up. Crafters with good handwriting, consider penning the names of the beaches where you found the glass next to your design on the paper. Use a thin-tipped black or gold marker or a shimmery gel pen to make this personal addition subtle and stylish.