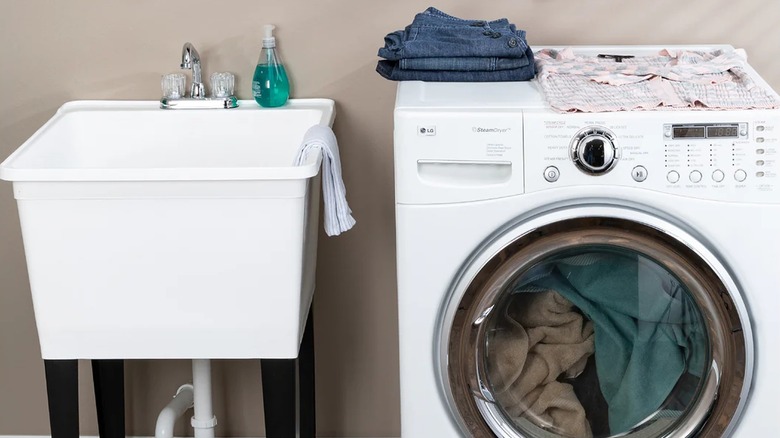
How To Give A Utility Sink A DIY Fluted Upgrade
Like the name suggests, utility sinks are designed primarily with functionality in mind, which means some models leave much to be desired on the aesthetics front. That doesn't mean you can't find a way to spruce up the look of your utility room by giving the sink at its center a makeover. One of the chicest ways you can do that is by DIYing a fluted vanity. Fluting is the textured design trend that is taking over interior design right now, and it's relatively easy to achieve.
You're going to need plywood sheets (stay away from MDF board unless it's specified to be moisture resistant) and wooden dowels in whatever thickness and shape you prefer to achieve your desired look. Square dowels will give you more of a minimalist modern result, while curved lines afford softness and coziness. To bring it all together, you'll use wood glue and a brad nailer.
Intermediate and experienced DIYers can cut the plywood themselves, following all recommended woodworking safety precautions. As an alternative, some stores, such as Home Depot, provide wood cutting services, usually for free and only on their products. You'll need three panels for the front and sides of the sink, plus three pieces of narrow trim to conceal the edges and frame the sink at the top. Plan your design to determine whether extra trim is needed to create a decorative drawer or door effect. Finally, don't forget the dowels, as they may need cutting, too.
Transform your utility sink into a gorgeous fluted vanity
Before heading out to shop, take measurements. Consider the width, depth, and height of your sink, the thickness of the plywood, and how snug you want the decorative vanity to be. This DIY is a removable structure, so reserve enough room to detach it for cleaning and maintenance purposes. The panels should be slightly taller and wider than your sink, covering its front and sides. Nail them together, then cover the gap at the top between the structure and the sink with narrow trim, nailing it as well. For extra stability, build a 1-by-4-inch frame to attach the panels to first.
Before painting, cover up imperfections with the product you'd normally use for spackling nail holes. Nail the false drawer trim to the front panel and use glue to fill the faces with dowels for the fluted look. For an easier solution that spares you all the cutting and nailing, longer dowels that cover the length of the vanity in a seamless whole can also look very sophisticated.
Gluing molding around the inner perimeter of the drawer frame produces a more polished look as well. However, for the corners to fit perfectly, each piece will need to be cut at a 45-degree angle and attached in a miter joint. In-store wood cutting services may not provide angle cuts, in which case you should consider investing in a tool like the GARTOL Multifunctional Miter Shears. Once all of the wood details are nailed, glued, and painted, nail your chosen drawer hardware, and you're done!
