Turn A Thrifted Planter Into A Showstopping Vintage Decor Piece
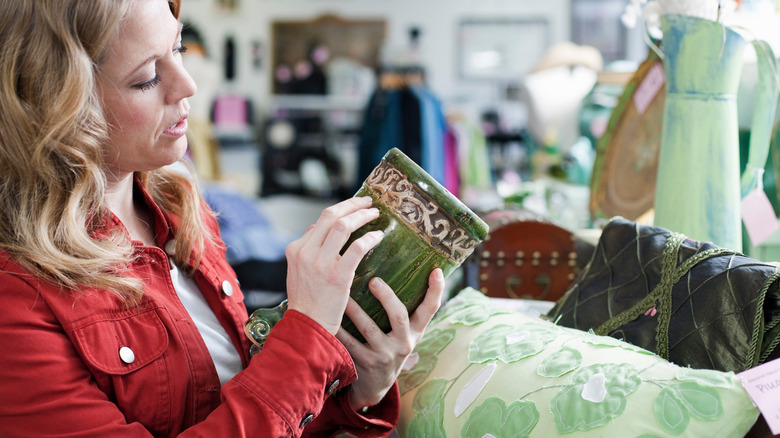
Those old ceramic or concrete planters you pass up whenever you're at the thrift store are hidden gems. At first glance, it may seem like they don't have much potential. However, it's surprisingly easy to keep trending vintage home decor alive. How to do it, at least for old ceramic planters with interesting profiles, involves applying a base coat of paint to the outside of the planter until you've created a textured surface. In the end, you'll have transformed your cheap find into something luxe — an antique stone-look planter. All you need to do next is pop a favorite houseplant inside and find the perfect spot for the arrangement in your home.
Ready to get started with this creative thrift flip you can use for plant display? You'll need a few different types of paint: acrylic paint in light sage and warm brown, FolkArt Home Decor Crackle Paint, and Rust-Oleum Eclipse Milk Paint Finish. You'll also need a can of Krylon Clear Matte Paint Coating, a tub of furniture finishing wax, and some stone powder. Tools-wise, grab some paint brushes, a paint sponge, and a few sheets of sandpaper. If you don't already have the supplies at home, head to your local craft store or shop online. If you are unable to snag an old planter from your local thrift store, ask around family and friends or browse Facebook Marketplace. Look for a flower pot with a vintage profile and some surface texture rather than a smooth finish. Gather everything together in one place like your workshop or craft room.
How to turn a thrifted planter into a faux aged stone masterpiece
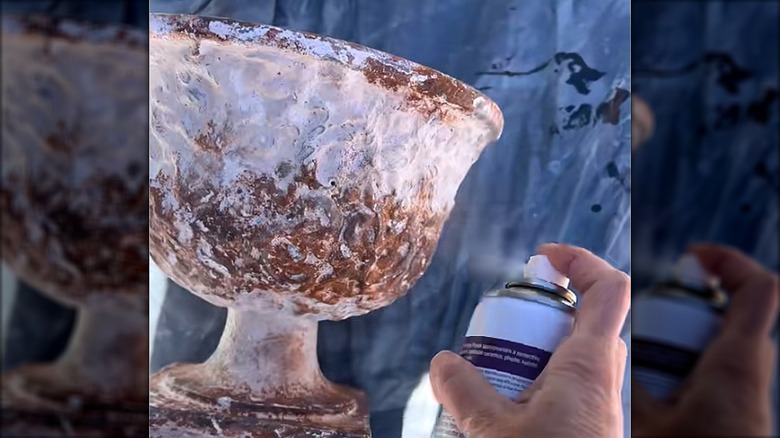
You're just a few steps away from owning a brand-new (to you) faux stone planter! Once you've cleaned and dried your thrifted flower pot, spray on a base of light-hued paint. A shade like Rust-Oleum Tate Green Chalked All-in-One Ultra Matte Spray Paint is a great option when creating a stone-like look. The pale green will peek through later paint layers for an authentically aged appearance. After the base layer dries, follow it with a layer of crackle paint — a crackle paste works well, too. Allow the layer of crackle paint or paste to fully dry before applying a layer of milk paint. If you wish, you can stop here, but if you want a more realistic stone finish, continue with the optional steps below.
Use a paint sponge to blot brown paint all over the planter — or skip this step if you prefer a polished, luxe finish. Whether you apply the brown paint or not, lightly sand the surface to add more texture. Apply a layer of furniture finishing wax to the surface of the planter and use a brush or sponge to press on the stone powder — we like SculptCoat Soapstone. Lightly brush off any excess powder. Finally, whether you stop at the milk paint layer or continue to the stone powder step, spray on a layer of sealant to protect the surface once the planter is in use. Just as you can bring a touch of nature to your bathroom with a moss floor mat, you can add character to your planter by hot gluing some Usmola Artificial Moss to the outside.