

Use Old Seashells To Create Budget-Friendly Pavers With This Easy DIY
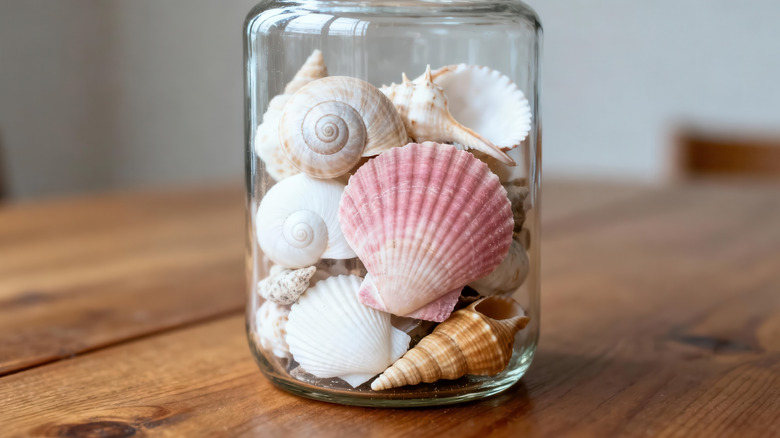
Beach bums all over the world collect seashells as souvenirs from special visits to the sands. More often than not, they come home with us simply to gather dust in a fishbowl or similar. There's a much better way to honor these finds that also leaves you with something practical. Grab that cluttered collection and a 10-pound bag of concrete mix: together, they can become inexpensive and meaningful stepping stones for your yard or garden.
You'll need a few other items to pull off this project. Set aside a 5-gallon bucket, a stirring tool like a shovel or a thick dowel, a supply of water, and some non-stick cooking spray or parchment paper. Lastly, a mold for your pavers is essential. You can purchase them from home improvement stores or sites, but you can make one from an upcycled pie tin or even an old milk jug for DIY pavers! A sealant like Thompson's Water Seal or a concrete-specific product is a good topper to protect your work.
Shells alone will look beautiful embedded in concrete, but also consider including other repurposed mementos from the seaside, like tumbled glass or stones. Adding lettering like a family member's name or the beach in question is an easy yet meaningful touch, too. Although you can scratch letters into the drying concrete, lettered beads or mini alphabet cookie cutters made of weather-proof materials (like aluminum) spell out a message with a bit more polish. This is a project best done outdoors, and with the potential mess, grabbing a drop cloth is smart. Shield yourself from concrete dust with protective eyewear, a mask, and gloves, too.
Create a seashell stepping stone
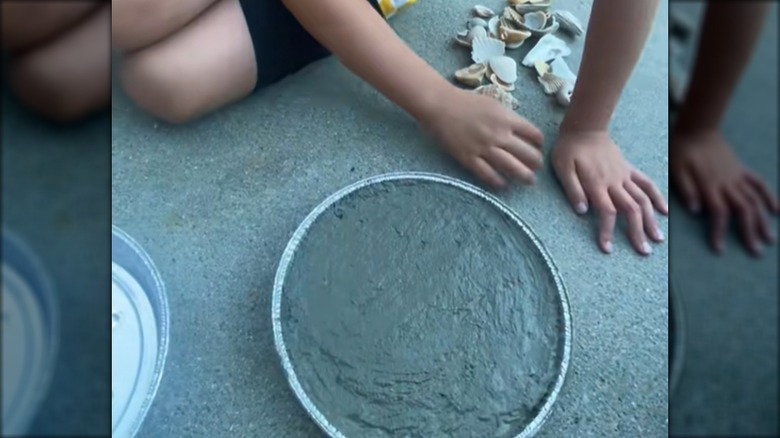
Gather the goods and head outdoors. If possible, set your workspace up near a water spigot to make things easier. Mixed concrete can set extremely quickly, so it's wise to prepare everything beforehand, including plans for how you want to arrange the shells and any other elements. Take a moment to assess your shell supply, both to gauge how many pavers you can make and to decide how you want to arrange the shells. (A 10-pound bag of concrete should provide enough material to make several stones.) Placing the shells at random over the paver's surface is pretty enough as-is, but an intentional design like a beach scene or a kaleidoscopic sunburst will set your design apart, especially if this isn't your first cement paver project.
Also, prepare the molds to make it easier to extract the pavers from them once they're dry, either with a generous spritz of non-stick cooking spray or by lining the molds with parchment paper. Cover yourself with protective wear and your workspace with a drop cloth before mixing the concrete. You can mix it by feel; dump about half of the bag into the bucket. Add water a bit at a time, stirring the material into a texture similar to chunky peanut butter. Slowly pour the concrete into the molds until its surface is just a bit lower than the lip of the molds, and give the mold a little shake to ease out air bubbles. Next, press the shells into the concrete firmly so that the concrete oozes around the shells' edges to hold them in place. In the remaining space, spell out names with letter beads or alphabet cookie cutters.
Finishing touches on your seashell stepping stone
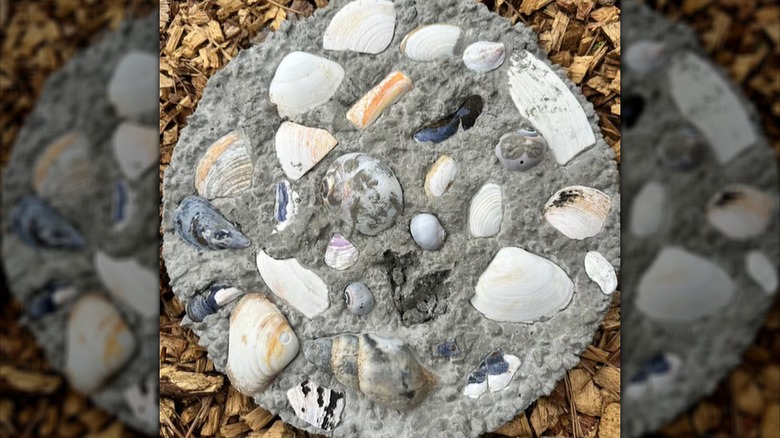
Before it dries, use a damp cloth to gently wipe away stray concrete from the shells. Your design looks great, but you're not done yet. Now it's a bit of a waiting game before the concrete is dry and cured. Count on it taking between 36 and 48 hours before the paver is ready to come out of the mold. Temperature and humidity could affect the time, so you may want to wait the full 48 hours before popping the paver out of its mold. Top it with the sealant of your choice, and give it some more dry time according to your product's instructions.
Before adding your paver to your budget-friendly DIY garden path, you'll need a bit more patience. Concrete takes up to 28 days to cure completely and to reach its full strength, but don't fret, you'll only need to wait a week before your stone is safe for (carefully) stepping on. If you've created a decorative paver rather than a functional one that will be part of a path, you can use it without the wait. Place your paver somewhere that will give your sentimental beach souvenir the attention it deserves. Set it in a garden bed surrounded by plants, or make it part of a border around a flower bed or along a fence. Put the spotlight on it by placing it solo near a bench, a path, or a patio. Instead of treading upon the paver, setting it close to a high-traffic area will protect and show it off at the same time.