Turn Old Paint Buckets Into A Functional Raised Planter For Your Yard
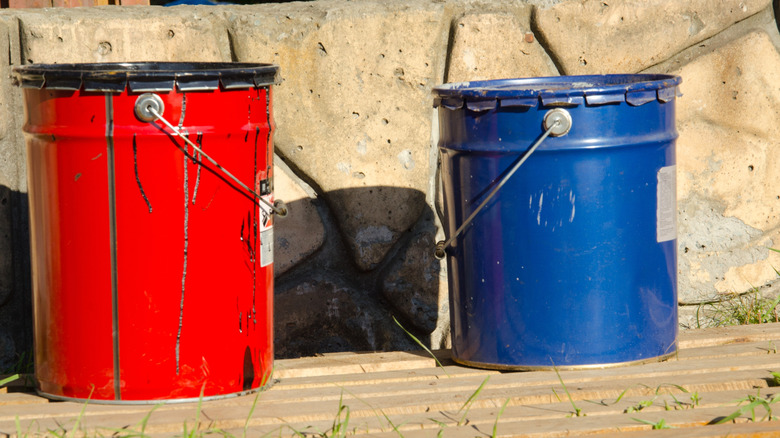
The most eclectic gardens feature DIY raised garden planters made with unconventional materials. Some thrifty gardeners build epic raised garden entirely from concrete blocks, or even turn scrap roofing metal into a raised garden bed. Planters made from mixed materials are not only fun to look at, they're also a responsible way to repurpose items that would just end up in a landfill somewhere. Now you can add old, empty plastic five-gallon paint buckets to the list of garage clutter that can be easily made into a functional raised bed. Using spare two-by-fours and a few 5-gallon buckets, you can build a tiered wooden frame with removable bucket planters.
In addition to being inexpensive to construct, the great thing about this type of DIY garden bed is that it can be customized easily for whatever width, height, and planting capacity your space calls for. For example, it can be made only one level with three or four buckets if that's all you require, or you can make it taller at two or three levels high. First, measure the width and height of the location for the raised bed and plan out how large you want it to be. After planning the design for your project, you'll need to gather your two-by-fours, nails or screws, a drill, and five-gallon buckets that have been cleaned and dried.
Cut enough two-by-fours to the appropriate length of your whole planter frame. If you're constructing a one-level bed, you will only need two long sides, but a two-level bed requires four, and so on. Next, cut short pieces that will go between your long boards to create a grid. You'll need two for the ends of each level, as well as enough additional short boards to partition the buckets.
How to construct the paint bucket raised planter
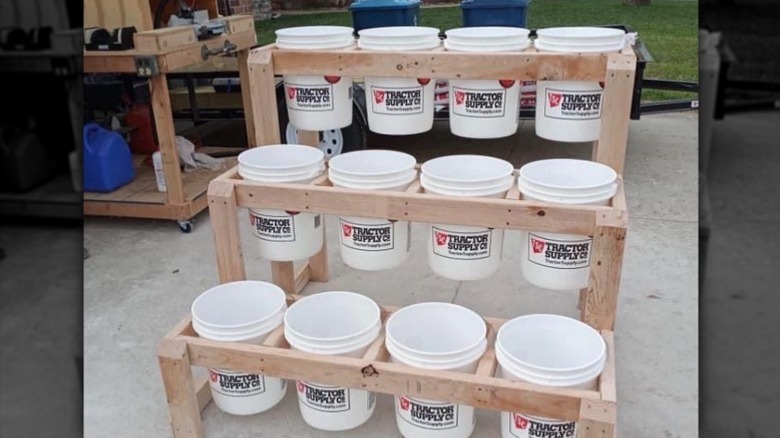
Start by screwing the outer boards into a nice rectangle. To ensure that the partitions will catch on the bucket rims, flip a bucket upside down inside this rectangle, squeeze two short boards on either side around it, then lift the rectangle and screw the short boards into the long boards. Repeat this process to make additional levels.
To finish the frame, cut four legs at the desired height for the tallest planting tier and screw onto the lower level's rectangular frame. Cut two more legs for the height of the next shortest tier and add them to one side, balancing it by attaching it to the legs of the tallest tier behind it. Do this for every level in your design. Finally, drop the buckets into the grid frame and step back to admire your handiwork.
As with any DIY, there are plenty of ways to customize this paint bucket garden planter. Another very important step is to add drainage holes in the bottom of each bucket before installing. One of the easiest ways to add drainage to your pots is to poke them with a hammer and nail or use a drill. Three to five holes should do the trick. For aesthetic value, consider painting or staining the two-by-fours or spray-painting the outside of the buckets. Painting and sealing will also help to prevent the wood from rotting so that the planter can be used for years to come. Finally, fill each bucket with some well-draining potting soil and go crazy planting. Many veggies are best when grown in a bucket!