

Ditch Towel Racks: This Clever DIY Is A More Creative Way To Add Bathroom Storage
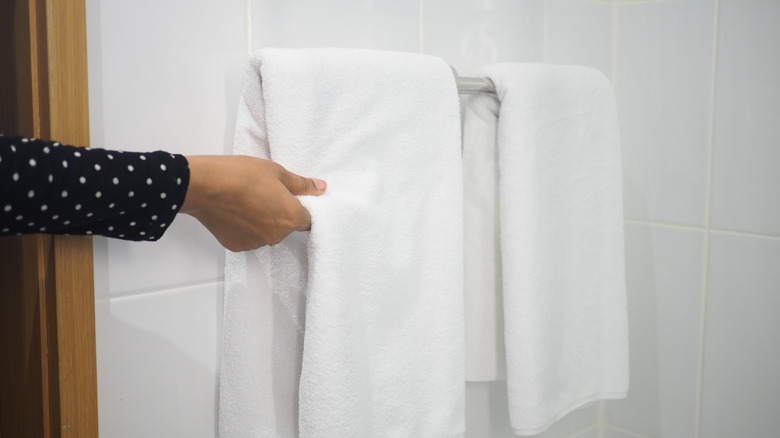
Towel racks are great for keeping your towels from getting musty and stale, but let's be honest: they don't add much to your bathroom's decor or style. That doesn't have to be the case, though. If you want to ditch your boring old towel holder or wall hooks in favor of something a little more unique, we've got an eye-catching alternative to consider: using golf club heads to hang your towels.
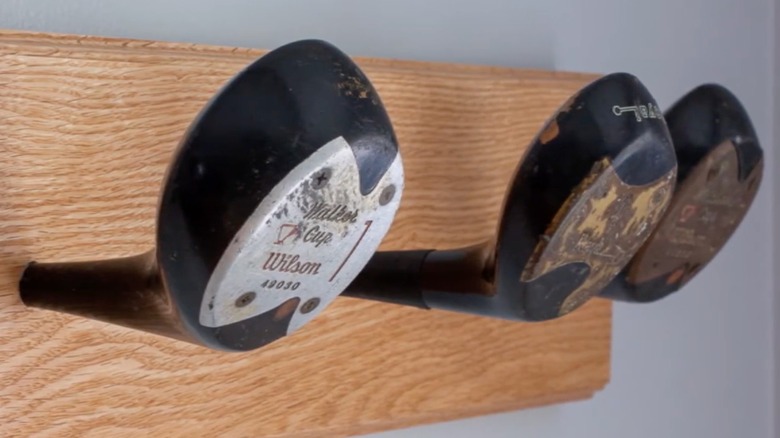
If you're a golfer (or you live with one), there's a decent chance you have some old clubs lying around your house. By attaching a few club heads to a piece of wood, you can make the perfect DIY towel rack — and give those retired clubs a new purpose. Aside from the clubs and a wooden board, you'll need a few other supplies for this job, including a heat gun or propane torch and gloves to separate the heads from the shafts. For the board, you'll want to pick up some sandpaper, wood stain, adhesive, and mounting hardware.
There are a few reasons we love this hack. For starters, it's a genius way to repurpose old sports equipment that's collecting dust in your basement or garage. If you've taken these clubs on golf trips or played with them at special courses, seeing them in your bathroom each day could bring back happy memories. Plus, it's a unique piece that you're unlikely to see in other people's homes. From a functional perspective, club heads are sturdier than standard towel hooks, so they're excellent for hanging heavy bathrobes or large bath sheets.
How to build your golf club head towel rack
The first step is to remove the club head from the shaft. There are a couple of ways to do this (mainly depending on the club's design), but in this example, we'll explain how to separate a club head that's attached with epoxy. For your safety, be sure to work in a well-ventilated area and wear welding or heavy-duty work gloves. Then use your heat gun or propane torch to heat the hosel. Rotate the tool around the club as you do this to apply heat evenly to all of its sides. After a few minutes, the epoxy should be loose enough for you to twist the head off (with a gloved hand). If you'd like, you can use a wire brush to clean the inside of the club head.
Now, let's prep the wooden board and assemble the towel rack. Start by sanding your chosen piece of wood to create a smooth, even surface. After cleaning off the dust, drill several evenly spaced holes for the club heads. When it's dry, flip the board over and attach your preferred mounting hardware. Then, fill in the holes with strong adhesive or epoxy, and slide the heads in, making sure they're snug and secure. Finally, mount the rack in the preferred spot on your bathroom wall.
To help the towel rack blend with your space, choose club heads with a similar finish, or stain the wooden backing to match your bathroom vanity or shelving. Sealing the wood with a clear polyurethane is also a smart finishing touch, since it helps protect the rack from the humidity and moisture that's common in bathrooms, keeping your DIY project looking good for years.