

Keep That Old Frying Pan — Use This Savvy DIY To Make It Into Beautiful Wall Decor
We may receive a commission on purchases made from links.
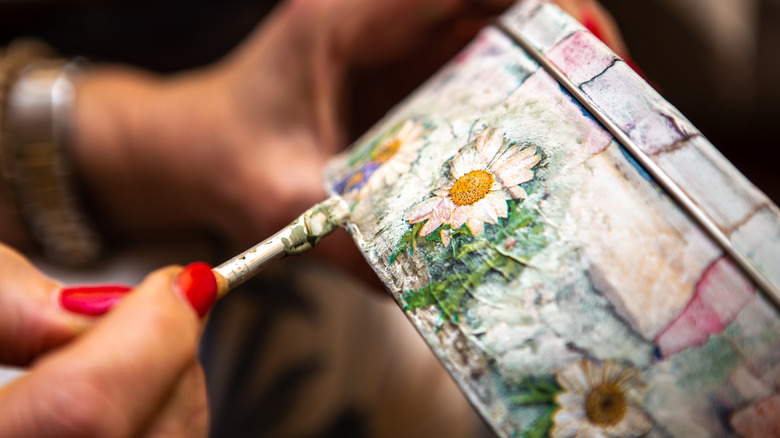
We love a good summer clean-out, but before you bring that box of donations to Goodwill, be sure you aren't giving away a DIY project waiting to happen. For example, some innovative crafters are transforming old frying pans into wall art with a decoupage facelift, and it's shockingly easy. It's a cheap and unique way to repurpose old pots and pans in your house, and it requires few materials.
If you're artistically inclined, you can freehand your desired design using acrylic or enamel paint, with the pan as your canvas. If you're not a natural-born Monet, never fear, Mod Podge is here! Mod Podge Gloss Sealer is an all-in-one glue, sealer, and finish used to create decoupage by attaching paper or fabric to your base. And, it works on a ton of surfaces including a metal frying pan. Once you get the hang of it, you'll be looking for more creative ways to use decoupage in your home.
No surprise here, the first thing you'll want to do is give your pan a good cleaning. Wash it well with soap and water, taking care to remove any old, stuck-on food. Then, wipe with vinegar or rubbing alcohol to get rid of excess grease. Before decoupaging, it's a good idea to give your pan a base coat with acrylic paint or chalk paint. This will provide contrast and give your Mod Podge something to adhere to. If your pan is rusty, sand it down first with sandpaper or steel wool. You may need to do multiple paint coats — one with a brush and another with a sponge applicator – to completely cover your pan.
Decoupage an old frying pan using Mod Podge
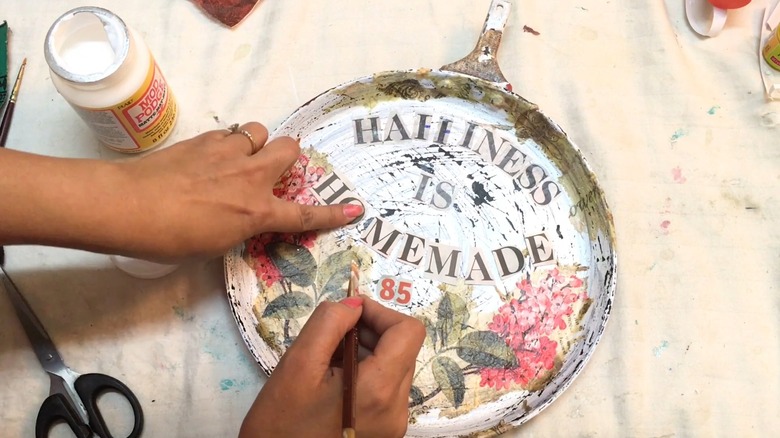
Once your base coat has dried completely and you're satisfied with the coverage, choose your fabric or paper of choice. You can use a beautiful printed napkin (separated to only use the top layer), online printouts, clippings from magazines, wrapping paper, or scraps of fabric. Fabric can be messier to work with, but some crafters prefer this medium for its rich color and resistance to tearing.
After you've picked your materials and mapped out your design, apply Mod Podge to the pan using a flat brush. Place your cutouts on the pan, then apply a second coat on top of your pattern, brushing carefully from the center to the edges to give it a smooth appearance and remove any air bubbles. If need be, cover the design with plastic wrap and use your fingers to smooth even further. Repeat these steps with each scrap of paper or fabric until you are satisfied with your design, and then apply another layer of Mod Podge all over to really seal your paper.
Finally, once your decoupage has cured completely after a few hours, use acrylic paint to add any accents to blend your design or add contrast around the rim. Get creative with it! When you're done, your pan already has a handle for easy hanging, and you've got an easy and innovative way to bring wall art into your kitchen.