

12 Drill Maintenance Dos And Don'ts For Longer-Lasting Tools
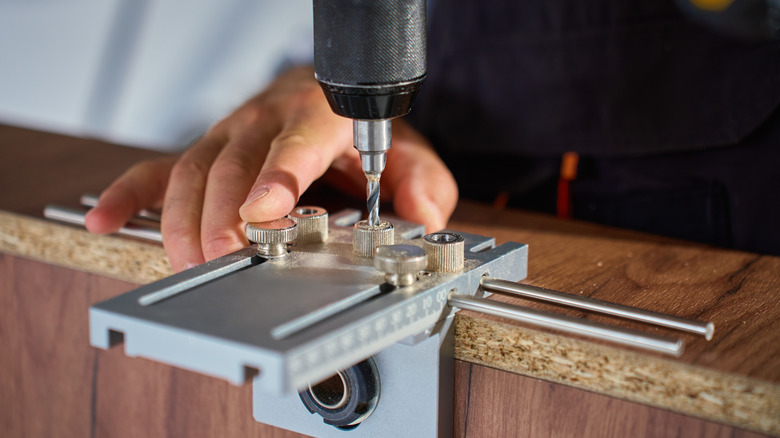
Drills tend to take a great deal of abuse, but don't get an equal measure of care and maintenance. These power tools get used hard and are just expected to keep up and carry on. Often people pull out their drills, do whatever task they need, and sling the drill back in the garage or their toolbox with no thought to the impact it is receiving or its overall condition. If you've invested in a decent drill, it doesn't make sense to treat it as a disposable item. You are much better off taking good care of it and any other power tools to extend their lives.
For drills, specifically, that involves simple tasks like cleaning out the chuck after every job, removing dust that's clogging the vents, and just storing it properly at moderate temperatures and in a dry, safe space. It's not difficult to extend the life of your power tools and each maintenance task realistically costs you just a minute or two. All a drill needs is to stay reasonably clean, cool, and dry. These basic maintenance tasks are the easiest ways to extend the life of your power tools and reduce how much repair or servicing they need.
Clean the chuck after every use
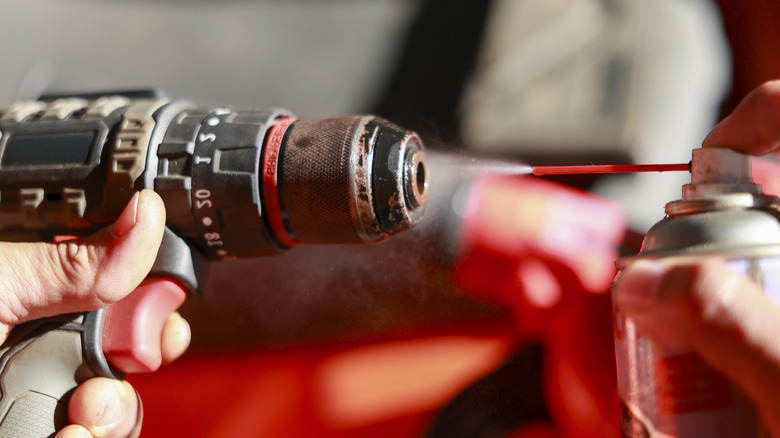
The chuck is probably the most vulnerable part of the drill, as it's right at the business end. It's a void and it picks up all of the debris that's naturally created during use. All the sawdust, drywall powder, grit, and tiny fragments of whatever else you've been drilling all tend to fly out of the hole, collect around the jaws, and work their way inside the chuck. Over time this can cause wear on the jaws. It can also cause slipping, which is where the drill bit moves around inside the chuck, even when it's fully tightened. This reduces performance, can prematurely wear or even break the drill bit, and can potentially be dangerous for the operator.
Cleaning the chuck is super easy, takes only a minute or so, and is essential to continued performance. All you need to do is, after every use, remove the battery or unplug the drill. Then you open the jaws and take a soft brush to remove any debris that's inside. Don't use cans of high-pressure air as you can end up driving the debris further inside. Although this tip seems too simple to make much of a difference, not doing it is one of the most common cordless drill mistakes, as it can age a tool badly. Given how important the chuck is to the performance of the drill, it's worth taking that extra minute to make sure it stays clean.
Store the batteries away from extremes and top them off for longer storage
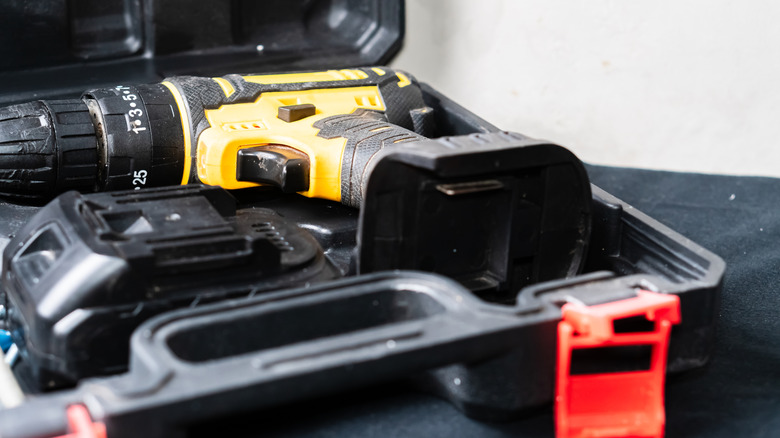
Lithium-ion batteries in a good condition are brilliantly convenient and perform very well. However, they do not like temperature extremes. They're also not keen on significant temperature swings or getting damp or wet. One of the most common storage mistakes that can damage your tool batteries is dumping them inside the shed or even an uninsulated garage, which can result in condensation and corrosion.
Batteries should be stored somewhere where the temperature is relatively stable. It's equally as important to keep the battery pack away from loose screws and other metal objects that could bridge the terminals, which would result in shorting the battery. You also can't just shove the drill battery pack to the bottom of your toolbox and hope for the best. Check your manufacturer's instructions for long-term storage as most, but not all, recommend that you top up and remove batteries from power tools before storage. Once you find somewhere dry with a relatively consistent temperature and out of direct sunlight, you can easily store and organize your batteries on a shelf or in a dedicated storage pack.
Use the right bits for the right material, and make sure they are sharp
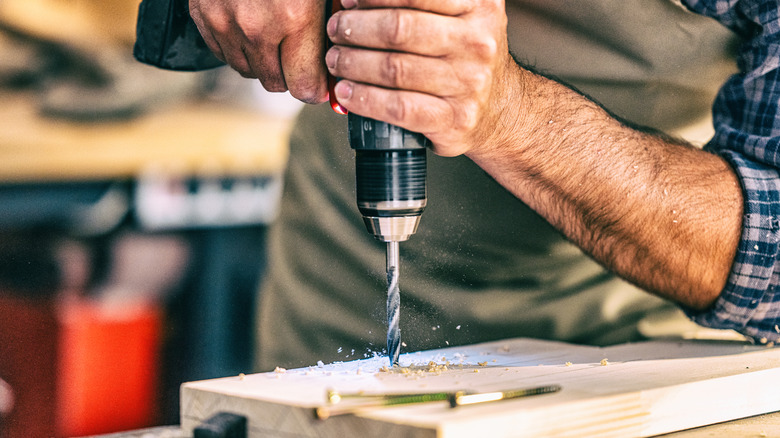
Using the right drill bit for the material you're trying to make a hole in is critical, as is only using sharp drill bits. If you're having to lean all of your weight on the drill to get it to push through, then stop. It's not usually that your drill lacks power, but rather that you're using the wrong bit. Additionally, the drill bit should be sharp, not old, worn, and blunted. Drill bits for specific materials are shaped differently. A masonry bit, brad-point wood bit, and metal twist bit all serve different purposes, so they all have different twists, shapes, and points. Using blunt or incorrect bits reduces the performance you get from the drill. You end up having to compensate with more pressure and it takes longer to drill, which means that the drill has to work harder for longer. You'll also end up getting rough edges and a scruffy hole because having to use more force means the drilling is less controlled and precise.
It's worth checking the tips and cutting edges of your bits before you start a job to see if they are blunt or worn, and if they are, either sharpen them or replace them. Remember that drill bits are essentially consumables, so they are not designed to work forever and you shouldn't just carry on until they snap. Extend the life of the drill itself by only using drill bits in good condition. If you're working a bigger job and you suddenly find that drilling is slower than it was when you started, it's probably time to stop and switch to a new sharp bit. You are much better off regularly replacing the bit than having to replace the drill itself.
Avoid over-tightening the chuck
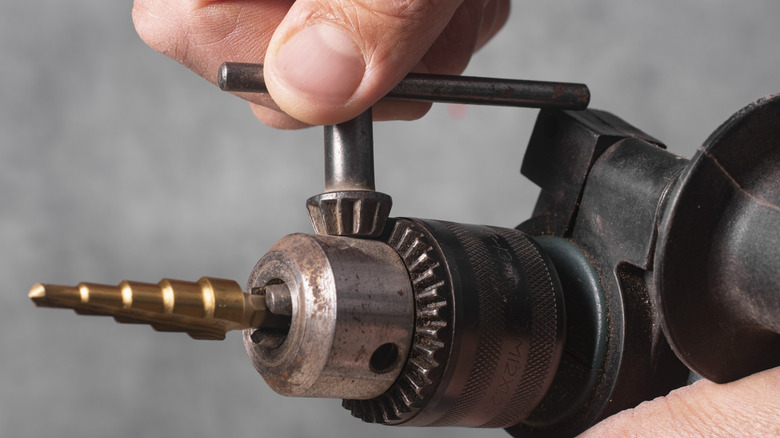
Many people inadvertently over-tighten their chucks. Often, if they've experienced slipping while using the drill, they'll try to make sure the chuck is extra tight. You want to close the jaws firmly around the bit, so that the bit doesn't slip around. Make sure you don't keep wrenching on the tightening mechanism even after the bit is already secure. If it's slipping because it's misaligned or there's dirt or damage on the jaws, then over-tightening won't help anyway.
Over-tightening in general can wear the jaws and the chuck mechanism if you do it every single time you load a new bit. If you've cleaned the chuck and you know there's no debris stuck in there, yet the bit keeps slipping anyway, remove it and check the bit shank and the chuck's jaws for any dirt, grease, or damage you may not have spotted earlier. Get into the habit of maintaining your chuck by giving it a quick clean after and before every job, and you should avoid the slipping that leads to over-tightening.
Let the motor rest during heavy jobs

If you keep your drill in reasonably good condition, it can cope with drilling a few pilot holes in something like pine or driving a handful of screws. For jobs that are longer and tougher, like getting your drill to drive a large hole saw or making it bore repeatedly through dense lumber or masonry, be a bit more careful. If you place your drill under a sustained heavy load, it generates an awful lot of heat very quickly. While that's fine for short periods, continuous overloading can cause permanent damage to the battery pack or to the tool itself.
If you notice the casing of your drill getting hot while you're working, stop. Pausing for five to 10 minutes to let the tool cool off is better than forcing it to continue, breaking it, and having to go to the store for a new one. Other indicators that your drill is not doing well and needs a rest include the performance dropping and, in some cases, the electronic protection system shutting down. If any of these things happen, stop. Move on to another task, go grab a drink, and take a break yourself while the drill cools down. You can also use this time to make sure the motor vents aren't blocked, as they can easily get clogged up with sawdust, drywall dust, and other debris from previous drilling jobs. If the vents do get clogged, then the motor is more likely to overheat, because the heat it's generating can't easily escape.
Don't leave the chuck key in a keyed chuck
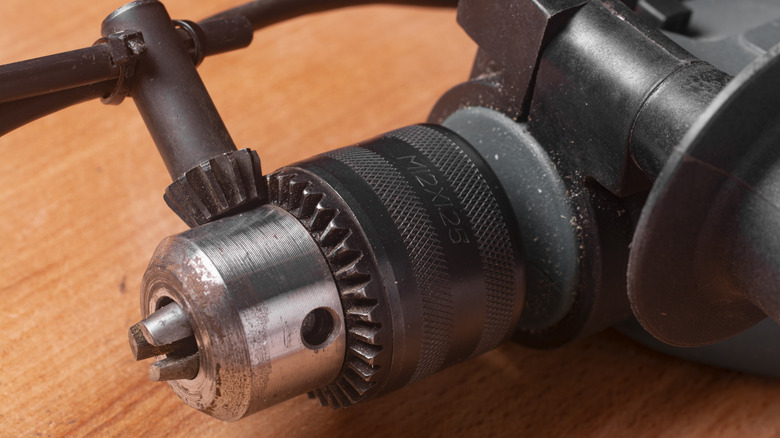
This one sounds a little silly, but it's actually a very easy mistake to make. If you're working with a key drill with a keyed chuck, you must make sure you remove the key before you operate the drill. In theory, this should be automatic. You put the key in to tighten the chuck, and as you take your hand away, you remove the key and put it back where it belongs. If you get distracted, it's very easy to leave the key sitting in the chuck and not notice.
If you operate the drill with the key still in the chuck, you turn the key into a projectile. It can fly out and hurt you or somebody else nearby. You can damage or break the key, as well as the chuck itself. Most keyed chuck drills have a spot on the drill body or in the drill case for the key. Get into the habit of putting it back where it belongs as soon as you're finished using it to keep you, everybody else, and the drill safe from harm.
Inspect the power cord before each use
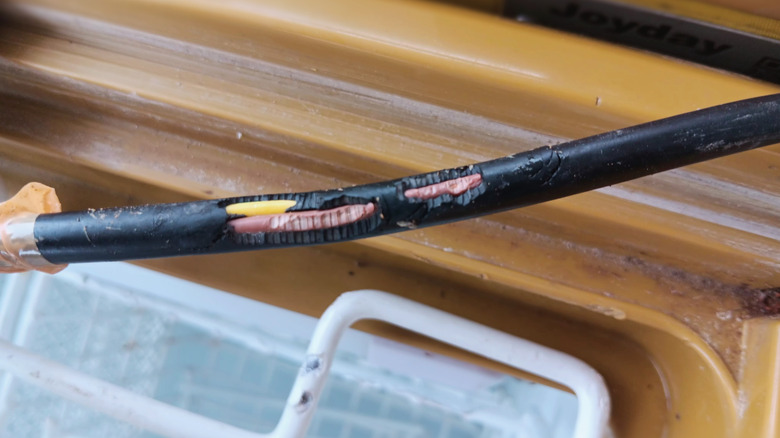
If you're using a corded drill or any other corded power tool, get into the habit of giving the power cord a once-over before you plug it in. Check for cracking, cuts, fraying, melted bits, crushed sections, loose connections, or exposed wires. Look at the whole cord, but pay particular attention to the portion around the plug and where the cord enters the tool. These two spots are the most prone to damage, because they get the most tugging and flexing.
Many people reach for a roll of electrical tape when they see any damage to power cord cables. If the damage is very minor and only to the surface of the outer coating or cord jacket, then electrical tape may be used to prevent further damage. However, if there's more significant damage to the outer layer, the wire is exposed, or the damage is over a long run of cable or clearly penetrates fully through the jacket, you can't fix this safely with electrical tape. It's also important to remember that electrical tape may hide the defect, but it doesn't truly fix it. It may mask a more serious problem that requires more than an electrical tape band-aid.
Additionally, if you see exposed conductors, deep cuts, scorch marks, or the cord gets hot while the drill is in use, it's not safe to use. For your own safety, you should stop using the drill immediately and either replace it or get the cord properly repaired. Remember that power tools get a lot of abuse. A daily check is important, because the cord may have been in good working order the last time you checked it, but since then, it may have been dropped, dragged, snagged, or inadvertently shut in a door, and may no longer be safe.
Clear dust from the motor vents
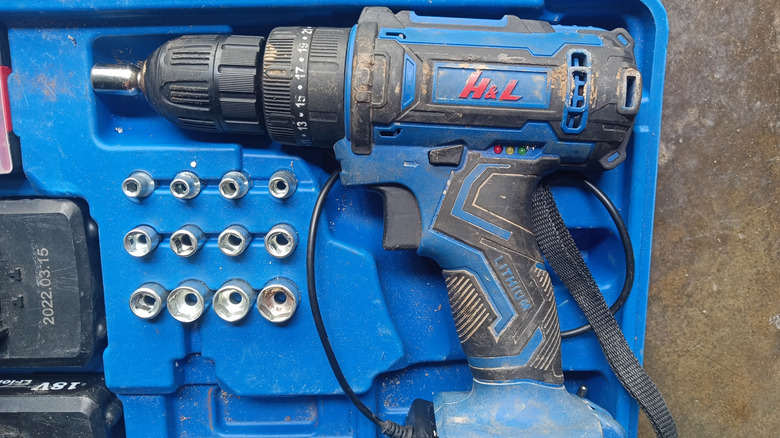
As I mentioned above, clearing dust from the motor vents is another essential maintenance task that can help extend the life of your drill or any other power tool. Drills have slots around the motor housing to allow airflow to and from the motor. These are essentially ventilation openings and must be kept clear. Fine dust from things like drywall or masonry drilling is particularly problematic, as it packs itself deep inside the vents. A long session using the drill or just a couple of shorter sessions drilling things like drywall, masonry, and cement boards can cause the motor vents to be very clogged.
After each drilling session, at the same time as you clean the chuck, get in the habit of cleaning the motor vents, too. Remove the battery or unplug the drill if it's a corded model. Grab a soft brush or a vacuum and clean off the openings. Don't be tempted to use pressurized air, as you can end up blasting debris deep inside and you won't be able to get it out. This can cause other problems and can quickly kill the motor. If you let the dust build up around the vents, it causes the motor to overheat rapidly. This reduces the lifespan of your tools, so it's definitely worth taking the time to safely clean your power tools.
Don't keep using a damaged battery
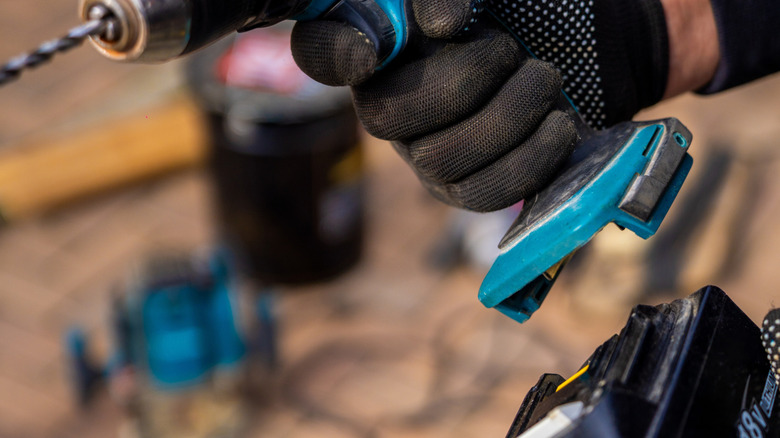
It sounds really obvious, but using a damaged battery is not sensible. The trick is knowing what to look for as not all signs of a damaged battery, like leaking, smoking, or sparking, are that obvious. If the battery pack looks a little swollen, has even a tiny hairline crack, or it gets hot when you're using it, you should stop because these are all signs of a damaged battery.
The majority of modern cordless power tools use lithium-ion batteries and these cells are a significant fire hazard when damaged. Not only should you stop using it right away, you should not put it back on the charger either. It's just not worth the risk. Don't attempt to dismantle, fix, or otherwise tinker with a damaged lithium-ion battery pack, as they can explode. Instead, follow the manufacturer's guidelines and your local rules for safe disposal or recycling of this type of battery. Whatever you do, don't puncture it, crush it, or throw it into the trash. These are all high-risk actions and can put you or somebody else at significant risk of harm. Yes, batteries are expensive, but continuing to use a damaged battery to eke out every last second of life from it is dangerous.
Lubricate moving parts periodically
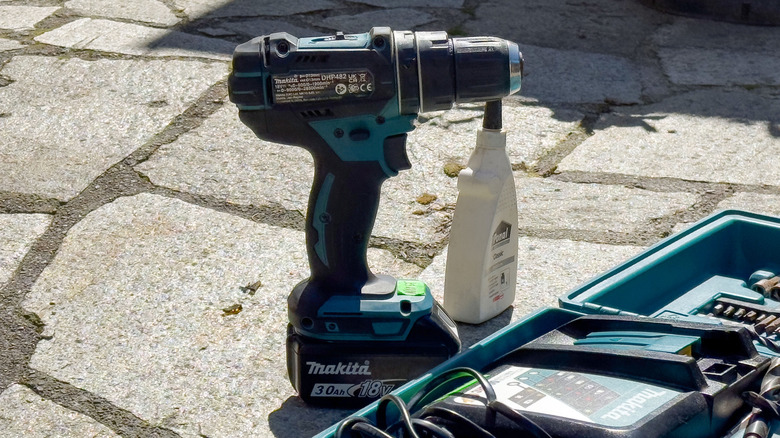
This drill maintenance tip depends entirely on the specific model of drill you've got. Some modern drills have pre-lubricated or sealed internal components that shouldn't be accessed or serviced by the owner, and so lubrication should not be attempted. However other models, both new and old, do require the periodic lubrication of some components. Before you go ahead and start oiling your drill, check the manufacturer's guidance for whether the drill needs lubricating at all and, if so, what parts require lubrication and how often.
If your drill does need lubricating, make sure you are using an appropriate product and don't overdo it. Generally speaking, lubrication only requires a very small amount of oil. You don't want to get oil or grease everywhere, as this can cause slipping and it can also impact the performance of the drill. Some professional-grade tools may require lubricating as part of a periodic professional service, rather than the user attempting to do it themselves.
Don't charge with a mismatched charger
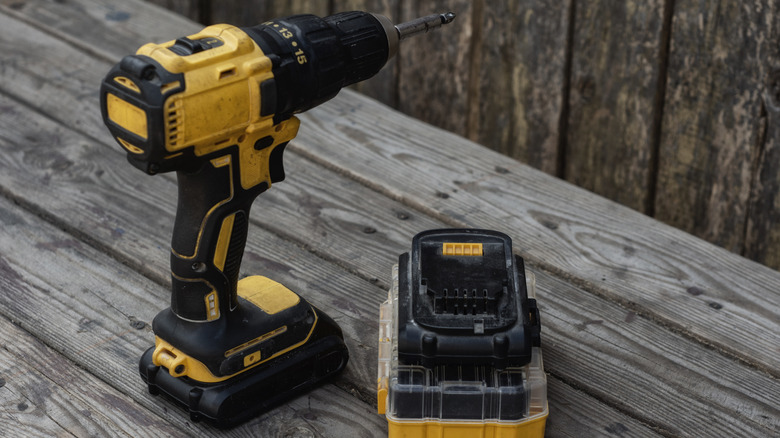
Just because your cordless drill's battery pack fits into the random one you found in a dusty or forgotten corner of the garage, doesn't automatically mean it's the right charger or an appropriate one. Don't go forcing your drill's battery pack into any old charger. The majority of modern cordless tool batteries and chargers are part of proprietary systems, and they all have specific elements like temperature controls, current, voltage regulators, and other safety functions and features that specifically work with their batteries. If you use an incompatible charger, even if it fits, you can bypass or interfere with those protections, and this can result in the battery pack overheating or even catching fire.
Some people even try to improvise an adapter to force their batteries to fit into another charger, and many people try to save money by buying questionable knock-off chargers. Both of these options are super-dangerous and really should be avoided. Save yourself the trouble and danger by using a charger that is specific to your battery platform, and your battery or tool's model. Remember that power tool batteries should only be charged with a charger that is specifically intended for them and that the charger needs to be in good condition. Much like the power tool itself, it shouldn't be corroded, damp, or left to experience temperature extremes. To reduce the risk of overheating, the charger should be unobstructed, so that it receives good airflow when in use.
Don't ignore grinding noises or heavy vibration

Most people are used to their drill making a lot of noise while they work. Even the top-rated cordless drills do this. It's the nature of the tool and the use you put it to. However, if your drill starts making a different noise or a different level of noise than you're used to, and the job you're doing doesn't account for it, then stop. The same goes for sudden excessive and heavy vibration, grinding, scraping, squealing, or clattering. Don't be tempted just to push through and try and finish the job.
If your drill is behaving in this way, then it may not have one more hole left in it. If it's grinding, squealing, or vibrating, there is a good chance there's a significant issue that you need to correct if you don't want to completely ruin the drill. Start with the simplest checks first, as it may be something as obvious as a build up of debris in the chuck, or you may need to replace the bit. However, there's also a chance that the problem is with an internal component that needs to be replaced by a professional. In general, having a tool serviced and corrected is easier than having to buy a new one just because you stubbornly pressed on when the drill was obviously struggling.