

Why Do Painters Wrap Tape Around New Rollers?
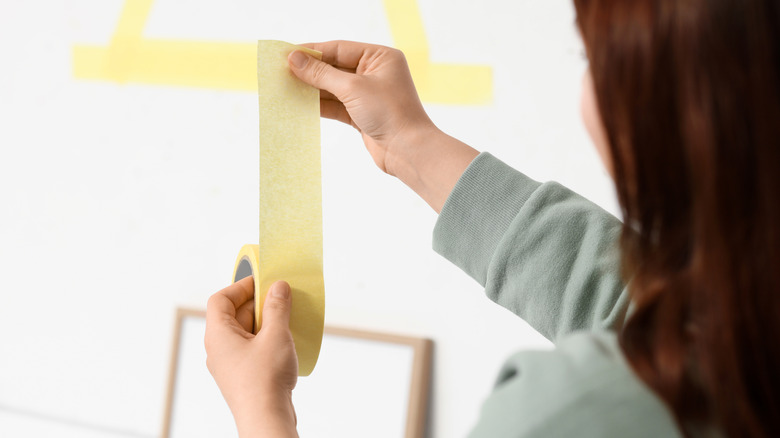
Getting ready to paint your home undoubtedly takes a lot of prep work. From choosing the right paint color and sheen for your walls to getting all of the rollers and brushes, it can easily feel like a process before you ever lay down a drop cloth. And even though you've edged and taken all the steps for a clean surface, you might still run into unexpected flaws. But every DIY painter's worst nightmare could happen on that very first wall — as the coat dries under the room's lighting, small specs and tiny threadlike bumps start popping up everywhere. Those annoying imperfections likely aren't dust from your ceiling fan — they are loose fibers shed directly from your brand-new roller. That's why professional painters wrap the whole roller head with some painter's tape. While this step might seem like an unnecessary chore or first step in your painting journey, it'll save you an uneven coat of paint and massive hassle later on.
When factory machines slice woven synthetic or wool fabric down to size for paint rollers during manufacturing, countless microscopic threads get left behind, clinging loosely to the core. As soon as you start rolling the clean roller into the paint tray, the loose fibers will come off and stick onto the wall. If you try to remove them using your fingernail or the tip of a utility knife, it'll leave a small crater in the paint that'll need extra sanding and repairing. You'll also have to apply another coat to cover up the tiny bit of fluff. Following a few clever paint hacks worth trying can help you sidestep common mistakes everyone makes when painting and can help leave your walls nice and smooth.
How to strip a paint roller with tape correctly
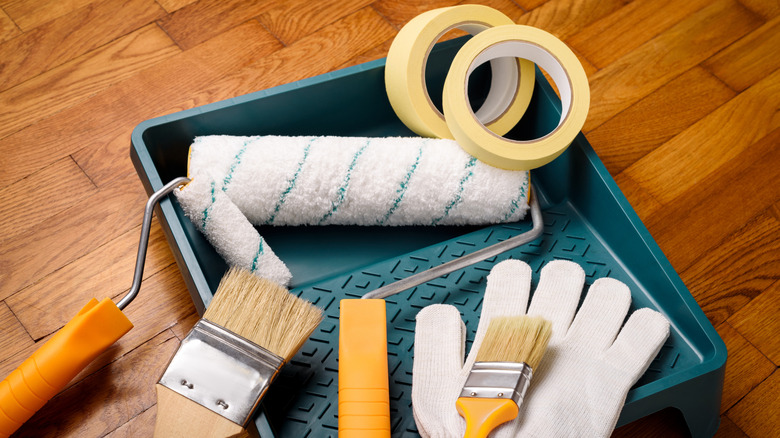
Even though the idea of taping a paint roller seems pretty intuitive, you need to make sure you do it correctly; otherwise, you'll have a ruined roller on your hands. You'll need to start with a new roller sleeve right out of the wrapper — this trick won't work on rollers that are wet or have been previously used. It's crucial to not just pick any tape you have for this project — steer clear of heavy-duty duct tape or standard tan masking tape, since their adhesives could be too aggressive. The strong glues in those tapes can yank out the securely bonded fibers that make up the roller itself, not to mention the sticky residue can transfer to the roller, which will completely ruin how your paint grabs the wall. You'll want to instead grab a roll of blue or green painter's tape — these give you just enough stickiness to grab the loose fibers that could cause problems, but not enough stickiness to ruin the roller.
Once you've picked the right tape, don't start slapping it on haphazardly or wrapping it too loosely. You'll want to anchor the end of your tape near the base of the roller and wind it tightly around it, overlapping the tape around itself in a spiral all the way to the other end. After you've fully covered it, give it a good squeeze so that the tape adhesive makes good contact with every inch. When you peel it back off in one smooth motion, you'll instantly see all the trapped dust and loose fibers stuck to the tape. If you have a roller that is microfiber or a roller that is made for textured walls, it wouldn't hurt to do a second pass with a fresh piece of tape to make sure you've gotten every loose fiber.