

Why Do Professional Painters Use A Paint Mixing Cup?
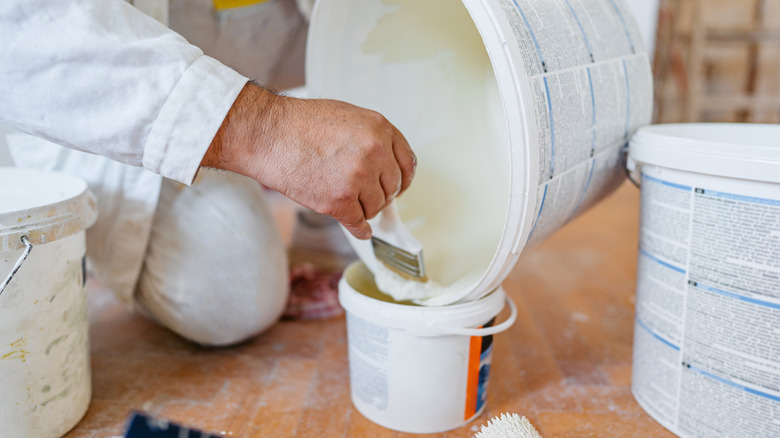
Pursuing a DIY paint project is a pretty big undertaking, whether you're just spraying kitchen cabinets or coating an entire room with a new color. While mixing your paint before every use is always important, some, like two-part epoxies or urethanes, require precise blending before painting for proper curing and durability, and eyeballing measurements in an old coffee can just won't work. Even a tiny splash of thinner or water can throw off the chemistry, leading to endless problems like drips or a tacky coating. That's why professional painters use a paint mixing cup. They rely on it to measure exact ratios of paint and additives (like thinners and hardeners), ensuring every batch turns out perfectly.
Using a paint mixing cup means that if you have to stop in the middle of painting a wall or cabinet doors, you can be sure the second batch will match the first. Without this, you may get slight differences in the finish once it dries. The cups are made from a solvent-proof material, so they will not melt or deform when using stronger paints, such as automotive paint or acrylic. So you won't risk damaging a normal household container, and you'll reduce mess because the paint won't leak.
How to read the numbers on a paint mixing cup
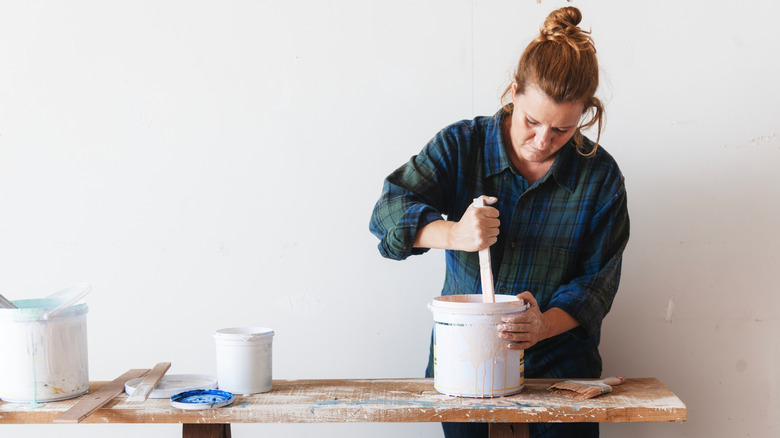
The numbers on these cups can seem very complicated, but it's easy once you realize you just need to look at one section. At the top of the grid, ratios like 2:1 and 3:1 are listed. These correspond to the ratios required to mix your paint or primer. For example, if you have a two-component cabinet paint that requires four parts paint to one part hardener, locate the column marked 4:1 and measure only against the measurements in this column, ignoring the other grids.
Inside that ratio table, you'll see vertical columns of numbers representing batch size. Pick your batch size and pour your base paint up to that number in the first column. Move one column to the right and pour your hardener or activator up to that same number. Many cups also have a final column showing percentages (10%, 20%, etc.) that tell you exactly how much to fill if you need to add a little reducer or water to get the right consistency. Once you get the hang of it, it will take no time at all.
Other ways a paint mixing cup saves time on DIY projects
Many mixing cups even come with snap-on lids, so if you need to step away for lunch or pause a standard latex paint project overnight, you can seal the cup tight instead of wrestling with plastic wrap. When the job is finally done, you don't have to waste 20 minutes scrubbing dried paint out of a kitchen measuring cup or an expensive metal pail — you can simply toss the cup once any leftover two-part coating hardens. Or if you were using water-based latex paint, rinse and wipe it clean for your next project. Using mixing cups, along with other tips for painting your home like a professional, will help you get a perfect coat that looks like a pro did the work.
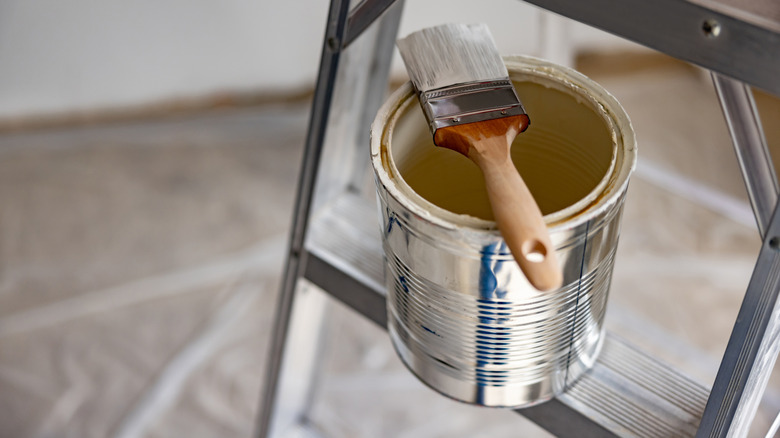
Even if you are just rolling latex paint onto a bedroom wall with a standard roller and brush, keeping a stack of mixing cups in your supply kit is one of those simple DIY painting tips that will make life much easier. They are lightweight and easy to grip, which makes them perfect for cutting in along ceiling lines and baseboards. You don't want to carry a sloshing gallon can up a stepladder because not only could it lead to an accidental fall, but the resulting mess could be absolutely devastating. And by dipping a brush right into a gallon can, you can introduce things like drywall dust and debris that can ruin the whole bucket. Pouring just a little into your mixing cup keeps your main paint supply clean for future touch-ups.