Use This IKEA Trick To DIY A Separate Bed Nook In A Studio Apartment
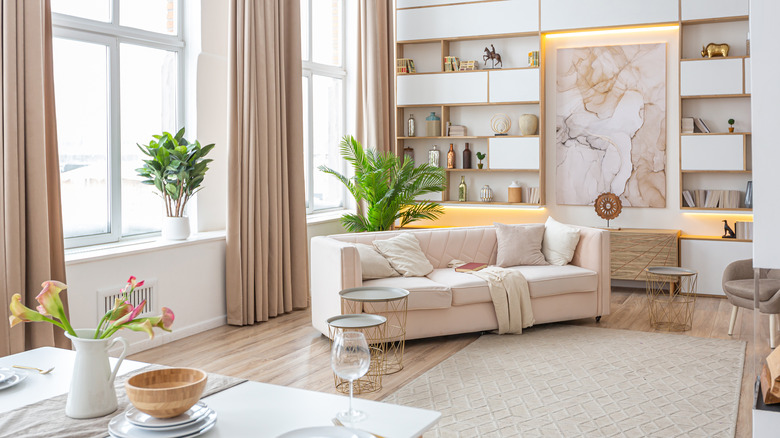
Studio apartments provide renters with a functional living space that's cost-effective and with all the necessities. However, a standard studio apartment can easily look and feel cramped and too tight of a fit for its purpose of easy living. The tradeoff typically comes along with a reduced price tag, but forget about hosting guests in most studio spaces!
In many studio apartments, people have made use of a variety of IKEA furniture to provide cheap and cheerful furnishings to maximize the comfort level of the space. Comfy Living reports that IKEA offers a range of about 9,500 unique products, and they span all facets of home living, from storage solutions and furniture to touch-up paints and cutlery. IKEA is a great source for home furnishing needs, and with some ingenuity, making alterations to your purchases can allow for an immense variety of personalization and unique fittings that perfectly complement your home's needs and space.
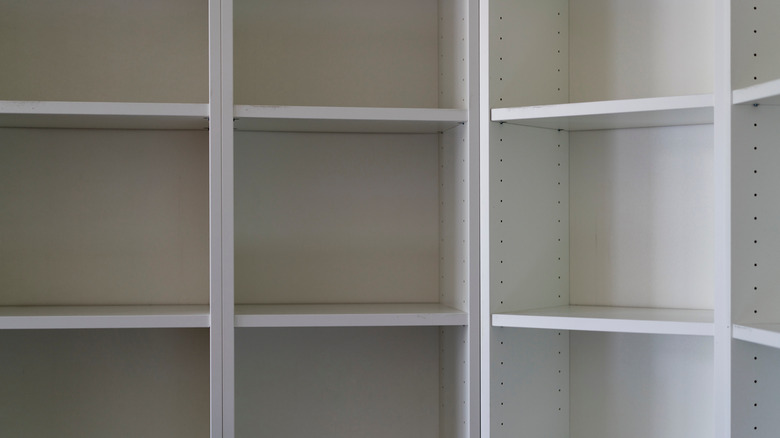
The BILLY bookshelf is a favorite among DIYers and traditional IKEA shoppers alike. In fact, a BILLY shelf is sold approximately every five seconds across the globe (via IKEA), making this the prototypical bookshelf or basic storage shelf in homes everywhere. IKEA Hackers report that a few BILLY bookcases from IKEA along with a couple of additional elements to tie the project together can effectively transform a studio apartment. These additions turn any cramped studio from a drab and congested box into a vibrant living space with segmented areas, giving the home new life.
1. Pay attention to the measurements
The first task in any home improvement is measurement taking. In a small studio space, you'll likely want a partition that takes up as little floor space as possible. This means measuring the length (or width) of your bed to ensure that the furniture you're bringing into the room spans only this amount of space and doesn't become bulky or cumbersome for the overall flow of the room.
IKEA Hackers reports using three of the BILLY bookshelves to complete the task (two 40-centimeter pieces and one 80-centimeter option). This configuration allows for a center shelf and two wings that measure half the width for a customized look and feel. Your space might need a different configuration or a longer bookshelf wall to complete the design though. Measuring and drawing out the prospective addition in the room will help you visualize the installation and make a great decision that supports the customization and partitioning needs of your home.
2. Source the IKEA pieces

Purchasing the pieces is the next step in the process. Building a partition wall alongside your bed or anywhere in your studio apartment is a fairly straightforward task. It requires a few bookshelves and some tertiary hardware to finish the construction. IKEA Hackers notes that the best way to combine the individual bookshelves into a single, cohesive unit is by adding a few small metal braces that can be attached to the backs of adjacent shelves. Placing these brackets at strategic positions along the edges of each seam will give you a single unit that holds its form and looks and feels as if it were designed this way.
It might be a good idea to visit an IKEA store a few times to see the furniture in person. Or, if you aren't in close proximity to a store, spend an extra afternoon browsing the online storefront to settle on the color and sizing choices for the project.
3. Gather the required tools and materials

IKEA furniture famously comes equipped with all the tools and fastening equipment needed to build the unit packed away in each discreet box. But your project is based on repurposing the existing furniture for a unique element in the home that serves your needs more directly. As such, you'll need to incorporate a few added tools and materials to the build in order to achieve the desired outcome.
IKEA Hackers notes using paint and additional screws alongside the metal braces that will be used to secure the individual shelves to one another. If you want to follow the guide's lead and incorporate a privacy screen along the resulting open edge, then you'll need a curtain wire, hooks, and the cloth to complete the addition. IKEA Hackers also note that a hammer and screwdriver added to the basic toolset that comes packaged in the IKEA boxes will be incredibly helpful in completing the project.
None of these added materials are very expensive, and the construction guide notes that the whole build cost less than $300 for the IKEA furniture and the privacy sheet.
4. Build the shelves
After you've planned out the build and sourced all the materials, the next step is simply the construction of each shelf that you'll be navigating into place as a partition. Building the shelves is straightforward and doesn't require any significant alterations to the existing footprint of the furniture pieces (via IKEA Hackers).
Building the shelves and then placing them face out, away from your bed will provide a wall of privacy within the sleeping space and a new storage addition for the living room space that exists on the other side of the partition. Once you've lined the pieces up where they'll remain, attaching the brackets to the back of the shelves is simple and completes the main thrust of the project.
Many IKEA pieces showcase bare edges along the short sides, and the particle edges will be exposed on the back side of the bookcases that face into your sleeping space. After finishing the build, you'll want to paint these slim edges to clean up the look.
5. Add décor to the bookcases
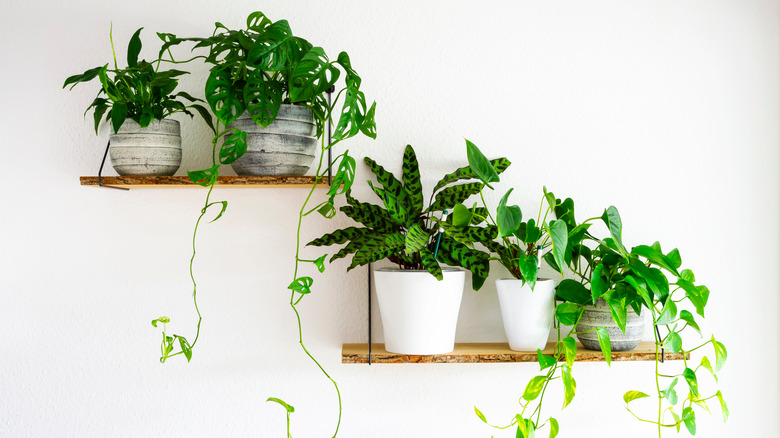
Once your bookshelf is built, and each piece has been moved into place and attached to the larger unit, it's time to decorate the bookshelf. Many people own at least a modest collection of books, and these make a great addition to any shelving unit. However, unless you are an avid reader and want to turn the obverse of your bed divider into a reading nook, some additional decorative elements should be incorporated here. IKEA Hackers notes that it's probably a good idea to place any heavier items you're thinking of adding to the bottom shelves to add natural stability to the structure.
Better Homes & Gardens suggests placing pictures, artwork, small mirrors, plants, and any other accents that capture your personal essence and spirit on these shelves, as well as on top of the shelving units themselves. You can finish off the decorative flair of this piece with anything that feels relevant and special to your life. But matching storage space along part of the bottom shelves with lighter decorations that complement the room might be the perfect way to incorporate this addition as an integral part of the natural layout of your studio.
6. Add a privacy curtain
Placing the privacy screen along the final open edge of the bed (with the walls meeting to form a corner on two sides and the new bookshelf sectioning off the third) is the perfect way to close off the bedding area from the rest of the home. Closing the curtain allows you to cook dinner, watch television, and relax in the living room space of the apartment without having to look at your bed the whole evening.
Likewise, by closing the curtain when it's time to call it a night, you can section off your bedroom from the sights and environment of the remainder of the living space (via IKEA Hackers). This is great for those who don't always clean up fully after preparing dinner. Having the leftover plates or pans sitting idly on the stovetop or next to the sink can put a dampener on the relaxing environment that your evening ritual depends on. Using a curtain wire and simple hooks to hang your curtain (or two-piece installation with an opening in the center) from the end of the bookcases to the wall is all that's left to complete the build and gain the maximum level of comfort and enjoyment out of the new installation.
7. Personalize the back of the bookcases
A final flourish to the project could be the addition of posters, hanging picture frames, or other decorative additions to the flat back side that faces inward against your sleeping space. Making the studio feel more homely is all about bringing in personalizations and additions that give the space more life and personality. This blank canvas offers exactly that. With a few well-placed decorations or framed pictures on this end of the unit, you can add a partition that adds to the home in a number of fantastic and high-value ways (via IKEA Hackers).
Using removable hooks is a must here. Often, the back panels on bookshelves (from IKEA and elsewhere) make use of thin boards to frame the extent of the shelves for the viewer. This means they might not support screws at all, and if so, you'll be forced to use very small fasteners that might not be appropriate for the task. High-strength, removable hooks are a great option for this application, and you likely already have a few hanging around if you're a renter (via ForRent).