Chic Ways To Display Children's Artwork
Whether kiddos create their masterpieces at home, at school, or a mix of the two — there's one thing for sure: houses with kids tend to have a large accumulation of their artwork. As a parent, you are likely proud of what they created but also left wondering, "what should I do with all this art?!" Have no fear because there are actually a number of ways to display your kid's art around your home in a way that's stylish. Say goodbye to hanging their finger paintings on your fridge and hello to innovative and simple ways to show off their skills around your humble abode.
Plus, this does more than add flair to your home. Abrakadoodle discusses how displaying the artwork of kids actually is powerful. That's because it encourages conversation, demonstrates the importance of creative thinking, and can even improve your child's self-esteem. Art is a wonderful way for them to express themselves, so show them you're proud of it and help them build their confidence by displaying their pieces around your home!
Frame their art
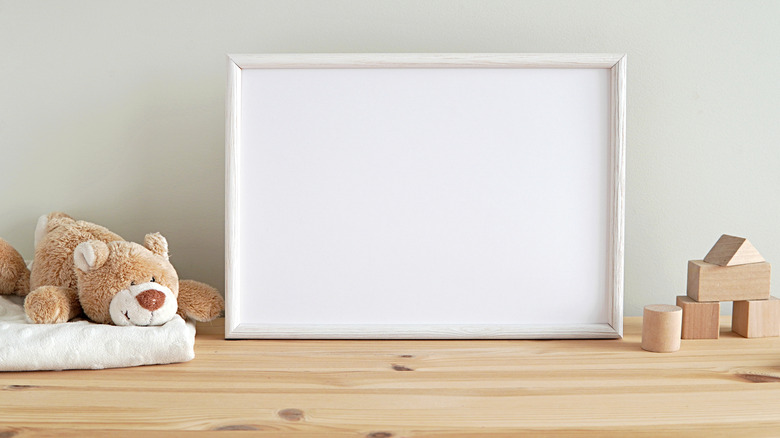
A simple way you can display your kiddo's art around your house is by framing it and hanging it on your walls, just as you would regular art. Adding a frame to a picture they drew or a finger painting is a simple way to make their work a bit more fancy, and thus allowing you to display it in virtually any area of your home. From the bathroom to above your mantel, a nicely framed work of kid art is bound to look great!
While buying frames can definitely get pricey, ChatterSource shares a bunch of stores where you can snag them on the cheap. Walmart, Wayfair, Amazon, Michaels, and H&M are mainstream stores they cite as having a great offering of frames, regardless of what type you're looking for.
If you want something custom framed, Framebridge is a great option. Especially for kid art — which may be a unique shape or size — you can leave it to their professional team to take care in framing the piece, creating an absolute heirloom item you'll love having in your home.
Use bulletin boards
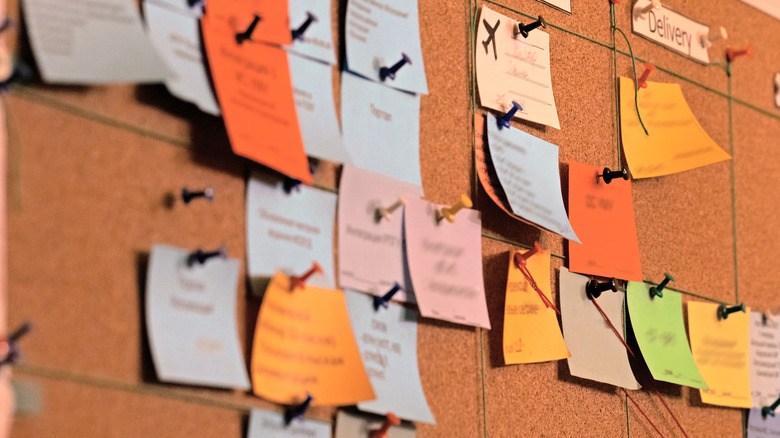
Especially because there's likely a constant flow of kid artwork coming into your home, you may want to display it in a way that makes it easy to keep tacking on. A bulletin board allows you to — literally — tack more and more artwork onto the display. This creates a big collage-like area that is brought to life by the art your kids produce. This would be great someplace like the kitchen, foyer, or even in a playroom.
Making Lemonade has a wonderful tutorial on how you can make your own large bulletin board for your home. Using a large foam insulation board and fabric, this DIY project makes it easy to create a bulletin board that perfectly matches the style of your home. All that you have to do to finish this project is stretch the fabric over the board, then affix it to the back. You can do this with tacks or even packing tape. From there, hang it on the wall by screwing it in with a drill. Just like that, you'll have a large-scale bulletin board that's perfect for displaying your kid's art.
Create and hang garland
A creative and stylish way to display kids' artwork is to create a garland. Another clever aspect of this display method is that it's super easy to change out what art is hanging on it, which is perfect for busy little hands that are constantly creating.
Design Improvised teaches readers how to make their own garland – and a fun one at that! It's really up to you how you want to style the garland itself. In the tutorial, letters are used to spell words and phrases, and bright colors are the focus. But, you can really make this garland your own to ensure it matches your home well.
For this project, all you need is string or twine, clothespins, and any adornments you want to add to the garland. The idea is that you hang the string and then affix the clothespins along it to clip the art pieces to. Then, you can add, remove, and swap out art pieces frequently yet still prominently display them on any wall of your home.
Add it to a gallery wall
Gallery walls have been a home trend for a while now, and they're a great way to draw the eye to a specific wall of a room. They're also a wonderful way to display an eclectic or cohesive compilation of artwork, photos, or even decoration objects. So, why not add some kid artwork to the mix? This is a fun way to personalize your gallery wall further and display the art that your kiddo worked so hard on.
Do It Yourself shares some ideas on styling a gallery wall to perfection in your home. The article highlights the fact that you can use that unique mix of items to make the gallery wall that much more intriguing. So, besides just adding framed art or photographs, also add more 3D items to the mix, like little shelves with items on them. This could be a perfect place for pottery items or standing art items that your kids make that are otherwise hard to display. It adds depth to the gallery wall, too, which makes it a win-win!
Put it all in a photo book

Nothing says chic like a curated coffee table book collection, right? Well — you can actually create your own coffee table book that shows off all of the art your kids have created. This cool idea requires you to digitize their artwork, which is actually easier than you think.
Merrick's Art provides a run down of how you can create your own kids' art book. To create the book, the site explains that you should take photos of your kid's art. This is as easy as snapping a photo on your phone! From there, they suggest using the site Mixbook to create a photo book, which allows you to easily upload photos, design the book, and have it professionally printed.
Not only does this do a great job compiling your kid's best work into one spot, but it also allows you to cut down on paper and potentially clutter in your home. Finally, it's a great item to pass down to your child once they're older — they'll love looking at all the art they made as a kid!
Put command hooks to good use
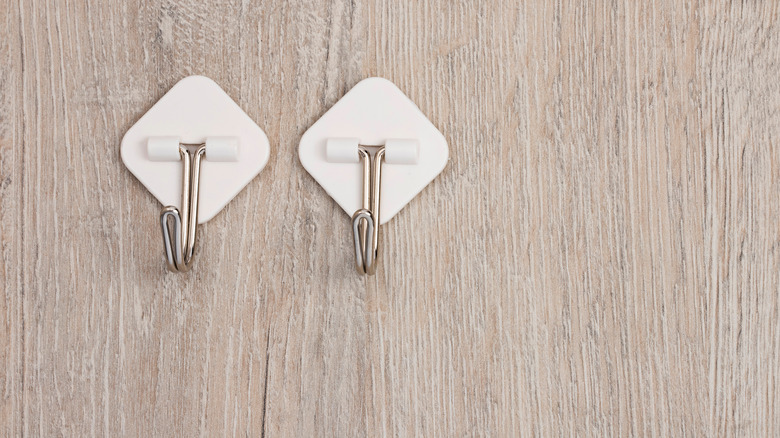
Command hooks are a super useful item around your home, but you may not have thought of them as a way to help display kid artwork. But believe it or not, they can offer a stylish way to get those masterpieces up on your walls for all to see! A Cultivated Nest shares a way to use them in order to create a vertical display of your child's art, which will undoubtedly become a focal point in your home.
This setup is easy. Hang command hooks that can hold a tension rod laying across them. It's best to put one command hook at each end of the rod so that it can easily rest on the hooks — just make sure they can withstand the weight. Command hooks come in so many colors, with some resembling metal, making them a stylish choice.
Then, use metal hooks that hang on the tension rod, and that can clip artwork onto them. You can even add several rows of this display on top of each other for a layered look that can hold even more art. This is another display method that makes it simple to swap out pieces, which is another benefit of creating it.
Make a clipboard wall

A wall of clipboards may seem like a weird way to decorate your home, but it is actually a really cool way to make a statement. White House Black Shutters exemplifies this and shares how to create your own clipboard wall. The idea is that instead of a traditional gallery wall, clipboards will be hung. These functional boards make it easy to swap out what they hold, which means that you can add and change out kid art whenever the desire strikes.
It's also very easy to hang clipboards, as they have a built-in hole on the clamp. All you'll have to do is map out what the wall will look like by measuring and marking where the boards will go. Then, use a nail to hang each of them. After that, all that's left to do is to fill the boards with art! This is a great way to change out art seasonally, showing off your kiddo's art for all the holidays of the year.
Use empty, upcycled frames
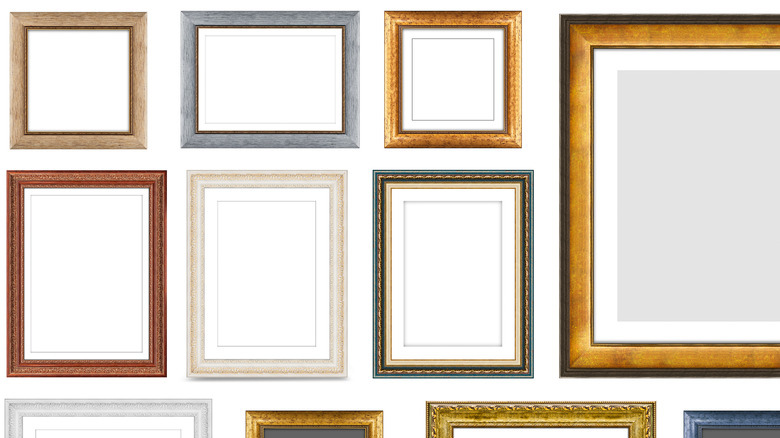
If you have any old picture frames laying around that could use a refresh, then take this as your sign to use them to display your kid's art! If you don't have any — don't fret. These can easily be found for a score at local thrift shops, on Facebook Marketplace, or at garage sales. Once you pick these up, it's really up to you and your imagination on how you want to use them!
Upcycle That has a lot of fun ideas for making the most of these old frames. Start by taking the glass out of the frame and giving it a refresh with a coat of paint. The brighter and bolder the hue, the better, but you can really do whatever shade matches the aesthetic of your home! You can even let your child help you paint the frame, then affix a blank page inside of it, allowing them to whip up a creation that will go straight onto the wall once it's done. This is a fun and sustainable idea to eliminate waste and breathe new life into old frames that may be going unused.
Make your own magnetic message board
Magnetic message boards are another easy and effective way of hanging kid art. It gets it off your fridge and gives you a dedicated space to share their creations. Once again, this is an easy way to rotate out the art that's shared, given it's as simple as swapping out one piece of art for the next.
Our Repurposed Home shares a tutorial that denotes how you can create your own magnetic message board that's actually a combination of a whiteboard, chalkboard, magnetic board, and bulletin board all in one. To make yours, you can choose which sections you want to add – and this makes it an even better addition to your home, as it serves as an all-in-one message and display center. All you need to make yours is the different individual sections and some wood to frame it all together. The frame gives it a cohesive, elevated look that makes it worthy of even a prime location in your home.
Add art to a kid's bathroom
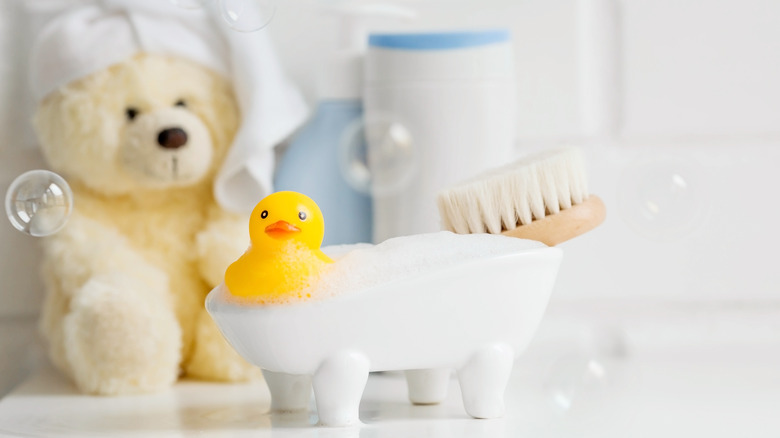
Your child's bathroom is the perfect place to display their best artwork. Plus, who says that a kids' bathroom has to have a juvenile look to it? There are plenty of ways to spruce it up and make it appealing to kids while also chic and stylish, as First Cry Parenting discusses in an article. The article denotes that you'll want to make their bathroom a colorful and creative space. A great way to do that is to include art on the walls. Take some of the art they have created, frame it, and place it in a small gallery wall in the space, which you can mix with other pieces of art that you find that matches the theme.
If there's not quite enough room for a full-on gallery wall, you can opt to just put one simple framed piece above the toilet as a bit of a statement piece. This is a fun way to incorporate their art into a space that is theirs.
Revamp their art
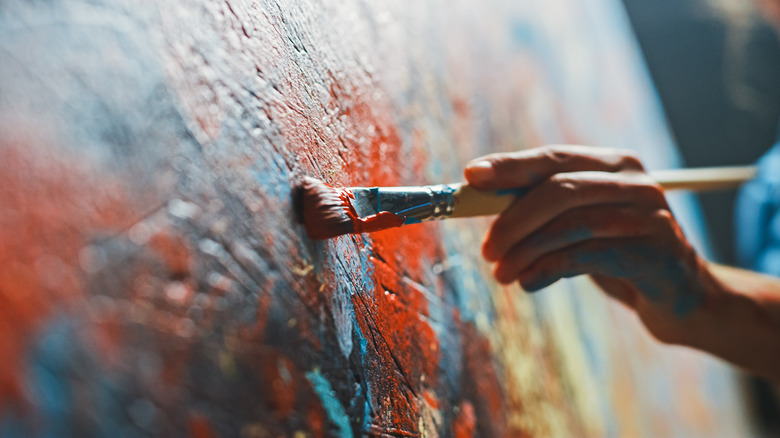
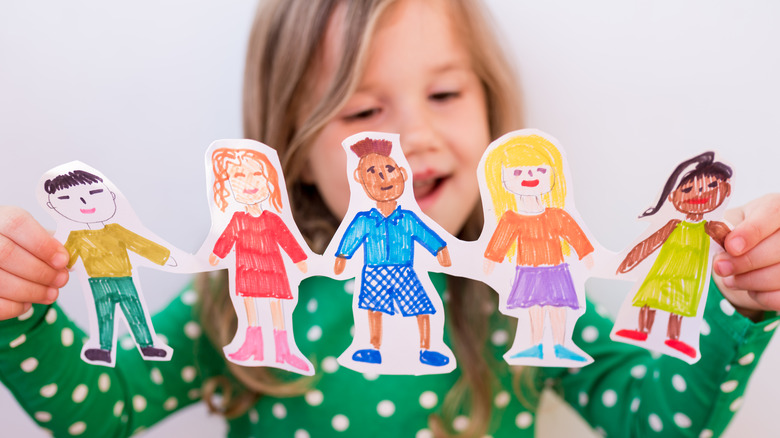
If you want to get in on the art-making action yourself, Sarah Jane shares a creative and beautiful idea for taking regular finger paintings to a gorgeous piece of frame-worthy art for your home.
Here, she takes colorful finger paintings her child created on a normal piece of paper and uses them to fit into the outline of shapes. These shapes are animals — a sparrow, elephant, and seal, to be exact — but you could really use whatever shape or theme you like. She simply traced the shapes of the animals and cut them out of a piece of posterboard. Then, she placed the poster board over the finger painting, allowing the color to come through in that exact shape. After that, she framed the animal pictures and added some text to them to make the pieces even more appealing.
This is such a fun project to do with your kiddos and can be done at an inexpensive price point if you bargain hunt for frames. Then, you'll have a special framed piece of art or even a gallery wall that you created and hung together!
Hang art with washi tape
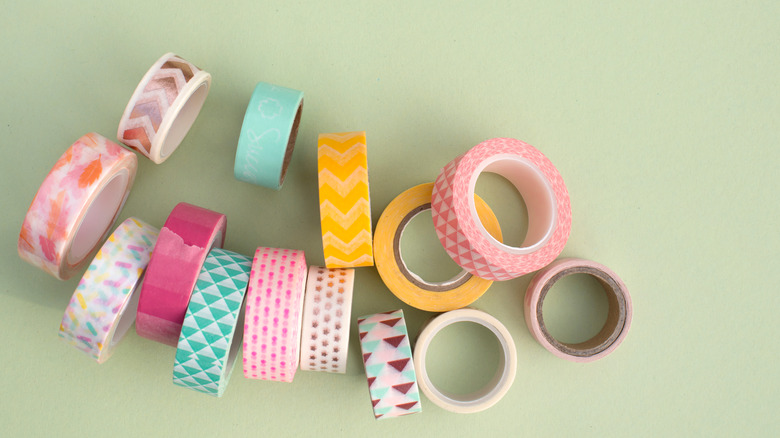
Washi tape is very versatile, and one of the ways you can stylishly and creatively use it in your home is by hanging your kid's art with it. Food52 raves about how washi tape is an inexpensive and simple way to take a blank wall in your home from boring to stylish. The site explains that this is an inexpensive way to faux frame items in your home. Best of all? You can peel the tape off without doing damage to your paint or walls.
Plus, this is super fun for kids because washi tape comes in an endless array of colors and patterns. Take what would be a boring and potentially expensive task of framing kids' art and hanging it into a delightful, do-it-together experience by letting your kiddo pick out their favorite tape and assist you in framing their art with it. Use scissors to trim any excess tape or roughly torn edges when it's on the wall, and just like that, you have an interesting way of adding your kids' creations to your space for all to see.
Use a photo ledge
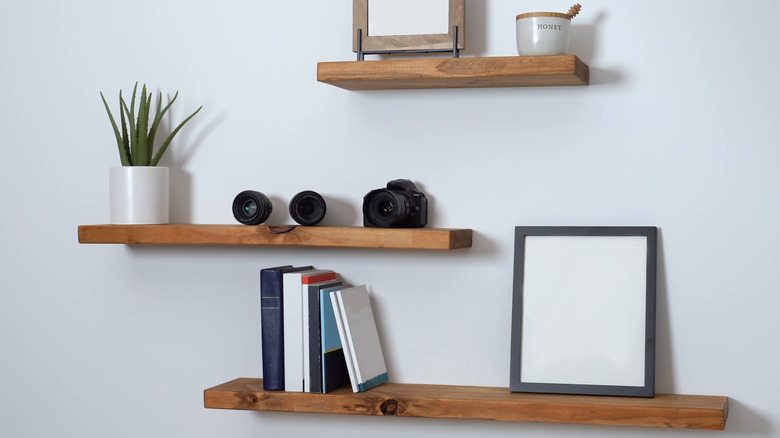
If you don't want to frame artwork or have to deal with individually hanging it on your walls, then a photo ledge could be a better option. If you're putting this in your child's room, you could easily mix a display of their framed or unframed artwork with some of their favorite children's books. Or, if you're placing the ledge somewhere else in your home, you could mix it with kid art and regular art.
Within the Grove denotes how you can hang a photo ledge without power tools, making it an easy DIY project. The project, in fact, is projected to take 30 minutes or less. In this article, floating shelves that had all the hanging hardware installed on the back were used, making it a breeze to add to any blank wall. It's also possible to layer these shelves on top of each other in multiple rows, which really elevates the look.
Decoupage art onto household items
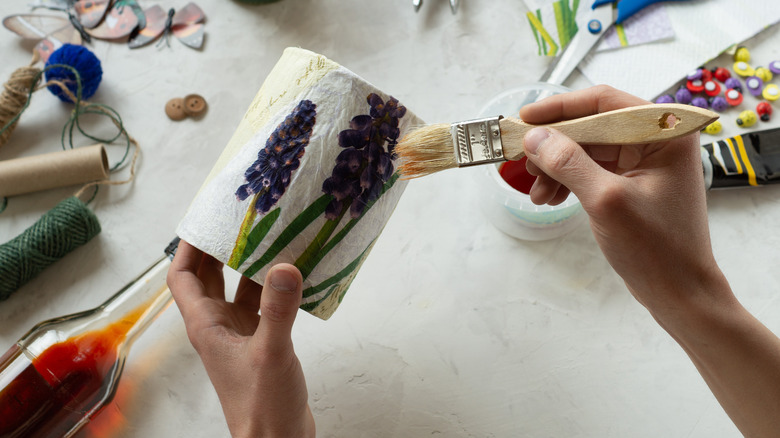
Decoupage is a fun arts and crafts project that you can actually use to display other arts and crafts projects. Kind of mind-blowing, right? But it's an easy, affordable way to show your kids beautiful work with a hint of style and a lot of function — and there's not much better than that! To do so, consider decoupaging some of their art onto a useful household item that can also be used as decor. A ceramic tile that can be used as a trivet is a good example.
Mod Podge Rocks shares how easy it is to decoupage on run-of-the-mill items. As the article states, almost any surface is suitable for this project, which makes it very versatile and open to your creativity. Fabric, tissue paper, or regular paper are all great candidates for materials to mod podge onto your item of choice. You can even layer items on top of each other. With that being said, take a fun picture your kiddo drew or a paper craft they made in school and mod podge it right onto your item of choice.