5 Genius Ways To Turn Your Old Calendars Into Home Decor
One item that you're almost guaranteed to find in any home or office is a calendar. Whether it's a planner, desk calendar, whiteboard, or decorative hanging calendar, almost everyone has some way of tracking dates. More than just being practical, calendars are often decorative, too, with hanging calendars usually displaying a theme of artwork or photographs for each month.
The hanging calendar can be dated back to 1869, according to The TV Professor. Even these early calendars had decorative purposes, made as lithographs printed onto a very thin metal as opposed to our modern paper calendars. When the year ends and it's time to get a new calendar, it can be disheartening to throw out the old one, especially if it had particularly beautiful or meaningful artwork and photography. Just because the year ended doesn't mean your calendar has to follow suit — there are plenty of creative ways to reuse and display old calendars.
1. Frame them
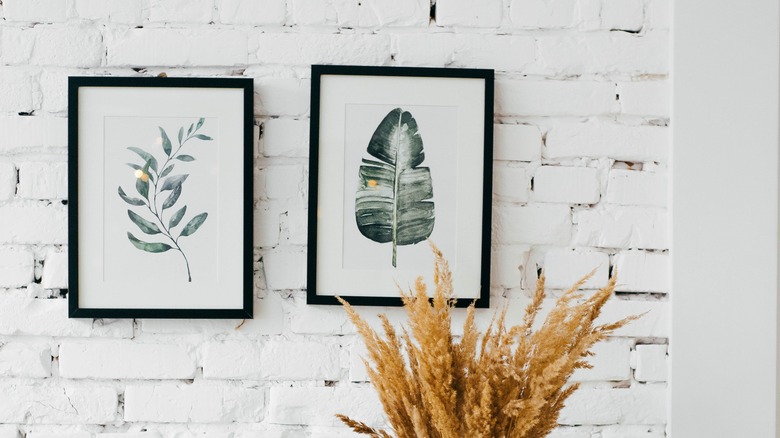
One of the easiest and simplest methods for displaying an old calendar is to remove the print and frame it, hanging it on your walls as wall art. This is an incredibly low-cost way to fill wall space while also being zero waste. The trickiest part of this whole method is making sure you cut the artwork out correctly, but even that is incredibly easy.
To begin, Red Leaf Style says you need to lay the calendar out flat and remove the staples, which will pull all the pages apart and make the removal a lot easier. You can use a staple remover, scissors, or anything else to pull them out, just make sure you don't rip the paper in the process. Next, grab scissors, an Exacto knife, or a straight-edge cutting tool, and cut the calendar at the fold. You can either look for a frame with the calendar's measurements or cut the artwork to the size of a frame you already have on hand. Then, simply slide the artwork into the frame and hang it up.
2. Turn them into bookmarks
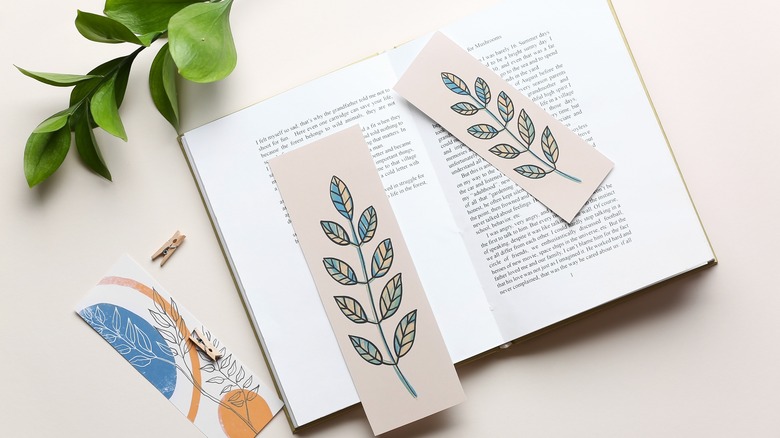
This next method is also incredibly easy and is perfect for bookworms — turn your old calendars into bookmarks. This method can be as easy or as complicated as you want it to be. If you're wanting a basic bookmark, just cut out a strip from your calendar and be done. There are ways to add more structure and flare to your bookmark, though.
To begin, you'll need to gather some supplies — scissors, cardboard or poster board, glue or Mod Podge, a paintbrush, hole puncher, and ribbon or string (via Red Leaf Style). You can also grab an existing bookmark for a size reference, but it's not necessary. Begin by cutting out a piece of cardboard the size you want your bookmark, followed by the calendar art. Use the glue to adhere the print to the cardboard, and then add another layer on top. You can also laminate it at this point if you want to. Next, grab your hole punch and cut out a hole at the top center, and loop your ribbon or string through it to create a tassel.
3. Create coasters
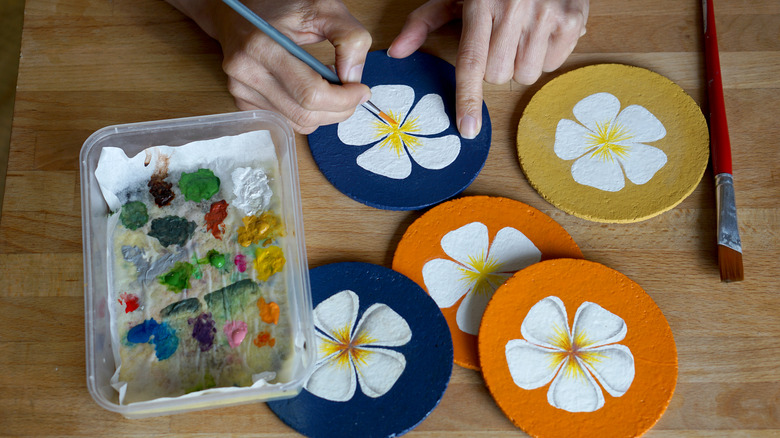
If you want something a bit more practical but nonetheless decorative, you can also turn your old calendars into coasters. There is no one way to do this, but generally, you'll need cheap coasters (usually found at Dollar General or similar stores), clear glue or Mod Podge, a brush, and scissors (via Mod Podge Rocks). You can also repurpose coasters you already have with this DIY technique.
Begin by cutting your calendar art to the size of your coasters, if not a little bigger. Then, clean off the coaster. If you're using an old one, consider sanding it down a little. Next, add a layer of Mod Podge, and then your calendar art. Use something like a credit card to smooth it down and get out air bubbles. Add another layer of Mod Podge, and if you want extra protection, a waterproof sealant. Trim the excess or glue it down, and you're done.
4. Collage
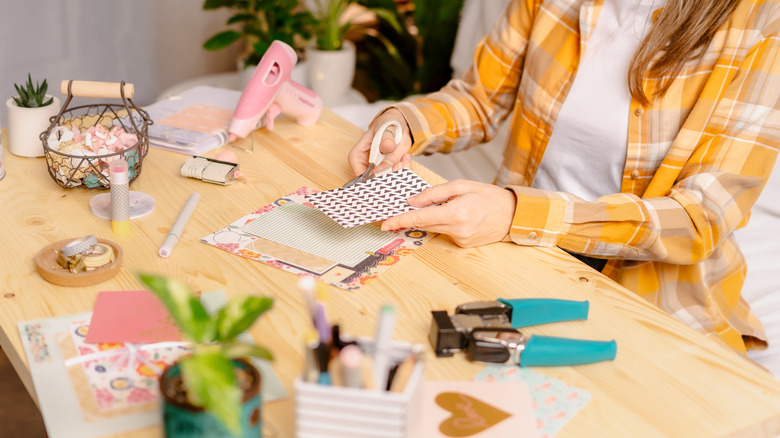
If you've been wanting to get into paper crafts, there's no better way to start than with old calendars. You can even use the part of your calendar that isn't art for this DIY. There isn't any one right way to use calendar art in paper crafts, but some ideas include creating a custom journal or notebook cover or using it for art journaling, scrapbooking, creating collages, and more.
All you'll need to create fun and customizable paper collages and art is your calendar art, scissors, glue, and something to glue it onto, per 100 Directions. The glue you use depends entirely on what you're making — Mod Podge or clear liquid/stick glue is ideal for the pages inside journals or scrapbooks, whereas hot glue is better for covers or heavier-duty materials. Simply glue the calendar art and other scraps as you see fit, either creating themed collages, reflecting on some aspect of the art, etc. Include other pieces of paper and textiles like fabric or ribbon scraps for some visual interest.
5. Make magnets
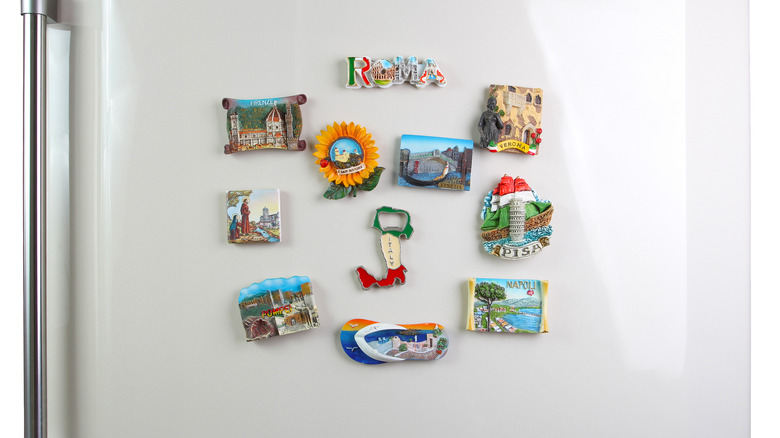
Last but by no means least, you can use your old calendar art to create customized magnets for your fridge or other magnetic surfaces. For this method, you'll need your calendar art cut down to a small square or rectangle, mat board, Mod Podge (or another type of clear glaze), and magnetic tape, according to CNET.
Begin by cutting your mat board down to the size of your calendar art. Then, glue it on using the Mod Podge. Once this is dry, add a top layer over the art to seal it and make it shine. Once that's dry, cut your magnetic tape. If your magnet is small enough, you may just need one piece. If not, use at least two pieces. There's no right or wrong way to do this — just have fun and be creative with the calendar art and how you cut and arrange it. For example, you could single out just your favorite part to turn into a magnet, or cut out multiple squares and assemble the print on your fridge.