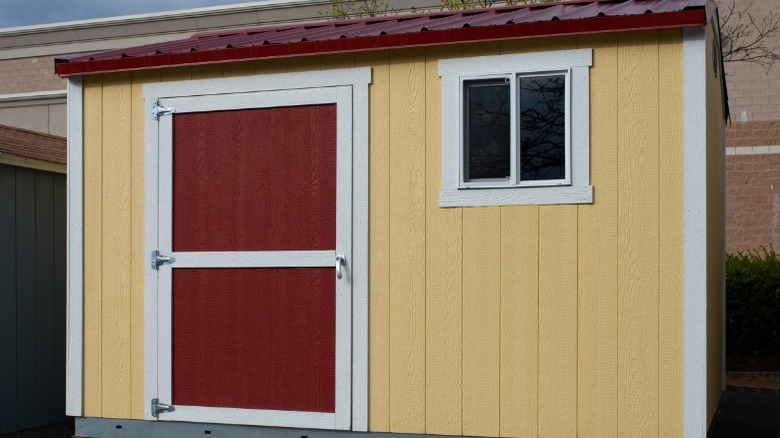
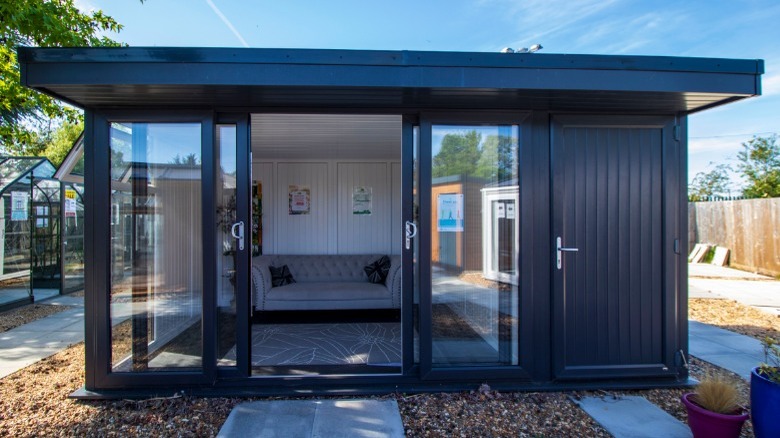
12 Things You Should Think About Before Buying A DIY Shed Kit

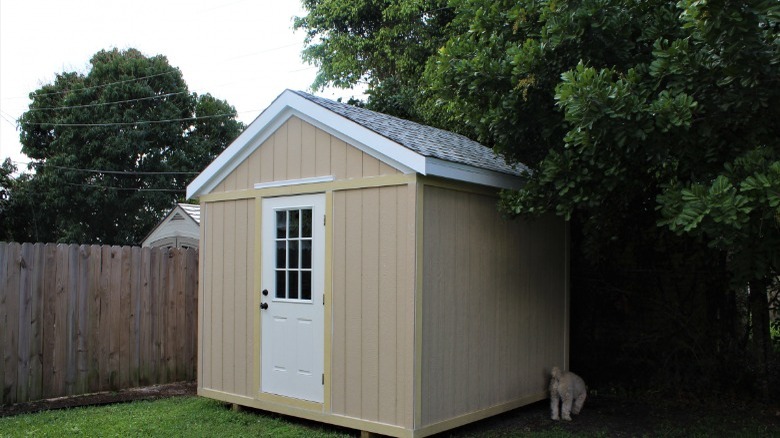
Adding a shed to your property can provide a great solution to problems like too much clutter in the house or the yard, or not having shelter for storing outdoor equipment. It can even provide the space you've been looking for to put in a man-cave, a she-shed, or even a home office. However, DIY sheds are limited in design, so you need to weigh both your vision and your budget when deciding if buying one is the right fit for you.
Generally, a DIY shed kit can cost between $100 to $2,500. The cost increases depending on how big or fancy you want to get. For example, electricity, larger square footage, and trendier exterior materials will increase your bottom line. If you're trying to save money, putting a kit together may seem cheaper than hiring a handyman or contractor to build you a custom one. But it may not be as simple and economical as it sounds. There are definitely some things you should think about before buying a DIY shed kit. So join us while we attempt to shed some light on the subject!
You might need a permit or HOA approval
The first thing you'll need to check is whether or not you need a permit to build your shed kit. In general, if the shed is larger than 8x10 feet, the chances increase that you might need one. Contact the city zoning department in your area to make sure you're following any other code requirements there may be. Additionally, some homeowners associations have clauses regarding sheds, so be sure to check with yours if you belong to one.
The specific requirements vary depending on where you live. For instance, some places only allow them in the backyard. Sometimes the placement will have restrictions, like how close the shed can be placed to the property line, fence, trees, or other structures. Some towns will only require a permit if you plan to run electricity to the shed. Additionally, you might need to pass an inspection if you plan to use it as a living or workspace. That's why it's important to contact your city zoning department before buying anything.
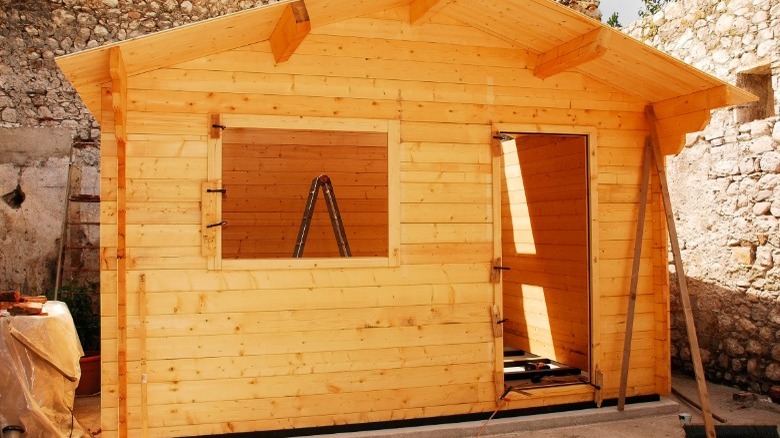
It is an extensive DIY project
The next important thing to mention is that a DIY shed kit is considered an advanced project. If you're a beginner at DIY home improvement projects, you may lose your enthusiasm for them quickly if you choose a kit. Everyone likes being able to accomplish something with their own hands and save money while doing it. However, if you've never put anything together of this scale before, you might be biting off more than you can chew.
These sheds aren't like Ikea furniture, where you put a few separate panels together following a manual. If you think the walls are pre-built and will only require you to nail them together, think again. Instead, you'll most likely receive a pre-cut bundle of wood pieces, MDF subflooring, loose siding, and possibly shingles. You will then need to frame the shed yourself, much like a contractor would build a house from the ground up, so you need framing experience or someone who does. You also need to be comfortable with nail guns, power drills, and levels, or else the work will be slow and shoddy.
Costs are often underestimated
Another thing to keep in mind is there will be other costs involved, even if you're using a kit. While the kit listing comes with a set price, other factors can creep in to tip your budget, like kit delivery and add-on materials. For example, if you find you need a permit, the price is estimated to be between $50 and $145. Other permits may be required depending on your needs.
Though most shed kits come with all the essential materials, others may be missing things like insulation, flooring, or shingles. Be sure you buy one that isn't missing any of these major components, or you'll be stuck paying extra to add them. Even if everything comes with your kit, you may want to purchase additional shingles for added protection on the roof. Additionally, if you're using a wood kit, you still need to factor in the cost of weather protection and paint. And don't forget the fact that you'll need help from at least one person, so be prepared to offer them something for their time.
Placement can be challenging
One thing that you need to figure out ahead of time is the placement of your shed. As mentioned previously, there are often regulations on where you can build your shed. Until you've checked with the zoning department, play it safe and keep the spot as far away from the property line or fence as possible, and away from any trees or other buildings or structures. This can become tricky if you have limited yard space. It might take some planning to find a convenient, legal, and level spot to put your structure. After all, you don't want to put it right in the middle of the yard, where it will look random and out of place.
Also, don't forget that kits come on pallets and will be delivered by a forklift that can only get as far as it can access. Typically that's the end of the driveway, so you might have to rent a tractor or pickup truck to move it into place.
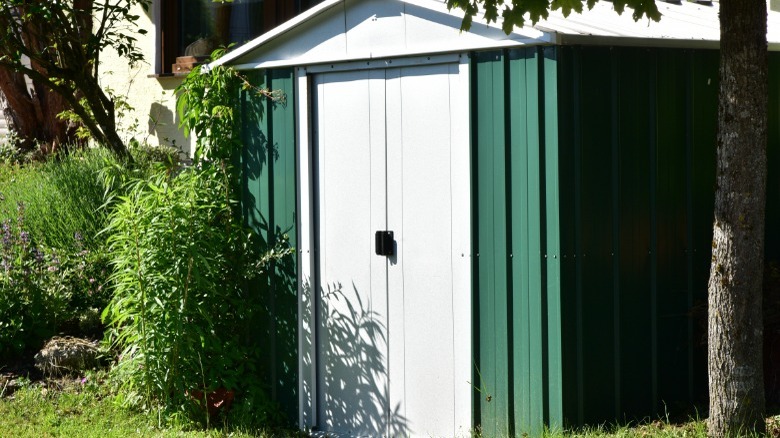
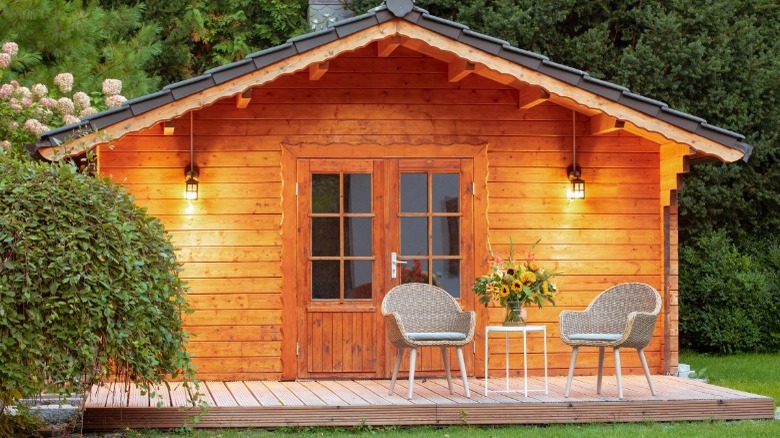
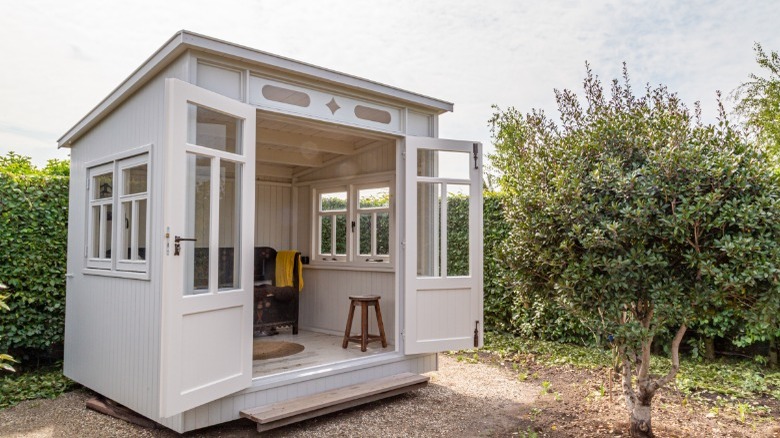
May not have a professionally finished appearance
Another drawback to DIY shed kits is that they may not add an air of luxury to your yard. In order to sell these kits at a bargain rate, the materials are usually on the lower end of the quality spectrum. Since the cuts and joints are all premade, you also won't have a second chance to replace a plank or a board if you mess up, which might leave you with a messier finished product.
The shed might also end up looking a little more "DIY" than you intended if you don't have a lot of experience in construction or with home improvement projects. For example, if the ground isn't completely level, you won't know how to compensate for that when building the frame.
Additionally, sometimes kits can be slightly off with measurements or cuts, resulting in a less professional appearance. Although aesthetics for your shed may not be the priority when you're on a tight budget, the money you're saving now could end up costing you in the end. Besides the shorter lifespan, if the shed has a shaggy appearance, it could impact home value and curb appeal. You might find that the savings for a DIY shed kit are not enough to justify it in the long run.
There will be site prep work involved for the foundation
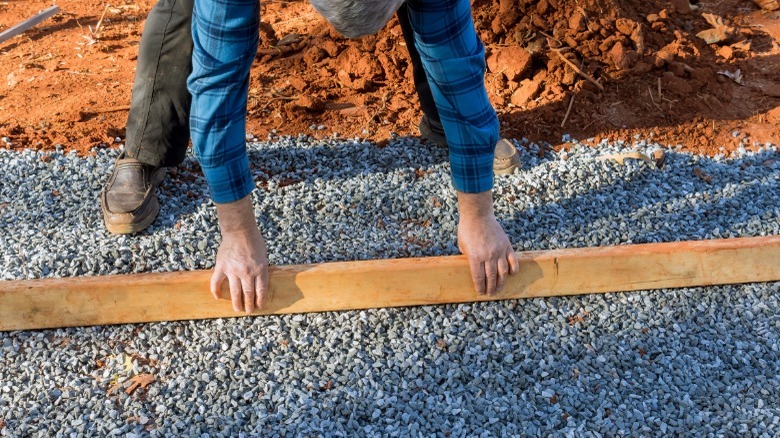
You can't just begin building your shed on top of your grass. In almost every case, this project will require a solid foundation. A concrete slab will run between $4.43 to $7.73 per square foot. But this is not the only option, nor is it always the best one. Most sheds work great with a crushed stone gravel pad foundation, which is less expensive and also works to drain water away from the structure. This should cost around $1,400 and is even possible to DIY.
Even before you can install a foundation, ground preparation will likely be involved. You won't want to put the shed in a low-lying area of the yard, but on higher ground not prone to flooding. The space will need to be leveled and cleared to the size of the shed, plus an extra foot around all sides. You might need to rent equipment for this part or have it done for you. The foundation should be slightly larger than the shed, so if you're working with an 8 x 10 shed, the spot where it goes should be a 10 X 12 area. After clearing and leveling, some landscape fabric should be laid down for an extra layer of protection against grass and weeds.
If you want electricity to the shed, you'll need to plan for this
If you plan to have electricity run to the shed, add another estimated $1,500 for a basic single-wire set-up. There's a lot involved with any electrical project, and a big part of it is knowing the local codes. If you plan to do any electrical work yourself, you'll need to get a separate permit for that. Hiring an electrician is the way to go, as they won't need a permit.
Most people want at least a light in the shed, and if you were planning a workspace out there or someplace you might spend some time in, you'll want to be able to plug things in. Depending on how far the shed will be from your house, it's likely that trenches will need to be dug and wiring run out to it. It's extremely important to follow all safety requirements for any electrical project. You definitely don't want to take the risk that faulty electrical wiring will start a fire. If you know you want electricity in your shed, plan ahead and get estimates from local electricians for the job before you start.
You'll need several tools for the project
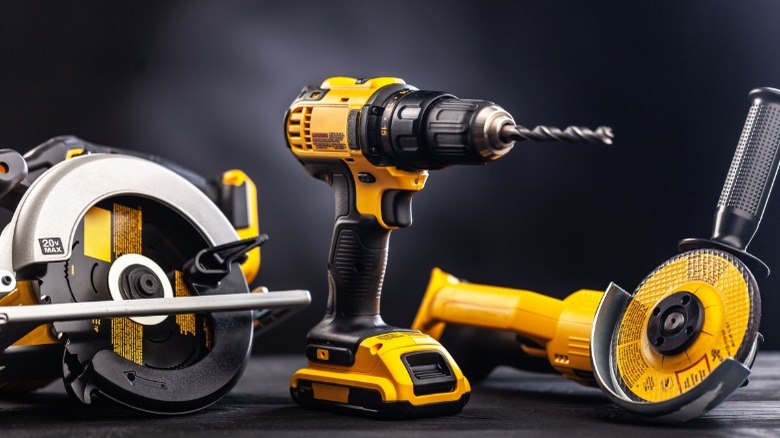
Not only is this an advanced project, but it requires quite a few tools to complete. Even though you're choosing a kit, you'll still need most of the same tools as you would for building a shed from scratch. Most of the cuts are made for you beforehand, but you still might need a saw, depending on the kit. Either way, the entire structure will still need to be put together. This would significantly add to the overall cost if you don't already have the tools required for this kind of job. Let's go over what's necessary.
First, you'll need a good ladder. You'll also need a cordless power drill for drilling holes and screwing in fasteners and screws. Next, you'll need an impact driver to get into tighter areas with the necessary torque. A caulking gun will be required to seal joints and seams and keep it weathertight. A utility knife will be used for trimming materials. You'll also need a square and a level to make sure everything is precise. Safety goggles will be important to keep flying debris and dust from getting into your eyes. Keep in mind all shed kits are different, and the tools you'll need will vary. Another tool you'll likely need is a nail gun for framing, roofing, and siding. You should always have a hammer and a circular saw, as well.
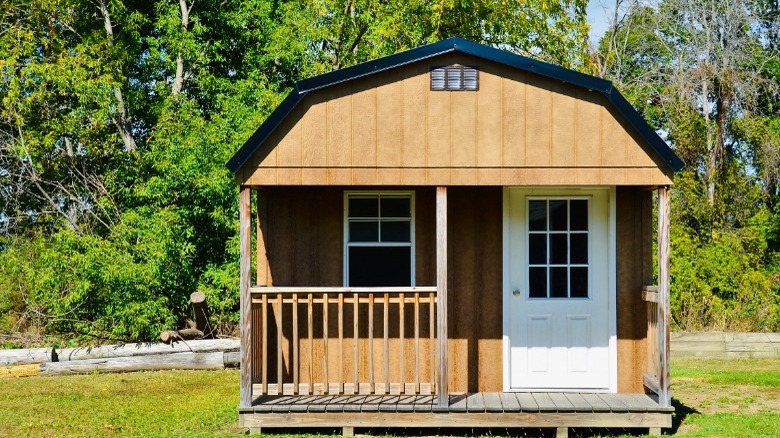
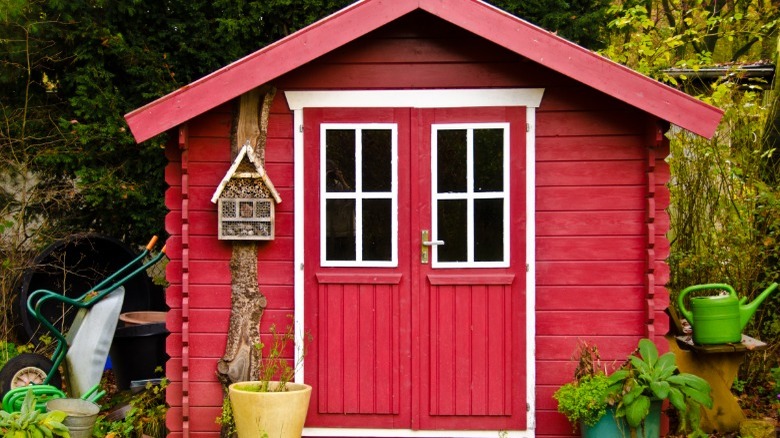
Can't be easily customized
One of the biggest complaints with DIY shed kits is that they cannot be customized easily. Many people prefer the freedom to add windows or other features that are typically unavailable with shed kits. You might think they would be easy to customize yourself, but unfortunately, that's not the case. The truth is, deciding on a shed kit will limit the type of shed available to you.
Some customizations on non-pre-fab sheds include adding solar panels or a better type of siding more appropriate for the weather in your area. Some people want to add decorative touches like a weathervane or even a cupola. You could add a ramp to the front, so loading things into or out of it would be easier. Another common customization for outdoor sheds is the doors. Some people like to have the barn door look, or double doors, making a wide entrance that looks charming too! These are just a few custom features not typically available with most DIY shed kits.
Don't underestimate the time it will take
Many people are fooled by the claims regarding how quick and easy these DIY shed kits are to assemble and install. This may be true if you have advanced building skills and have completed other projects like this before. But even for particularly handy people, this will still take some sweat and time. It's estimated to take one to three days. The time varies depending on the shed's size, the kit's complexity, and how experienced you are.
It's easy to underestimate the time needed to assemble the kit when the instructions and advertising keep telling you how "simple" it should be. The best way to take on this project is to do it when you're not pressed for time. Make sure you have a helper with plenty of time mixed with some good common sense! Make sure you have all the pieces and parts before you begin, and follow the instructions carefully.
Make sure you buy from a reputable dealer
If you need a storage shed now and all you can manage on your budget is a kit, be sure you purchase from a reputable dealer. The best way to do this is with careful research. Narrow down your choices and preferred size shed to a few dealers, and start by looking at reviews for the ones you're interested in. Don't just look at the top few; make sure you read plenty of good and bad reviews. You can find a wealth of information from reading what others have experienced by making the same purchase as the one you're interested in.
You can then start checking Google reviews for the businesses selling the kits. Search its Facebook business page and other social media outlets. To be thorough, check the Better Business Bureau to make sure there are no serious complaints against the company. Luckily, today we have access to a lot of information previously unmatched right at our fingertips with our smartphones!
Costs of hiring someone to assemble a DIY shed kit for you
In the end, don't be surprised if you get stuck or just decide to hire someone to finish the project for you. In fact, many shed kits are never completed. Some people just end up hiring someone to assemble their kits for them. This kind of service typically costs between $60 to $125 an hour. Sometimes you can get a fixed price for the project as a whole.
However, keep in mind that most professionals don't like to take over an unfinished project. Instead, they prefer to complete the entire project from start to finish because, otherwise, they can't guarantee the finished product. For this reason, you might have difficulty finding a licensed contractor who will agree to assemble the kit you've already started. Therefore, it's important to carefully weigh your options to be sure a DIY shed kit will be worth it.