Avoid These Mistakes When Installing Vinyl Plank Flooring

We may receive a commission on purchases made from links.
Old-school vinyl has a reputation for being cheap and ill-fitting as long-term flooring. However, luxury vinyl planks break this stereotype with their long-term durability and classic hardwood look at a fraction of the cost. These floors are popular for their soft feeling underfoot, resilience to wear and tear, and the fact they can be installed by amateurs. Households save thousands of dollars by pursuing this project without hiring professionals. However, it cannot simply be done on a whim.
The best advice is to do your research before installing vinyl planks. Going into the project blindly leads to poor installations that don't last or look attractive in your home. Below are ten common mistakes made by aspiring flooring DIY-ers. Learn from their mishaps so you utilize the correct tools, prep your work area, plan accordingly, and place your vinyl planks with as few hiccups as possible.
Purchasing expensive and unnecessary tools
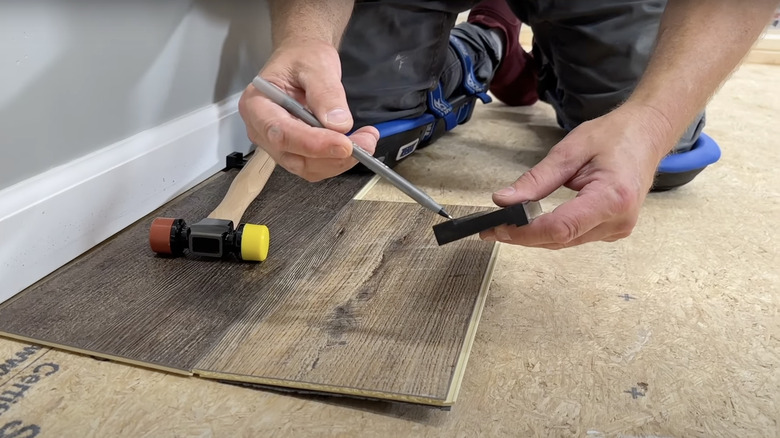
Going into this as an amateur, you may be tempted to buy every recommended tool. Before you spend any money, take inventory of what you already own. You don't need specialized tools when many common household items do the job. Many blogs recommend plank cutters to reshape the vinyl planks throughout your project. These devices are useful but cost hundreds of dollars. They are far more reasonable purchases for contractors and individuals using them for large-scale projects.
If you're remodeling a single room and don't intend on doing the floors throughout your home, save money with more basic tools. Affordable tools perform the same function on a simpler level. Home Depot's tape measurer and Amazon's hand saw are just as effective for resizing vinyl planks. If you're severely lacking in household tools, this Amazon tool set contains more basics, including a pull bar, mallet, spacers, and tapping block. Aside from the planks themselves, you shouldn't need much more to finish the job.
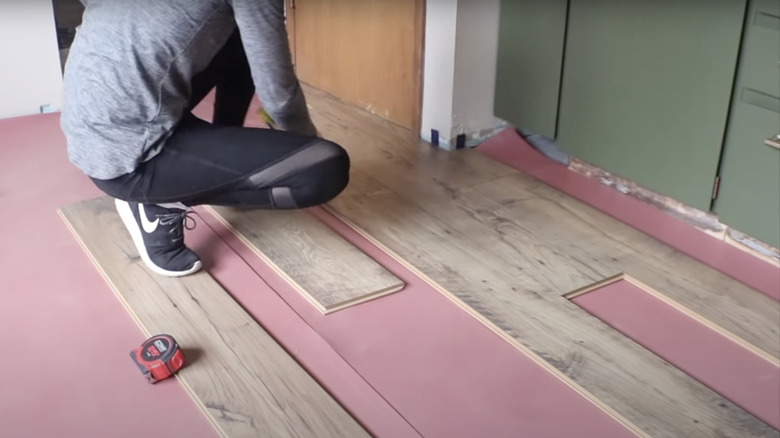
Not prepping the subfloor before you begin
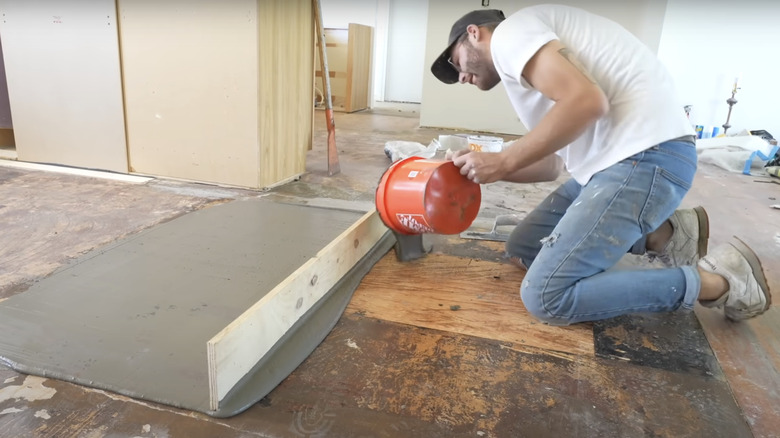
Your vinyl flooring isn't going to turn out well if you don't start with a blank canvas. Installing on top of old flooring or an uneven surface causes bumps and inconsistencies in the finished floor. This causes it to wear out faster and impedes its appearance. The worst part is it's not an easy fix once the floor is done. Once you skip this step, there's no going back. You'll have to take out and redo the entire floor to do it right the second time around.
Be proactive and don't skip the prep work. Once the old flooring is torn out, use quarter-inch thick plywood sheets to create a subfloor for the entire work area, leaving a quarter-inch of space around walls and joints. Smooth over any bumps with a medium sandpaper, like Home Depot's 100-grit option. Due to the size of the project, you may want to purchase, rent, or borrow an electronic sander to speed up the process.
Sanding down your old vinyl flooring instead of removing it completely
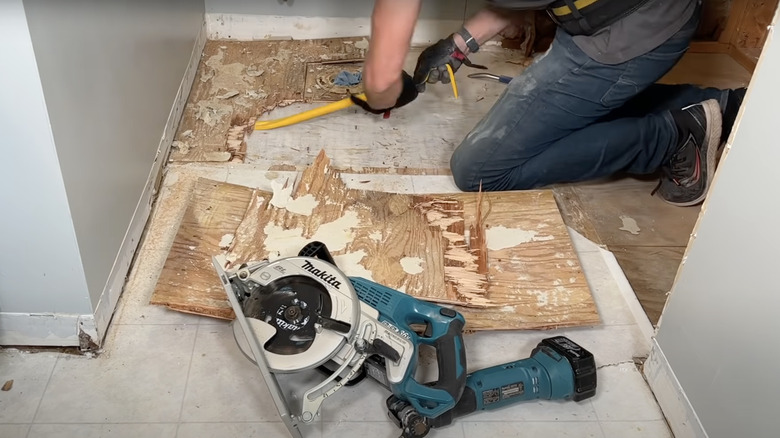
If you don't want to tear out your entire subfloor and intend on sanding it, there are important factors to consider. Homes built before 1980 have a strong chance of having floors made with asbestos. This common mineral used in construction was found to cause various diseases long after the fact. Over half of United States homes have asbestos in them, and if you sand down your old flooring, you could release these dangerous particles into your household.
You must completely tear out and remove this old flooring if you don't directly build over it (don't forget that building over it is an objectively bad idea). Sheet vinyl is removable as long as you follow the meticulous instructions from the Southwest Clean Air Agency. Many states have banned self-removal, so make sure to check local laws before you begin. Also, keep in mind that to ensure your household's and your own safety, you're better off hiring a certified asbestos abatement contractor. These are licensed individuals who remove it safely and thoroughly, minimizing the potential health effects.
Skimping on a vapor barrier to save money and time
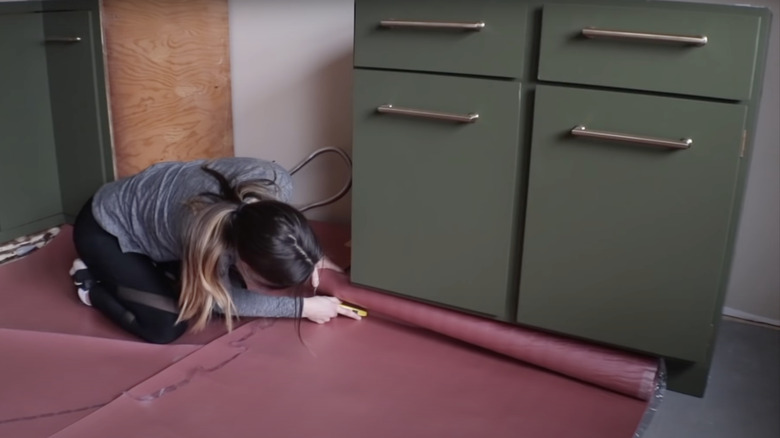
Moisture is a well-known threat to home construction. It causes mold and mildew growth and slow deterioration over time. Removing the former floor, prepping the new installation, and laying the support for a new floor may seem like enough, but you shouldn't skip installing a moisture barrier. This plastic or foil sheet costs between $0.25 and $1.50 per square foot, making it more expensive the larger your room. Homeowners skip this step and regret it later since water damage costs more in the long run.
Your household is bound to spill drinks, open doors and windows, track rain inside, and do other everyday things that bring moisture into your home. When this moisture seeps between vinyl sheets and into the subfloor, it causes distortion and discoloration. Installing a moisture barrier prevents water damage from spreading, helping to ensure the longevity of your vinyl.
Forgoing transition strips until the end
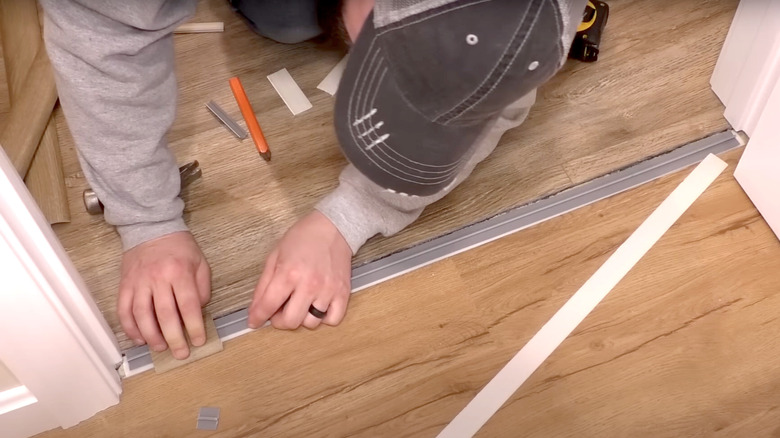
Another common oversight in DIY vinyl flooring is forgetting about the transition strips. These are the strips laid between doors, archways, and floor changes to create a smooth transition to another room or type of flooring. Without these strips, your floors have no room to expand in changing temperatures, and the connections between rooms look sloppy and feel uneven underfoot.
Before you start laying down planks, plan where you will begin and end ahead of time. If you're dealing with a large space, leave a quarter-inch gap for transition strips every 30 feet so the planks have space to expand. Additionally, leave a quarter-inch of space between rooms, next to flooring type and height changes, and along baseboards.
There are four types of transitions that work for different situations. A "T-mold" transitions between two flooring types or hides an expansion gap. A "reducer" minimizes the height difference between two spots, and a "threshold" works on both flooring and height changes. Having a plan ahead of time ensures you know which strips to buy and where you'll need them throughout the project.
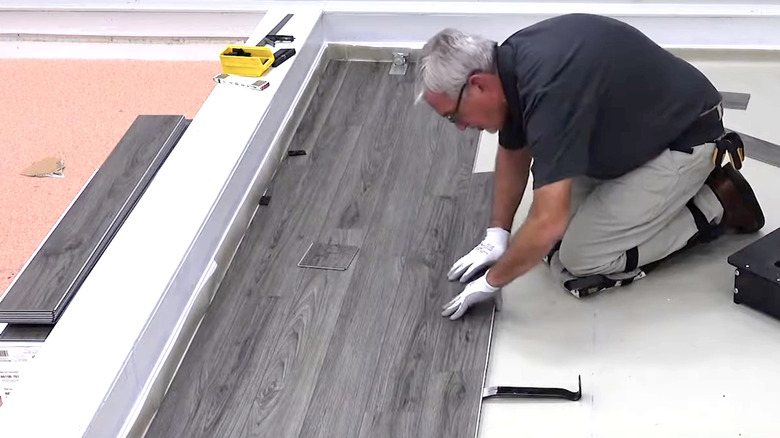
Using glue-down instead of adhesive for DIY projects
There are two types of vinyl planks: glue-down and floating. Glue-down planks need adhesive to bind them to the subfloor while floating planks are simply pressed into place. Glue-down planks are more permanent, but if you use too much glue or seal a plank in the wrong spot, it's tricky to remedy. Since floating planks require less commitment, they're far better suited for amateur installations.
With floating (also known as "click-and-lock") pieces, you don't have to worry about using too much glue or adhesive or purchasing additional supplies. It's easy to slide the planks into position as you go and adjust them as needed. A properly prepped subfloor makes this task even easier since you have a flat surface to lay the planks.
An amateur should only consider using glue-down instead of floating planks when laying them over a large area, such as an open floor plan with a combined foyer and living room. Too many click-and-lock vinyl pieces won't have joint stability across such a wide space, especially if there's a lot of foot traffic.
Buying only the exact number of tiles you think you'll need
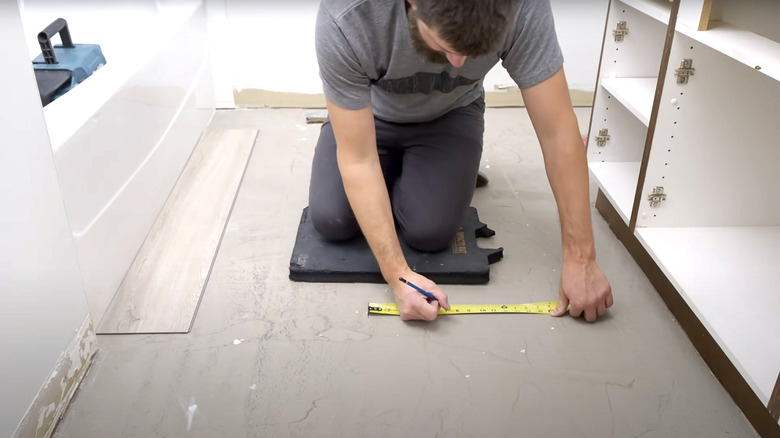
One of the most important steps in DIY flooring is measuring your room's dimensions and determining how many planks you should order. Always order slightly more than you think you'll need. There is nothing more frustrating than getting to the last quarter of your project only to realize you don't have enough planks to finish the job. You may have to wait for your local hardware supply store to restock or ship you the pieces, extending your renovation's planned timeline.
Use a tape measurer to find the length and width of your room, and multiply those numbers to get the total square footage. Once you have this number, pick out your vinyl planks and determine how many fit within the total square footage. Order 5% to 10% more than your estimated measurements. Planks are trimmed and altered throughout the project, shortening their overall length. You'll need more planks to compensate for this space. The backup pieces also come in handy if you waste any pieces by accidentally over-trimming or damaging them.
Laying identical tiles next to one another
Since vinyl planks aren't authentic hardwood and are mass-produced in a factory, many pieces have identical artificial grain patterns. When placed side-by-side or in one long line, they have an artificial look that cheapens their value and diminishes your room's aesthetic. Due to their identical nature, it's important that you order a mix of designs and ensure you don't place mirroring pieces directly beside each other.
Emulate natural wood by rotating through multiple vinyl designs. Before beginning, stack the boards in piles with other identical pieces. Rotate through the piles as you put them in place, or pick from them at random to ensure you get a mix of wood grains as you go. Don't be afraid to take a step back as you work and do a quick lookover to ensure none of the boards match their neighbors.
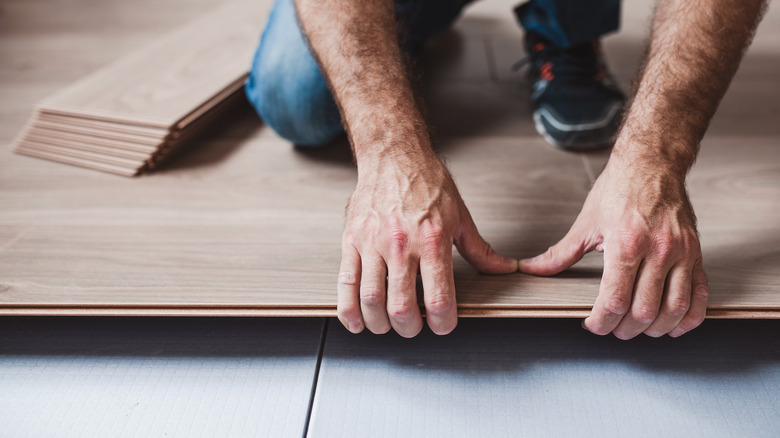
Putting the tiles side by side instead of staggering them
Vinyl planks come in packs of identical dimensions, and many make the mistake of simply laying these planks side-by-side in even rows. This is the simplest way to place flooring, but it has functional issues and isn't pretty to look at. When panels are placed in a straight line, the joints press together, and there's no space to expand and shift as seasons change and people walk over them. You must stagger them so the click-and-lock planks' pressure and connecting joints are more evenly dispersed.
Staggering is also important from an artistic standpoint. Our eyes are drawn to perfectly symmetrical and aligned items, which is why such flooring stands out unnaturally. Natural wood planks are not perfectly aligned and would never look like straight-lined vinyl patterns. If you don't try to mimic natural hardwood, synthetic floors appear more obviously inauthentic.
Start with a normal-sized piece for one row to avoid straight lines and stagger your planks. Cut the second-row starting piece four inches shorter than the original and the third-row starting piece two inches shorter than the original. Continue this pattern as you go, starting with different-sized pieces so no apparent pattern is visible.
Ignoring manufacturer recommendations throughout the process
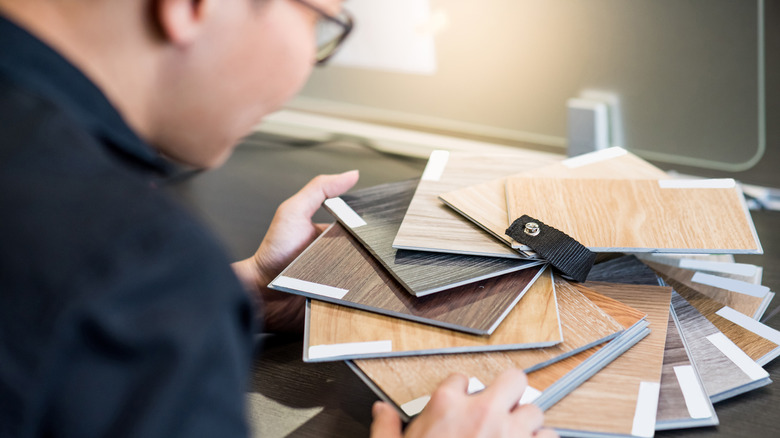
Not all materials and products are the same, and generic advice doesn't apply to everything. At the end of the day, there are thousands of brands and materials out there that require different approaches throughout the installation. Don't mistakenly assume all luxury vinyl planks (LVP), engineered vinyl planks (EVP), and sheet vinyl require the same technique. This leads to poor installations that are visibly sloppy and fall out of place over time. The planks may get damaged by their surrounding environment or be exposed to conditions voiding their warranties.
Always read up on the manufacturer's details and specifications for their product. Just because one type of LVP is moisture-resistant and recommended for bathrooms and kitchens doesn't mean that all LVP products will be the same. Double-check before you buy. This helps avoid mistakes like installing certain planks in the wrong room or assuming they'll lock into place when they require adhesive. Some brands are waterproof, while others are reserved for dry areas. Others shouldn't be placed in direct sunlight or outdoor areas. Luckily, this information is easily accessible through local retailers, on company websites, and on online product pages.