The Biggest Mistakes You're Making With Your Container Garden
We may receive a commission on purchases made from links.
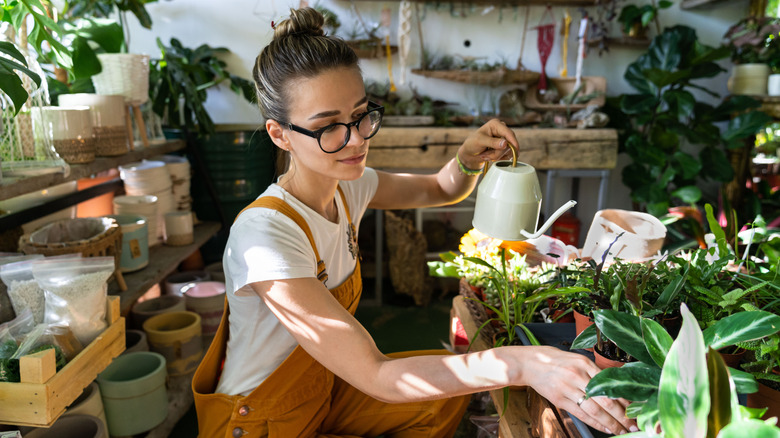
Planting a garden is a wholesome way to put down some roots. Whether you cultivate indoor or outdoor plants, container gardening could be the hobby for you. You can take containerized plants with you wherever you move, and the pots themselves add a decorative touch to your home's appearance. It's also ideal if you need to bring certain plants indoors over the winter, or move them as sun angles change.
Although this form of gardening has more versatility and freedom, it also has limitations. Special challenges arise when gardening in pots or planters. If you have little experience rearing plants, you could make a mistake that puts your flowers, herbs, vegetables, and other specimens at risk. Learn more about the most common mishaps in container gardening below so you can do your best to avoid these easy blunders.
Using the wrong soil
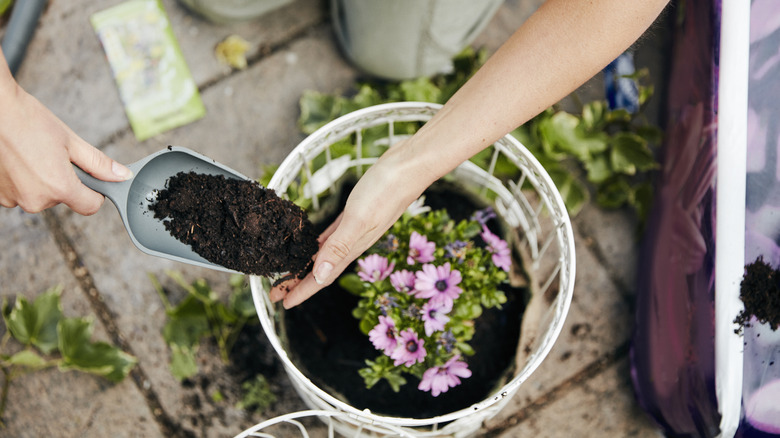
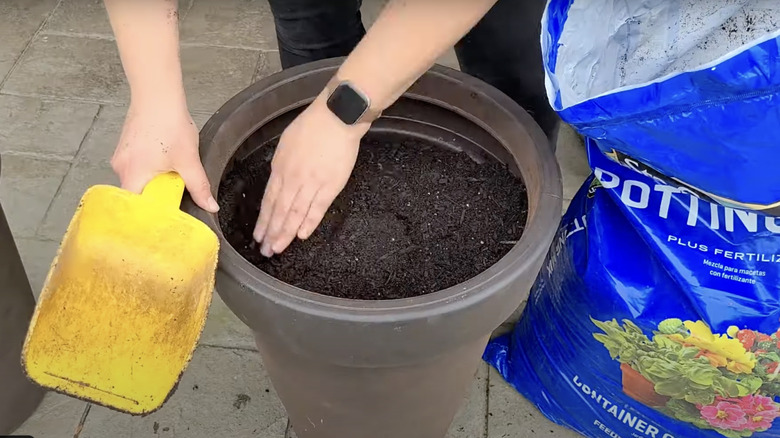
If your plants are thriving directly in the ground in your garden, you might assume this soil would be equally wonderful for your container plants. However, garden soil, topsoil, or any soil-based potting mixes are generally heavier in texture. When you pack a pot with it, the soil soon becomes compacted, preventing proper aeration and drainage. If water can't drain properly, the roots may rot. Without good drainage, it can also be a lot harder to rehydrate dry planters. Without airspaces for the water to filter through, it can take a very long time for moisture to absorb. Dense, compacted potting mediums can also cause stunted growth as plant roots have a harder time penetrating it and absorbing nutrients. Additionally, soil sourced directly from the garden may even harbor soil-borne plant pathogens or harmful nematodes. It probably also contains weed seeds, which means more pot plant maintenance when they start popping up.
Rather than utilizing garden soil, switch over to high-quality potting mixes. Most commercial offerings feature a high ratio of non-soil-based components, such as peat moss, vermiculite, coconut coir, and compost. This ensures the medium both drains and aerates well, yet holds sufficient moisture to encourage plant growth. Also, make sure that the potting mix you choose is friable and lightweight — black, heavy mixes won't offer good drainage. A general potting mix, like Miracle-Gro Potting Mix or Burpee's Premium Organic Potting Natural Soil Mix, would work for most flowers and veggies. However, if you're dealing with plants with special needs, you can improve their performance by using specialty mixes. For instance succulents grow better in pumice-heavy mixes, while heavy feeders may benefit from potting mixes fortified with fertilizer.
Choosing an ornamental planter over a functional one
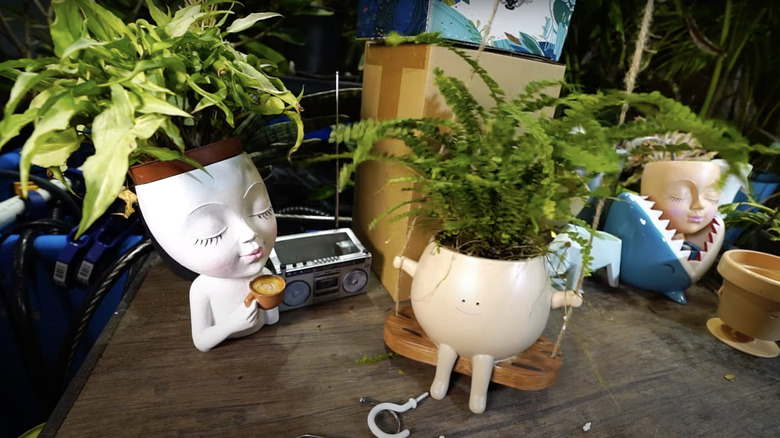
Designing a container garden provides double the excitement of in-ground gardening since you get to choose both your pots and plants. Standard pots and planters are the norm, but you can use any type of container to house your specimens, including DIY flower boxes to supercharge curb appeal, repurposed plastic jugs, kitchen bowls, baskets, trash cans, buckets, and other receptacles. You can even make some DIY hanging planters to liven up your home. There is just one rule: Make sure your container of choice has a drainage hole. A drainage hole ensures excess water drains out the bottom and doesn't sit and oversaturate your plants.
If you're dead set on an ornamental planter that doesn't have a drainage hole, there are some alternative solutions. One option is to put your plants in a smaller, properly draining container inside the decorative planter. Another option is to drill the holes yourself. Use something like this hole saw set from Amazon and an electric drill to put holes in the bottom of your container. Using this set, you should be able to make ceramic, glass, stonework, and wood receptacles livable for your plants. If you need more in-depth instructions, we have a guide on the easiest way to add drainage holes to your plant pots.
Not knowing the difference between thrillers, fillers, and spillers when planting up patio pots
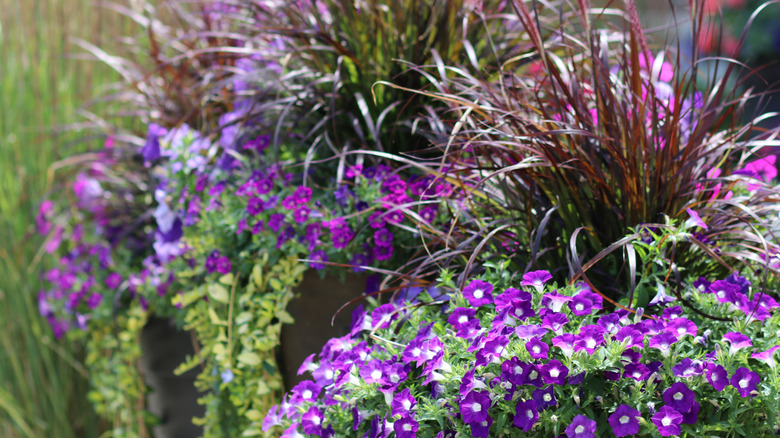
A simple formula to follow when designing a container garden is the "Thriller, Filler, Spiller" design approach. This term refers to the three types of plants to incorporate in your container setup to make it aesthetically pleasing. Thrillers add height to the greenery arrangement, fillers fill up the sides, and spillers hang over the edge. Following this template for patio pots is an easy way to fill up large planters to create a lush display. If you don't understand the differences between fillers, spillers, and thrillers, you might end up positioning plants in a way that doesn't make sense for their growth habits — like placing taller species to the sides, when they usually look best situated in the middle of patio pots.
When choosing your thriller, opt for any plants that grow upwards, such as tall grasses. Your filler can be more than one species, like annual flowers and cooking herbs. Your grand finale, the spiller, should be something that drapes over the side of a container, such as trailing plants. Just make sure you do your research or ask your local nursery for help before committing to an arrangement since you need to ensure they're compatible.
Not up-potting into a container that accommodates your plants' growth
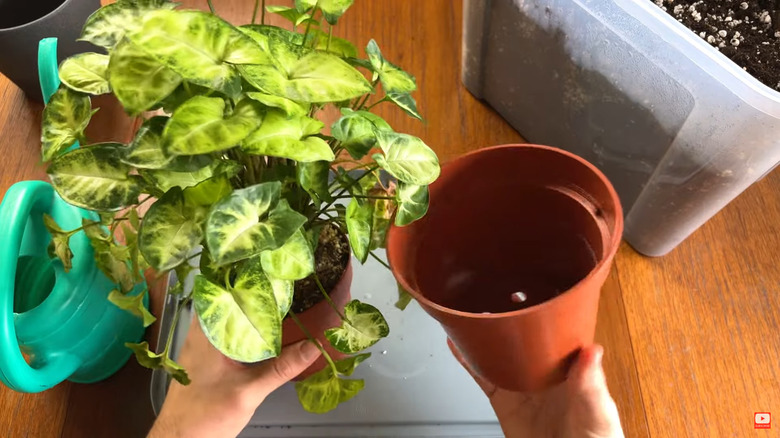
Imagine you've picked out your plants and their containers and are ready to start container gardening. Everything seems perfect until you realize you forgot a vital detail — your plants may not be fully grown. Young, freshly purchased (or propagated) plants often have more growing to do, and your chosen pot may not suffice as long-term housing. When plants outgrow their pots, they become rootbound, which can trigger stunting, fewer flowers, yellowing, dropping or smaller leaves, and overall declining health.
You can avoid these issues by doing research as to how tall and wide the species typically grows. If you don't want to look up every species of plant on your shopping list, one of the tips for easily repotting plants is to choose containers 2 inches larger than their last one. In general, 1-gallon pots are good for plants 9 to 12 months old. Every 6 to 12 months after that, assume you'll go up another gallon (though this rule is obviously not guaranteed universal to all plants).
Overwatering your plants, especially during rainy season
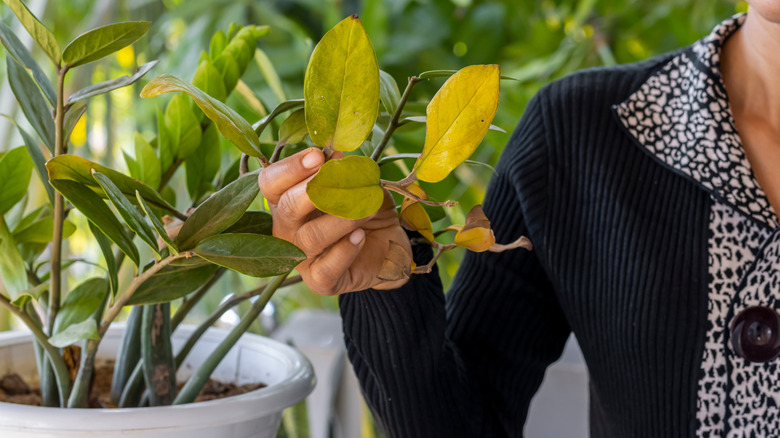
The biggest downside of container gardening is you must carefully monitor your watering. Unlike plants grown directly in the ground, container plants don't have infinite earth for water to disperse to. Giving them too much water causes root rot, which damages their tissues and organs and depletes oxygen from the soil. Root rot can be fatal unless you act fast by cutting away the infected roots and replanting the surviving pieces in fresh soil.
Unfortunately, no watering technique best suits all species — or even all plants from the same species. Even individual specimens can have different preferences due to outside factors that impact how much and how quickly they absorb water, such as how much sun they get, how dry the air is, and what type of pot they are in (for instance, clay planters dry out a lot faster than plastic ones). You can reduce the risks of overwatering by ensuring your plant pot has drainage holes for excess water to run out of.
To check the moisture level, invest in a moisture meter (you can get something like this Sonkir Soil pH Meter for under $10), or use the old-fashioned "finger test" on your soil. To perform the finger test, wash and dry your hands and poke one finger into the soil down to the first knuckle. If it feels dry to the touch, it's time to water. On the contrary, if it's still moist, avoid watering your plant for now. If your plants are looking poorly, and you suspect they have already suffered from severe overwatering, here's a full guide on how to deal with root rot.
Not watering enough, especially during the summer
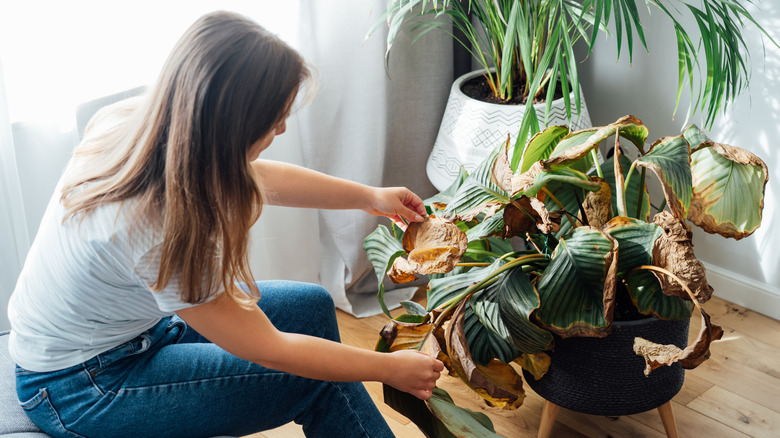
Underwatering poses just as much danger as overwatering. Indoor plants can prevail longer in this state, but outdoor container gardens dry out quickly in the sun and wind. Without consistent watering, plants in containers wilt and eventually die from a lack of moisture. The faster you act, the higher their chance of survival.
After a long period without water, soil can become hydrophobic, meaning it won't absorb new moisture. Hydrophobic soil is recognizable when water only pools on the soil surface and refuses to permeate further. You can rehydrate the dirt by fully soaking the pot in a bathtub or under a hose if you're dealing with large planters. If the soil has become severely hydrophobic, you may need to be quite patient, and conduct multiple light watering sessions, slowly saturating the soil from above. Once you've rehydrated the soil in the container, opt for more frequent watering to prevent it from getting bone dry.
Forgoing mulch or not using it correctly
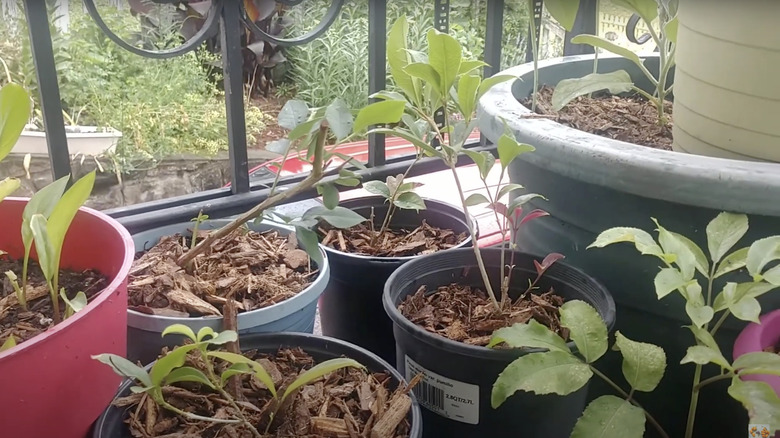
Mulch is a common addition to landscaping and garden beds but is also useful for certain container gardens. Mulch helps outdoor plants retain moisture, especially in the dead of summer when the sun is beating down on them. In the winter, it provides protective insulation from the bitter cold. A layer of mulch also obstructs weed growth, keeping small green weed seedlings from popping up, stealing nutrients, and giving you one more garden chore to do.
Keep in mind that while mulch is a useful asset, you may need to tailor it to certain plants' needs. Some perennials and herbs thrive in drier conditions. Thick layers of leaf mulch can block water from evaporating, keeping these species in overly moist conditions that hinder their growth. For Mediterranean herbs, mulching with a layer of pebbles is a good option. Overly thick layers of mulch can also hinder water penetration down to the soil, so don't mulch with moderation, aiming for a couple of inches. Some eco-friendly mulch options include coconut coir, herbicide-free grass clippings, natural burlap, or hay. One more warning: Be careful with grass clippings as they can pack down and create a semi-impermeable mat. Mixing clippings with coarser materials like dead leaves can offset this issue.
Not keeping watch for pests throughout the year
Keeping your plants in pots doesn't necessarily protect them from wildlife and insects. If pests can reach them, they'll consume and destroy the leaves, spread diseases, and plunder your fruits, vegetables, and herbs. This reduces your harvests, damages your plants, and can lead to their eventual demise.
You can protect your container garden using a variety of methods. Ironically, you can try attracting bugs that aren't destructive to greenery. For instance, ladybugs eat aphids and other larvae but won't damage the plants themselves. If these options don't work, try coating your plants in neem oil (something like Bonide Captain Jack's Neem Oil comes in a convenient spray bottle), which suffocates insects. You will need to reapply the neem oil after rain and sprinklers since water washes it away.
Larger wildlife is easier to notice and deter. To keep your plants safe, try situating deer-resistant plants at the perimeter of your property so deer hopefully don't get the idea that your garden houses a potential buffet for them (but this isn't a guaranteed measure). You can also try putting up deer- and/or rabbit-proof fences or moving plants indoors or to an enclosed porch.
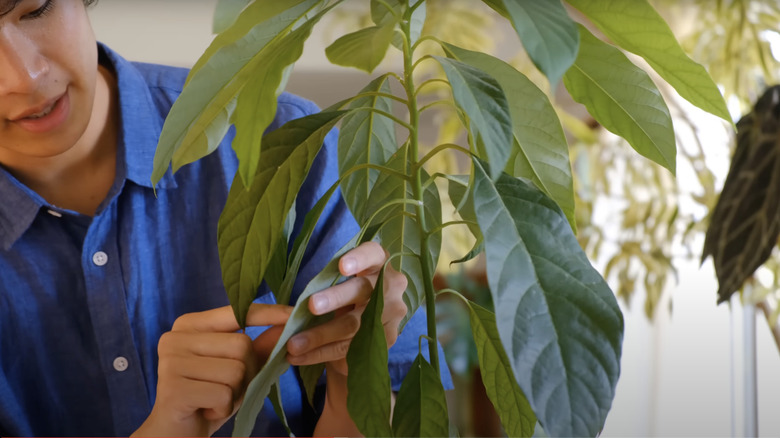
Neglecting to prune and harvest as needed
Over time, stems and leaves naturally die as plants grow older. Fading flowers will encourage the plant to stop blooming and produce seed. Old, damaged leaves make the entire plant look unsightly. It's important to trim and prune indoor and outdoor plants to encourage younger and healthier stems and leaves.
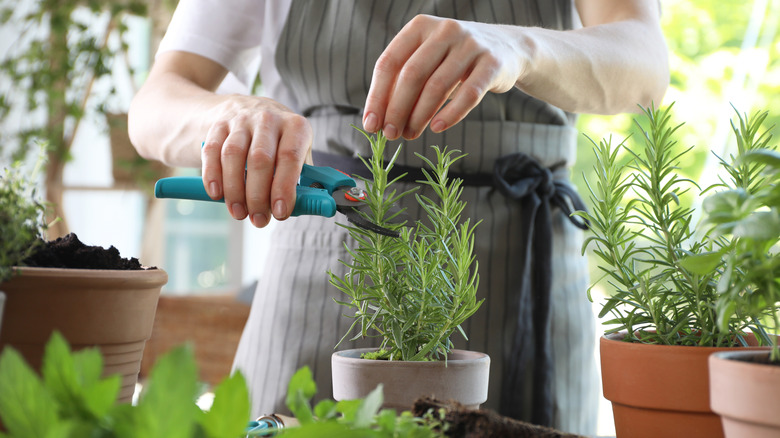
To prune your indoor garden plants like the pros, start by sanitizing your garden clippers or scissors and ensuring they're sharp before you start cutting. Blunt, dirty tools covered in rust and old sap can infect plants and make them vulnerable to diseases, leading to other problems. Use 70% or higher isopropyl alcohol to disinfect the blades and cut your plant according to its unique instructions. Most plants tolerate cuts above a stem node as long as you don't take off more than a quarter of their total growth, but some are more finicky.
Putting plants with different preferences together
If you don't follow the "Thriller, Filler, Spiller" rule and keep all plant species separate, you don't have to worry as much about their compatibility. However, when you have a community patio pot of multiple species (or a big planter of mixed vegetables and flowers), it's not as easy to relocate them if certain ones aren't doing well. When plants with different preferences are grouped together, some may not thrive like their neighbors.
Ensure your grouped plants flourish in similar environments by making sure they prefer the same sunlight, watering techniques, fertilization, temperatures, and humidity levels. For example, a raised planter containing mostly Mediterranean herbs will make for a good mix, as they largely prefer free-draining soil and full sun conditions. You should also consider that some plants are just bad neighbors. For instance, sunflowers release allelopathic chemicals into the soil that can inhibit the growth of nearby plants.
Forgetting to dust indoor container gardens
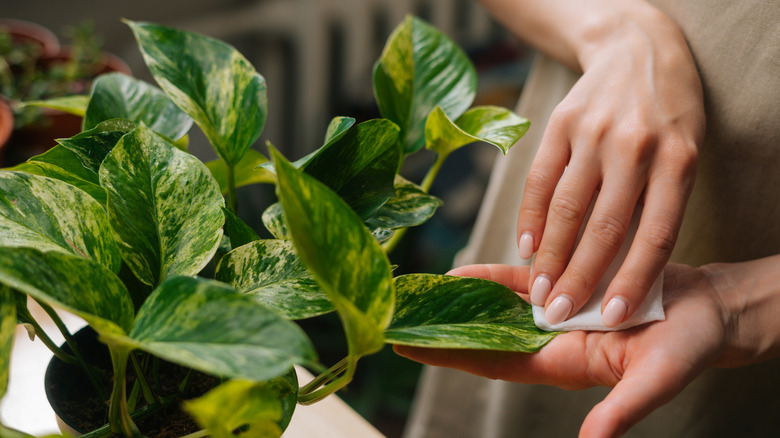
While many common mistakes in container planting happen both indoors and outdoors, there is one concern that primarily concerns indoor gardens. Dust quickly accumulates on indoor plants, the same way it gathers on shelves, countertops, and other surfaces. Without wind and rain to blow and rinse it away, the dust obscures the tops of leaves and diminishes their ability to absorb sunlight. When plants can't absorb enough sunlight, they can't efficiently complete photosynthesis.
Fortunately, dusting your plants is usually easy. All you need is a clean microfiber cloth to softly swish away the tiny particles. Alternatively, you can opt to rinse indoor plants under the faucet, shower, or take them out into the yard and spray them down gently with the hose. If dust accumulates more than seems normal, you may want to have your HVAC system looked at to ensure it is filtering your air properly. Setting up an air purifier nearby can also minimize dust.
Making potted plants too heavy before moving them
Are you using exceptionally large pots or planters for your container garden? Before you start filling them with dirt and plant life, consider how heavy the soil will be. When the soil and ornamental pot are combined, it may be tricky to lift and maneuver them.
Avoid this common problem by sliding your pot into place before you begin. You can then see how it looks in your space before you commit to placing it there. You can also reuse empty plastic water bottles to fill the space at the bottom of planters, reducing how much soil sits at the bottom. Make sure the bottles have caps to keep water and soil from slipping inside and use as many bottles as you need to make an even row across the bottom. Also, do not use this trick for shallower pots, or ones where you plan on planting deep-rooted species like small trees or potted shrubs. This idea works best for big planters that are going to contain shallow-rooted species like annual flowers and vegetables.