Use Leftover Cardboard To Create Budget-Friendly Pavers With This DIY
We may receive a commission on purchases made from links.
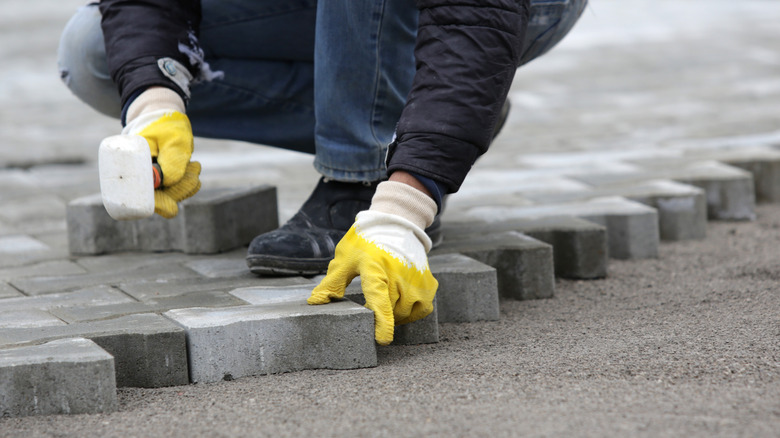
Need a path in your backyard or just a nice paved patio area for your container garden? If you want something just a little more eye-catching and you've discovered some interesting ideas for your patio pavement, you might not be able to find just the right pavers that will also fit into your budget. For this reason, you may just want to make your own pavers using a silicone mold. While you could go out and purchase a mold or two or use old baking molds, another budget-friendly alternative could be to follow what TikTokker benuyeda has done and make your own molds using templates made from some heavy-duty leftover cardboard.
Apart from the cardboard (which you can get from delivery boxes), you're going to need a steel ruler and pencil to draw out your shapes on the cardboard. You'll also need a box cutter to cut out the cardboard and a hot glue gun to glue the bits of cardboard together. To make the templates for the molds nice and strong, you'll need some DAP lightweight spackling, a piece of sandpaper, and some Minwax polycrylic protective finish. Finally, you need a scrap piece of melamine board and some Mold Star 30 silicone for making the actual molds that you're going to use for the pavers. While this project does require a range of materials besides the cardboard, you will probably have some of these in your garage already. You'll also find that there are quite a few steps involved in creating the silicone mold, but these will be durable enough for a range of projects you might want to use them for in the future.
Making the templates for the molds
To follow the same process as the creator, you'll want to draw out two different shapes on your cardboard, making sure each one has five sides. You also want to ensure that you can put these together in such a way that they're going to fit your paving job. If you draw the shapes out on a grid first, you'll get a better idea of how it's going to work.
@benuyeda My concrete patio started with cardboard! Shout out to my @ryobitoolsusa hot glue gun and @Smooth-On, Inc. silicone mold material #concrete #concretelife #design #architecturestudent
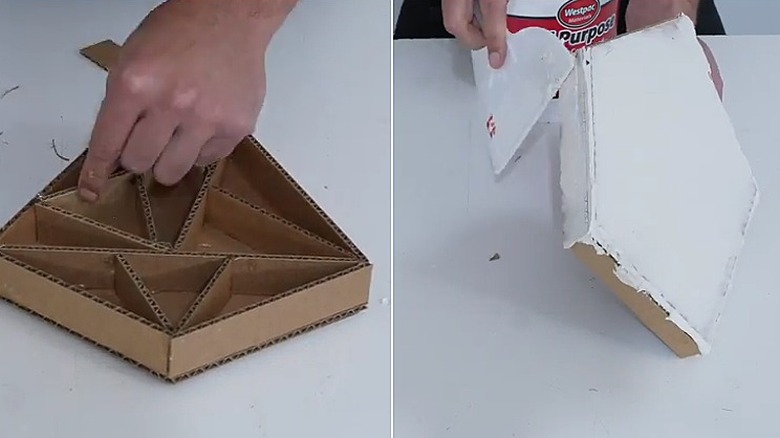
Use a box cutter to cut out your shapes from flat pieces of cardboard. It might help if you use a metal ruler as a guide when you're cutting. To make a nice, solid template, cut two pieces the same size and then glue them together. The next step is to cut some 1-inch-wide pieces of cardboard, as these are going to allow you to create the depth of the mold. Use your hot glue to secure these strips around the edges of your cardboard shapes so that they sit upright. You can fold the strips if they're too long and just let the excess sit inside the shape. For even more stability, glue a few of the strips inside the enclosed shape.
Turn your shape over, so you have the flat side on top and, using a plastic spatula, apply some spackling all over the cardboard, including the sides. When the spackling has cured, use your sandpaper to smooth it all over. Repeat this process so that you have two coats of the spackling. Once that's done, apply two coats of the Minwax polycrylic to seal your mold templates. At the same time, you might want to use the polycrylic to coat some 2-inch-wide strips of cardboard, which you're going to use to contain the silicone around the plaster-covered templates.
Making the silicone molds

To start this part of the process, you want to find a piece of melamine that you can use to mount the template on. Use your hot glue gun once again to glue the bottom of the template onto the piece of melamine, making sure it's going to be fairly secure. To ensure that the inside of the template doesn't fill up with silicone, seal around the edges with some caulk to create a waterproof seal. Now, you want to grab those 2-inch-wide strips of cardboard and glue them down around the template, leaving a gap (around 1 inch) for the silicone to fill. Seal the base of these with the caulk as well.
Your next step is to mix up your silicone following the instructions on the pack. Once it's ready, pour it over your template to cover it and fill up the gaps inside the cardboard. Let this cure for around 10 hours and then remove the outer cardboard strips. Lift the whole thing off the melamine board and gently peel the silicone mold away from the cardboard and plaster template. You now have a mold that you can easily use over and over again. You can use the same process to make two or more of these, depending on how you want to fit them together for your end design. Lastly, it's just a case of mixing up a batch of Quikrete that you have leftover from making that edgy concrete planter, adding some color, and filling the molds to make the pavers. The best part is that these molds are going to last, and once you've gone through this process the first time, you will find it easy to make other shapes as well.