Budget-Friendly Ways To Give Your Floors An Upgrade
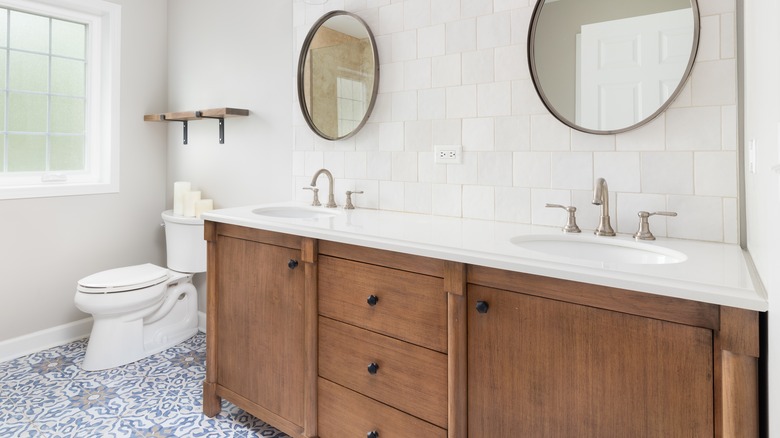
Constant walking and running, dirty shoes, pets, spills, and dropped dishes wreak havoc on flooring and make it look old before its time. But installing new hardwood planks, tiles, and other expensive materials just isn't an option for many people. Everyone's budget is different, so we've investigated some of the least costly and most creative ways to add new life to the floors beneath your feet. You won't see wall-to-wall carpeting or high-end ceramic floor tiles here, and none of these projects require professional installation.
Some of these upgrades won't take much time at all, but others require more planning and effort. You might be able to complete one in an afternoon but otherwise, plan to block out a day or two. They're all cosmetic, budget-friendly upgrades that don't change a floor's overall structure. You will need to do prep work for most of them, though. Keep an open mind because some might seem surprising at first. And after you choose and complete your budget-friendly floor upgrade, remember to prevent humans and pets from tracking dirt on it. Sweep, mop, and vacuum often, and keep your pets' nails trimmed, and your upgrade won't need to be upgraded again for a long time.
Refinish hardwood floors
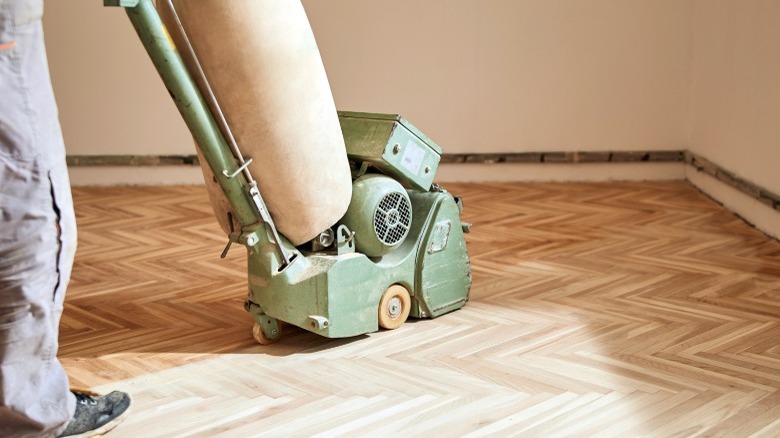
Hardwood floors are a major investment, as is replacing them. You can save money by refinishing the surfaces, but you'll need to rent some equipment and take the proper safety precautions. Once the furniture is removed, sweep and vacuum the floor. Combine 1 part white vinegar and 10 parts clean water in a bucket to mop the floor. Then, you'll want to tape off all the edges with painter's tape to protect the walls.
You can sand the edges by hand with 180-grit sandpaper, but a floor buffer fitted with a buffing pad is needed for the rest of the floor. Then, the dust can be removed with a floor vacuum and dry-tacked microfiber cloths. Now you can apply a water-based polyurethane to the floor. Cut in the edges with a small paintbrush first, and apply the rest with a long-handled paint roller. This finish has a strong smell, so open windows, turn on fans, and wear a face mask. It takes three hours to dry, but for the best results, don't return your furniture or rugs to the room for seven days.
Paint or stain wood floors
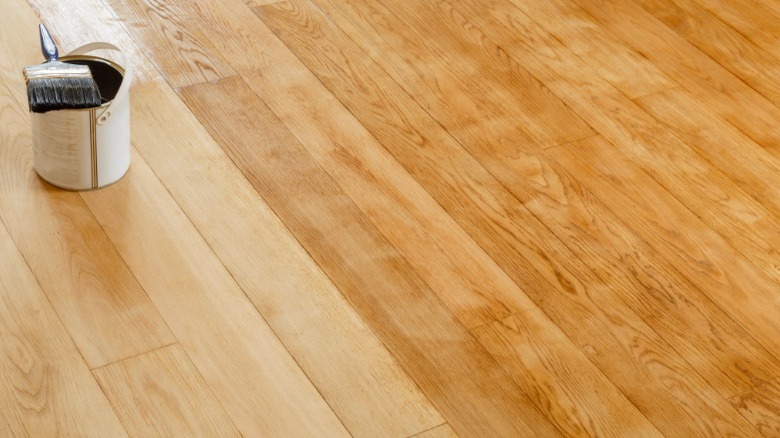
Do you dislike the color of your hardwood floors? Rather than replace them, you can change their stain or paint them. Stains cost less than paints and are easier to work with. It's a good choice if you want to enhance the color of the wood or add a more modern tint to the floor. Whitewashing is a type of stain that can really brighten up floors — it works especially well on pine surfaces. Other shades are designed to complement, not cover up, the natural wood.
Paints are thicker than stains, so you won't need to apply as many coats. The finish will be more even, and there are more colors to pick from. Also, while paint is more likely to chip and peel over time, stains will fade sooner. The best way to choose a stain or paint color is to get a few samples and test them in inconspicuous areas before committing.
Before starting, you'll need to clean and sand the floors. Stains don't require primers and can be applied with lambswool applicators. If you paint the floors, an all-purpose paint primer needs to go down first. Once that has dried for 24 hours, you can go ahead and start painting. Allow the first coat to dry for 24 hours before applying the second one.
Stencil your floors
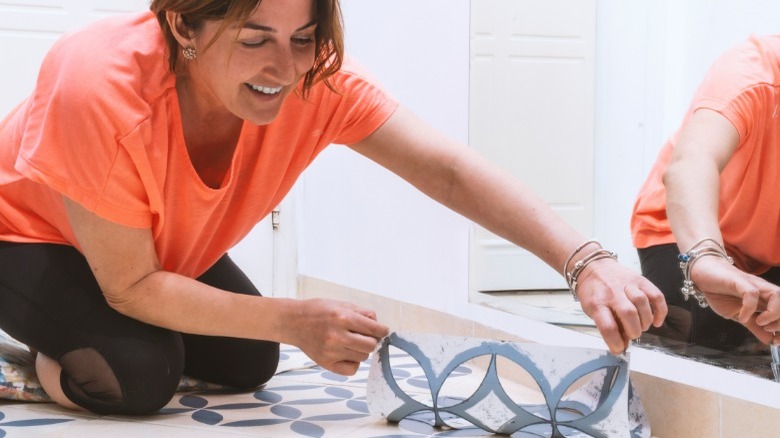
There are so many options for this. For the best results, you'll want to prep the surface as described above, and either paint it or stain it to create a base color. While the coats are drying, you can prepare the stencil(s). Companies like Royal Design Studio sell precut stencils that can be used on walls or floors, or you can make your own. To do the latter, draw an original or find one you like online. This can be printed out, attached to a dense foam core, and carefully cut out with a sharp tool like a hobby knife. Make several to cut out several stencils to the exact specifications.
Test out the pattern by experimenting with different amounts of paint — on a piece of cardboard, paint the stencil and see how it looks. Once you're confident, move on to the floor. If you plan on covering a large area with the pattern, measure out and mark rows with a tape measure. Wipe excess paint from the stencil with paper towels as you're working, and use the same amount of paint and pressure for each area. Allow drying time when finished, and protect your work with a coat of water-based polyurethane.
DIY farmhouse planks
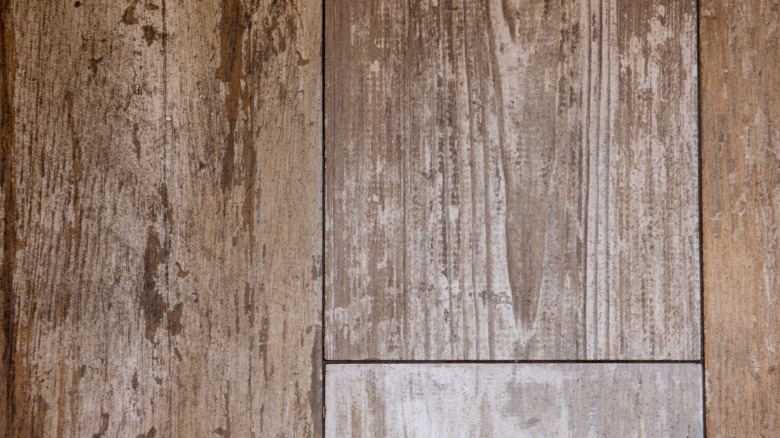
The farmhouse look is still going strong, and you can incorporate it into your abode with appealing DIY floor planks. The materials are sold in different sizes online by companies like Barnwood USA, or you can source your own from a lumber store. To save even more money, buy larger planks and cut them down to size. One option is to get 4-x-8-foot pine plank sheets, and cut them into 1 x 6-foot pieces. Each sheet costs around $20, making this an affordable option. You can do this yourself or ask the store to do it for you. You'll want to sand each board by hand and soften up the edges, too. Precut pine plywood also works, and costs less than thick wood.
To build this upgrade, drill holes in the planks and attach them to the floor with wood screws or nails. Those should go into the floor joists, not the subfloor. You can stagger the seams and use different-sized and different-colored planks for a more unique look. Once they are secured to the floor, sweep and vacuum the surface. Then, you can finish with a wood stain that brings out the wood's natural grain. Be sure to paint over the screws or nailheads to prevent dirt from getting into them.
Self adhesive wallpaper
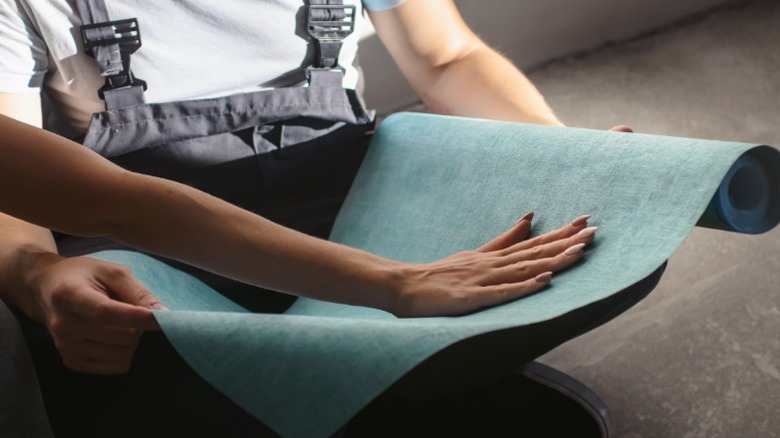
This option can work well on laminate and vinyl floors, and uses wallpaper with adhesive backing or contact paper. Choose your wallpaper wisely, since it has to hold up to floor traffic and stains — linens and other natural materials will get ruined.
Measure out the floor space you want to cover and cut out a sheet of wallpaper to fit. Press one edge up to where the floor meets the wall, and flatten the wallpaper with the smooth edge of a credit card and your hands, ensuring that there are no air bubbles. Trim the edges with a hobby knife, and make sure that the patterns align on all sides.
A word of warning, though: Be very careful when choosing peel-and-stick wallpaper and contact paper, since some brands come off super easily, and others will destroy your floors. It's important to do your research and read reviews on how easily these come off. Megan from The Homes I Have Made had to clean up sticky residue after removing wallpaper from a tiled bathroom floor, but was able to clean it up with Windex. She recommends a few wallpaper brands: RoomMates, NuWallpaper, and Target. You can also search for YouTube or TIkTok DIYers who have tested wallpaper brands on floors to see what they recommend.
Epoxy your floors
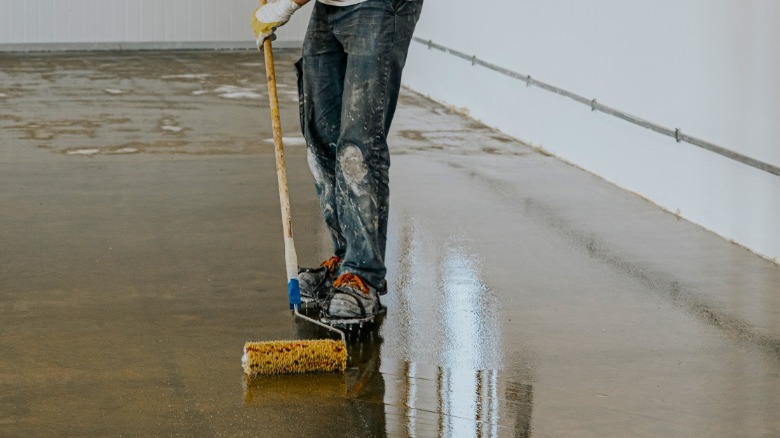
Epoxy floor coatings are made out of resin and hardeners, and offer more of an industrial look. This works beautifully on basement and garage floors, but if you're drawn to the look, there's no reason why you can't try it in your kitchen and other rooms. It can be poured on top of wood, tile, and concrete, and bonds to the surfaces. You end up with a thick, hard plastic coating that can stand up to almost anything.
Flooring professionals can do this job, or you can DIY with an epoxy kit. The floor needs to be cleaned and dried first, and then you can apply a primer coat. The epoxy needs to get mixed up before applying, and you can add decorative elements like metallic pigments. Apply it to the floor evenly with a special roller designed not to shed its fabric covering (nap). Follow the manufacturer's instructions for the drying time, then seal the floor with an epoxy sealant product.
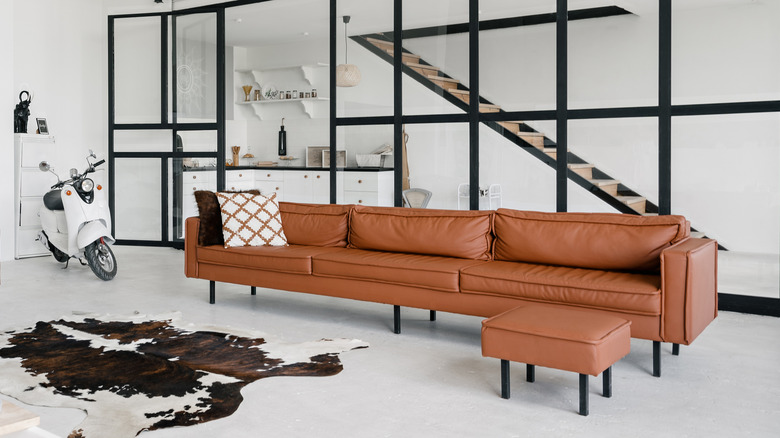
Add area rugs to cover floors
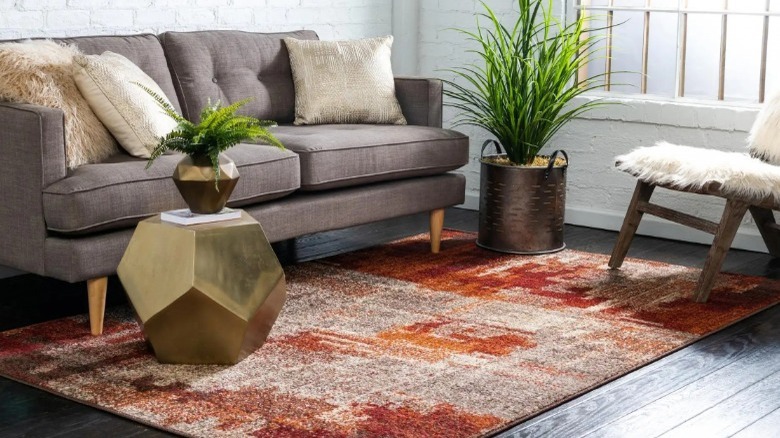
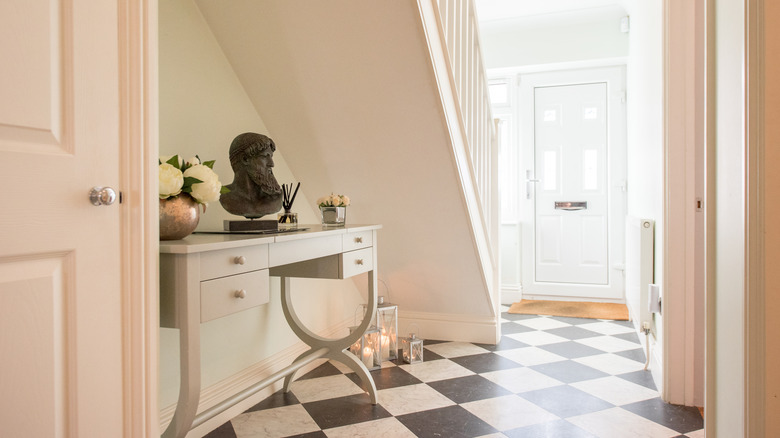
Area rugs come in different shapes and sizes to cover all floors imaginable. If you dislike the look of your floors, you can get a rug that extends out to the walls, leaving only a few inches of a perimeter around the edges. If it reaches too far, it will look out of place and can bunch up awkwardly. Smaller options can also make over floors, and any sized rug can cover floor damage like scratches and stains. They also protect floors and inject warmth and design interest into your decor.
When shopping for an area rug, think about what it needs to do. Bigger rugs can make small spaces seem larger and draw attention to certain parts of rooms. As for color and pattern, it's nice to have contrast. Use richer, deeper colors on light floors and neutrals, pastels, or red on darker floors. If you have small children or pets, it should be soft yet durable enough to hold up to stains. But always remember to place non-slip rug pads underneath to prevent slips and falls, even when placed on carpets. The rug doesn't have to cost a lot of money, either — try HomeGoods, TJMaxx, Target, and yard sales.
Experiment with peel-and-stick tiles
Unlike adhesive-backed wallpaper, peel-and-stick tiles don't come in sheets, and many are designed specifically for floors. Some are even made to resemble wood planks, and others are cut from carpets. The key is to look for strong adhesive backings that won't damage your floors. As with peel-and-stick wallpaper, research the brands and choose accordingly. You also don't want to buy vinyl peel-and-stick tiles that are little more than temporary vinyl decorative stickers. And avoid using adhesive-backed products like these on hardwood because the residue could ruin the floors.
These come in a wide variety of colors and patterns; all you need to install them are a measuring stick, carpenter square, and utility knife. As with any tiles, you'll have to trim some of them to fit along the room's walls and corners. These tiles work particularly well in kitchens, bathrooms, and utility rooms, and go right on top of the existing floors. You can even mix and match different colors and patterns on one floor. Easy peasy, and very cool!
Paint vinyl and linoleum flooring
Are you tired of looking at your faded, stained vinyl or linoleum floors? If they're not seriously damaged, you can paint over them. The prep work is similar to wood floors. You have to take everything out, protect the walls, and clean and sand the floor. But instead of renting a large floor buffer, you may get away with using an electric palm sander and 180- to 220-grit sandpaper. Then, carefully look over the floor for deep scratches and small holes. These can be filled in with caulk – smooth it out until even. Sweep and wash the floor one more time and wait until it dries.
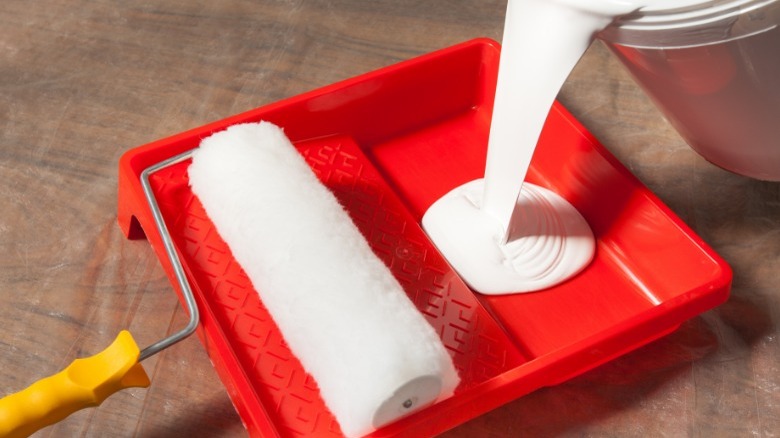
Apply one or two coats of a standard wall primer, and use a semi-gloss or glossy flooring paint to cover the floor. And as a side note, you can save time using paint with a built-in primer. You can save even more time by carefully pouring the paint onto the floor and using a long-handled paint roller. This eliminates the extra steps of dipping the roller into the paint tray. And guess what — you can stencil designs right on top. Linoleum floors can be painted in the same way, with similar results.
Work new life into that carpet
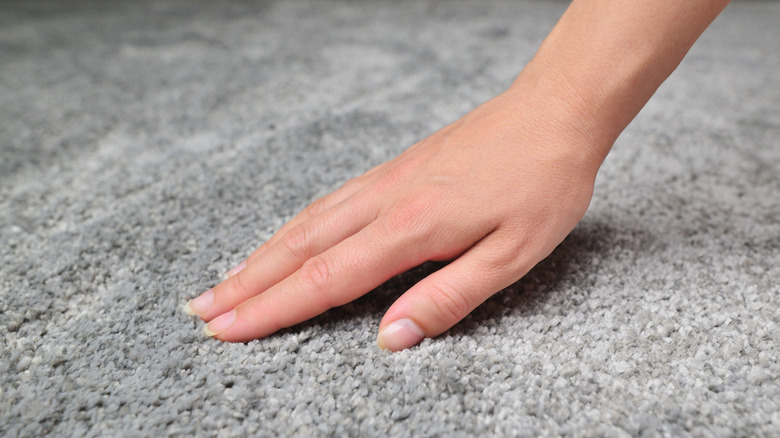
Dirt and grime get deep into carpet fibers, making them look old and dingy before their time. So unless your carpet is full of holes and its pile is completely worn out, it's possible to wake it up with a few clever hacks. The first step is to comb it out. There are carpet rakes made for this purpose, or you can use a regular comb or rake as long as it's very strong, not too sharp, and has metal or plastic teeth. Start by the wall and gently comb it towards your body. For best results, move against the pile direction. Repeat this over the entire carpet, and then vacuum. If any loose or extra-long fibers are sticking up, trim them off with scissors.
If you notice stains, one solution is to spray shaving cream onto them. Other homemade carpet cleaning remedies include baking soda, vinegar, hairspray, and club soda. Let the solution rest for 30 minutes and blot it away with clean cloths. Once those have been attended to, you can sprinkle baking soda over the entire carpet and vacuum again. Does the carpet still look dirty? Renting a carpet steam cleaner is cheaper than hiring a carpet cleaning company or buying a new carpet. And if all else fails, throw an attractive area rug over it to hide it.
Strip the wax off
Waxing floors has pros and cons, and sometimes it does more harm than good. Hardwood floors should be waxed periodically because they are porous, and the barrier will keep out moisture. Vinyl composition tile (VCT) and terra cotta should also be waxed for protection. But engineered hardwood, luxury vinyl tile, and wood laminate flooring should never be waxed because they are pre-finished. Ceramic tile and stone floors shouldn't be waxed either because the surfaces are impermeable and need to breathe, respectively.
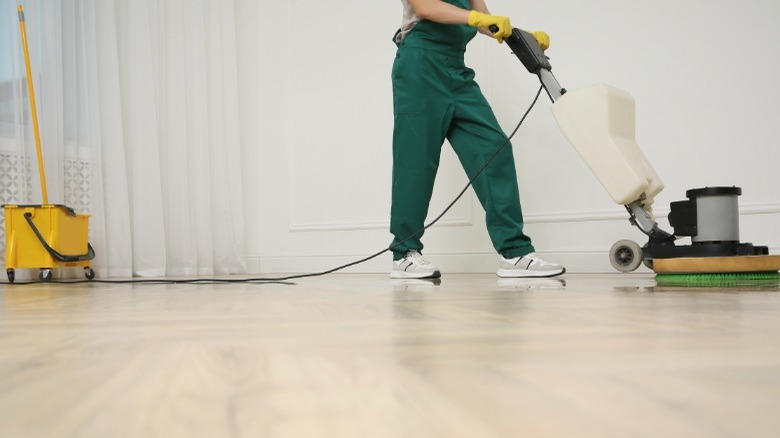
While waxing does protect certain floor materials, it discolors and retains dirt over time. This is seen more often on vinyl and other shiny floors. If a hardwood floor shows similar symptoms, use a hardwood wax remover product and then reapply a new coat. With other surfaces, the best choice may be to rent a floor buffing machine fitted with a polish stripper pad. This is labor-intensive and is only necessary when the wax buildup and grime are out of control. Otherwise, add 1/2 a cup of ammonia to a 2-gallon bucket and fill it with hot water. Use this and a mop to clean the floor, scrubbing until the shine returns. Don't use abrasive cleaning tools because they can scratch floors. Once the old wax is removed and the floor is dry, feel free to apply a new coat of wax.
Stain your concrete
Not all homes have concrete floors, but those that do can be upgraded with eye-catching colors and patterns. Like epoxy, this is more of an industrial look, but photos of stained concrete floors have been showcased in high-end decor magazines for years. You can pay to have it done for a few dollars per square foot, or take on the job yourself. And since concrete is so absorbent, you can pick from any color of the rainbow.
The two kinds of concrete stains available are water- and acid-based. The latter is harder to work with but provides a longer-lasting finish. You can also choose from solid and semi-transparent stains. Clean the floor with a degreasing product and repair any cracks with a concrete repair sealant. The stain can be applied with a pump sprayer or by hand with paint rollers and brushes. Take care not to overlap the edges because the color will be noticeably darker — feel free to apply two coats, though. Finish the upgrade by applying a concrete sealing product to preserve your work. There are matte, glossy, and wet-look finishes available.