

12 Patio Installation Dos And Don'ts, According To Pros
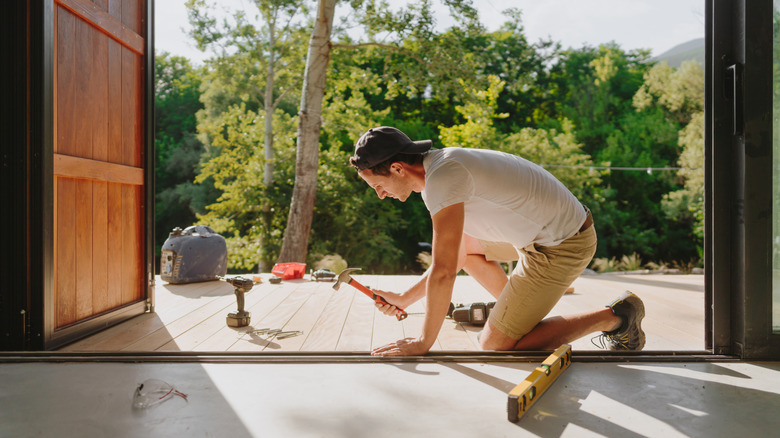
If you're planning on developing your backyard space, your mood board is no doubt filled with trendy ideas for designing your perfect patio. And so it should be. However, before you start allotting your hard-earned dollars to gorgeous furniture, rugs, and containers for your plants, it's important first to properly plan the patio itself. That means getting up to speed on local building codes, and ensuring that your plans factor in boring things like drainage and appropriate load-bearing capacity. It means knowing that your finished patio will receive a comfortable balance of sunshine and shade, and that, once installed, it's located in a spot where you'll actually use it.
To help, we thought we'd cover some of the most important dos and don'ts when it comes to building a patio. In exclusive interviews, we reached out to outdoor design and landscaping experts to see what, in their experience, is most important to successful patio design. Some of their insights will make a lot of sense, and some you may even have thought of already. Some will help you avoid structural problems in the long term, and others will help you stay within the boundaries of permitted development without falling foul of your local authority's enforcement.
For long-term durability and reliability, do consider using concrete
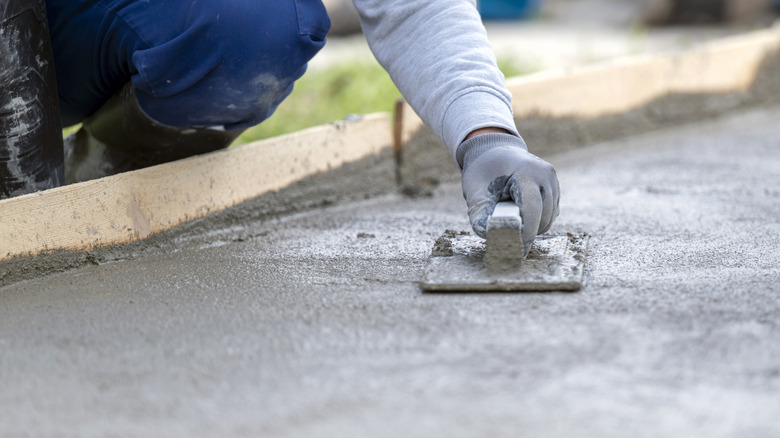
Those embarking on a new installation have plenty of patio pavement materials to choose from. Each has its pros and cons, and often, the choice comes down to a balance between cost, practicality, and aesthetics. However, in an exclusive interview with House Digest, Brad Holley, Design Director at Outdoor Dynamics, says that one material in particular is better suited to builds where longevity is the goal. In his own words, "If you want long-term uniformity and reliability, you may want to go with a concrete slab."
Admittedly, concrete is not the cheapest patio material. However, Holley explains that, at larger scales, it's actually one of the most economical. Compare it to gravel, for example. While cheaper up front, gravel often needs topping up every few years as it becomes misplaced. It also needs more maintenance, like weeding, and is tricky to keep looking clean in the long run. Concrete, while more expensive up front, tends to last much longer without tricky maintenance. It's easier to keep clean, and importantly, says Holley, "Concrete is also going to be the correct starting point if you plan on adding a built-in grill or food prep space." Such installations necessitate a strong, uniform, level base — the sort that dirt, gravel, or even pavers may struggle to provide in the long term.
Do plan your patio with future development in mind
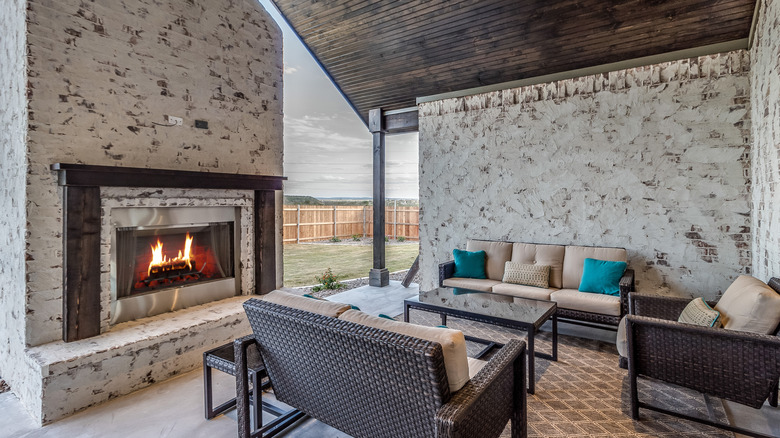
As we touched on in the previous section, thinking about how you'll use your patio in the long term — and not just in the immediate future — is key. Whether that's a few outdoor kitchen units or a more involved installation, says Holley, you should factor it into your patio installation now. As he says, "You might only be building a simple patio for now, but if you intend to build a heavy, masonry-based structure on top of it in the future ... you may want to consider thickening your slab wherever these masonry features will be placed."
Now, thickening your concrete in places may be suitable for some mid-weight fixtures. But if you're planning to go big in the future, perhaps with a large shade structure, or a traditional fireplace and chimney, a slightly thicker base may not cut it. Instead, says Holley, "you may need something much more involved." You may need to have a grade beam installed — effectively a reinforced concrete "beam" that runs beneath your patio and helps support and spread heavier loads more evenly. It's something that your contractor should be able to advise on — provided that you factor in your future building plans at the patio installation stage.
Don't forget about drainage
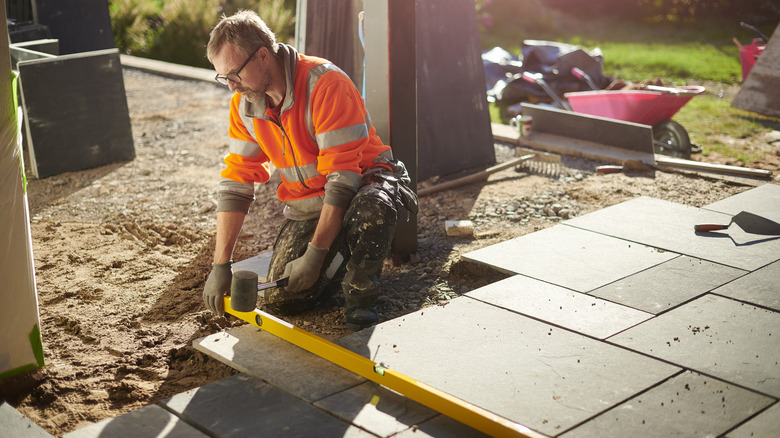
It's hard to overstate the importance of drainage. This is especially true if your patio lies directly adjacent to your house. As Holley puts it, "no matter what, you always need to make sure that you are accommodating and protecting your home's foundation." If you neglect drainage and end up encouraging water to flow towards your home, your foundations may heave, shift, or even crack. One of the most effective ways to ensure drainage beneath your pavers or concrete is to slope your patio away from your home, so that when it rains, it flows away from the house. Again, this is something that a quality contractor should take care of. But if you're doing it yourself, Holley recommends a minimum drop of ⅛ inch for every foot.
To further safeguard your property from water damage, you should make sure that your finished patio — including the base, plus your choice of pavers or concrete — sits lower than the top of your home's foundation. As for why, Holley explains, "if the top surface of your patio is flush (even) with the top of your home's foundation, water can travel off your new patio and onto your foundation." This, in turn, can lead to water ingress, causing water damage in your exterior walls, and even, in severe cases, flooding.
Do specify your materials and finish first — before you start designing your patio

The reason you should specify your materials first, rather than matching materials to a pre-planned design, is three-fold. Firstly, says Holley, by planning based on your materials, you ensure that their specific dimensions are duly accommodated. In turn, this means you're less likely to have to make strange or awkward cuts just to make the materials fit, which results in a better overall aesthetic. As Holley puts it, "Making everything intentional is always the goal." The second reason is that, on any patio where there's not a roof to protect the surface from rain, it will inevitably get wet. With that in mind, especially if you're likely to need to walk over your patio in inclement weather, specifying slip-resistant materials will ensure you don't take a tumble should you need to dash to the shed.
The third reason relates back to what Holley said about protecting your home's foundations from water. If you're planning to add a finishing material to a concrete surface, like a veneer or a tile or stone product, then that will add thickness to the overall build. So, too, will the setting materials like mortar. If you don't know how high all those extras will make your patio, and you only factor the depth of the concrete, then you're rolling the dice on a potentially very unfavorable outcome. As Holley puts it, "What you don't want is to accidentally build a patio surface that ends up being higher than your home's foundation."
Don't spoil your home's view with patio fixtures or furniture
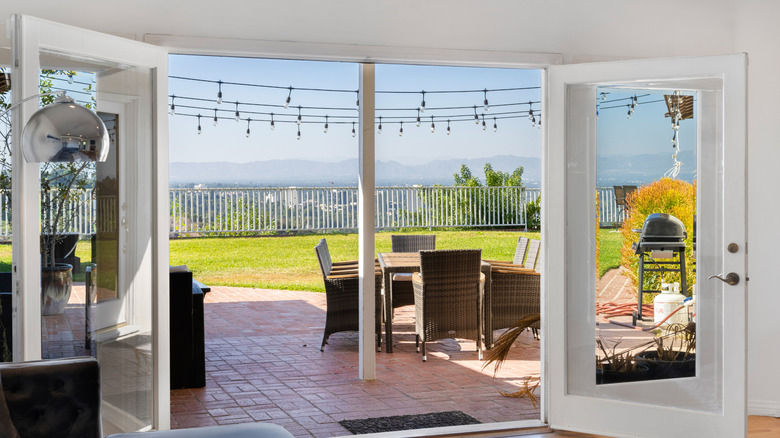
This mistake is incredibly easy to make, but it's one worth bearing in mind if your home is blessed with great views. It could be your beautifully landscaped garden, a view of the ocean, or a sweeping desert vista. While you should absolutely aim to capitalize on said view from your patio, doing so should not come at the cost of the view from indoors. Holley describes this as one of his personal pet peeves; "Knowing that there is a gorgeous view just outside of a door or window, but knowing that it's blocked by a feature or a large piece of furniture that could have easily been placed elsewhere."
Really, it goes for just about anything that you might add to your patio, be that a large planter, a trellis, or indeed the indomitable post of a pergola. Whatever you're adding to your patio, try to remember that the weather may not always allow you to enjoy your view from the patio. On days when it's raining, you'll regret placing a large sectional sofa right in front of the window. You don't need to worry about hiding your patio fixtures from the view of your window. Instead, Holley suggests using them to frame it, ensuring that your plants, fixtures, and furniture "add" to the view, rather than impede it.
Do allow extra space for furniture and traffic

Speaking about how you'll use your patio, Holley explains that it's crucial to understand what you'll place on the surface in order to facilitate it. The reason? As he puts it, "because everything usually ends up needing more space than you think." So, just as choosing the wrong size furniture is a patio design mistake you should avoid, so, too, is building your patio too small. If you match it precisely to the dimensions of a given dining set — down to the last inch — you may find it's awkward to use once people start pulling out chairs and actually trying to sit on them.
That's not the only thing to consider, either. As Holley says, "Consider that once your meal begins, people may need to come and go at different times, and this means they're going to need at least a little bit of walking space to get around the table and chairs." To ensure a free flow, he suggests allowing for another 24 to 36 inches of clearance on each side of your set. That, plus the additional clearance you already factored in to accommodate your dining set (and people sitting on it), adds up to considerably more than the dimensions of the table and chairs alone. But it's worth bearing in mind. As Holley puts it, "When furnishings and space aren't well thought out, at best, you can have a cramped space that 'still kind of works,' but you spend every passing moment regretting that you didn't make the patio bigger to begin with." Worst case, he adds, you become so frustrated by your mistake that you abandon your patio altogether.
Don't forget to consult your local authority before building
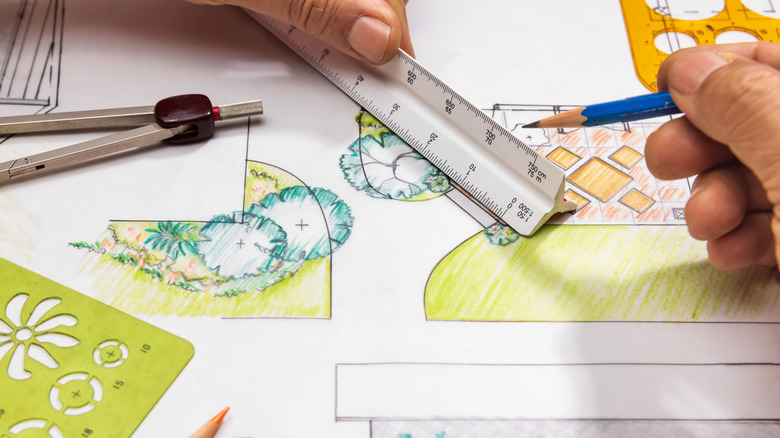
Of all the things that professional landscapers wish you knew, local building regulations and requirements are among the most critical. Speaking with Holley, he explains that there are some specific regulations and requirements that you should ask your local authority about before you even think about breaking ground. One is any regulations about lot coverage. These effectively govern the amount of a property that can be covered with structures, including patios. Confusingly, the rules change depending on which jurisdiction you live in, and if you submit a plan that overextends your allowance, the chances of a granted permit are slim.
Another note to enquire about is your authority's permeability or impervious surface regulations. Similar to lot coverage requirements, these are specifically in place to accommodate rain water, ground absorption, and the flow of drainage. "Permeability refers to the ease/ability for rain water to land on the ground and flow into the soil," says Holley. "Most hardscapes prevent this, and the municipalities that have these requirements are going to be looking at how much of this hardscaping you have." Again, different municipalities have different standards and leniencies for different materials. Some will allow materials like pavers, which allow water to work its way into the ground between slabs. Others, says Holley, simply won't. Like lot coverage regulations, far and away the safest bet is to enquire with your local authority and ensure that your plans meet their requirements before seeking a permit.
Do ensure your patio has both sunshine and shade
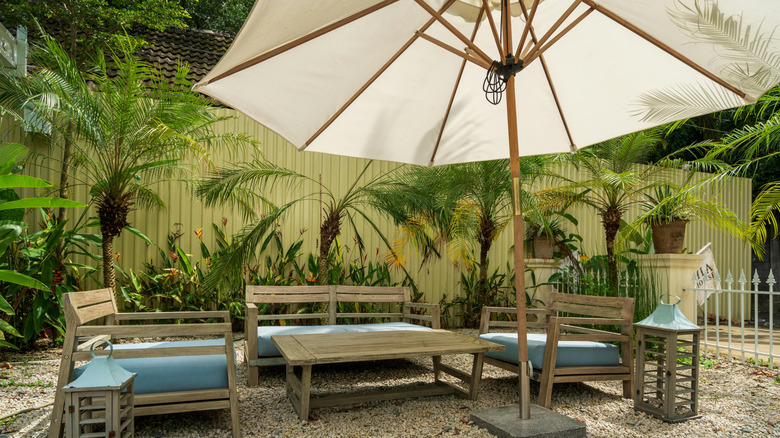
A gorgeous new patio offers homeowners an outdoor sanctuary in which to enjoy the sunshine. But only if it's designed properly. In an exclusive interview with House Digest, Sara Bendrick, landscape contractor and designer at Sarita Landscapes, explains that a good place to start is ensuring your proposed patio site receives sunshine. From there, you can then work to configure the final layout to ensure it also has shade. For example, she says, "If possible, orient the patio with natural shade from a house or a tree." You might have an area that's flooded with sunshine up until midday, but which then begins to receive some shade from your house. This, says Bendrick, is an excellent place to install a patio, as it will mitigate the worst of the summer heat.
The point is that by ensuring your outdoor area receives the best of both — warming sunshine and soothing shade — you'll be far more likely to use it than if it's completely shaded or stiflingly hot. In areas where you can't guarantee shade, says Bendrick, you could "consider adding a pergola structure to the space." We love this idea. Pergolas bring a unique sense of architectural beauty, and can easily be paired with resort-grade pergola curtains for easy-breezy shade. There are also lots of climbing plants that can add shade and beauty to a pergola, like coral honeysuckle (Lonicera sempervirens), which is both beautiful and also highly attractive to pollinators — including hummingbirds!
Don't cramp your space with a poorly-fitted shelter
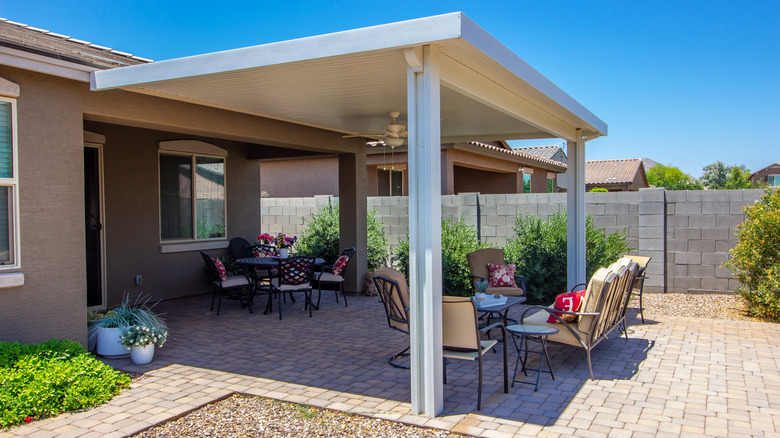
While shelters like pergolas offer an affordable and stylish backyard upgrade, it's important to specify them correctly. So says Bendrick, who warns, "Don't place a too-small pergola in the center of your patio." Well, why not? Surely some shelter is better than none? That may, technically, be true, especially if the summers are stifling in your region and you need a reprieve from the heat. However, explains Bendrick, if it's too small, "it will restrict your usable space," with the posts interrupting the natural flow of your patio.
It doesn't matter whether you're planning to host your friends or simply enjoy your patio with just you and your family. Remember what Brad Holley said earlier about sizing your patio and furniture to ensure proper flow? The principle is the same; if your shelter makes your space feel cramped or awkward to use, you'll be less inclined to use it. Fortunately, there are lots of ways to shade your patio aside from pergolas. For example, if space is at a premium, or you can't afford a larger pergola, you could use a simple umbrella, which can be moved around flexibly and stored away when you don't need it. Alternatively, you could mount a retractable awning, which will likely be cheaper than installing a pergola. Or if budget is the main constraint, something as simple as a sail shade can lend both style and shade to your patio without breaking the bank.
Don't build your patio too far from your house
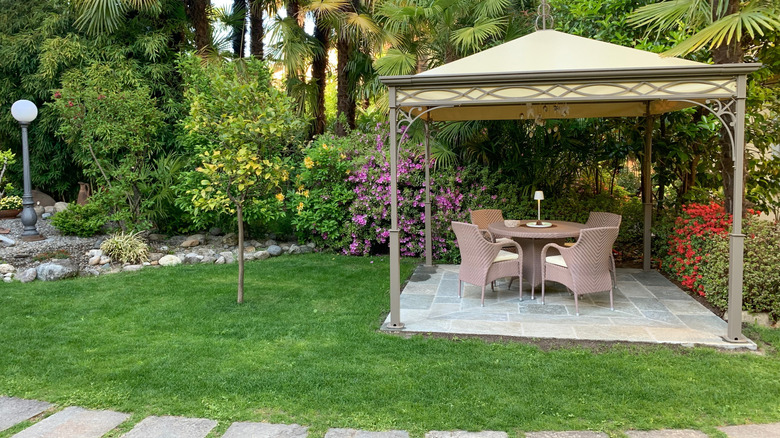
As you look around your yard for the perfect place to position your patio, one that enjoys equal degrees of sun, shade, and just as importantly, privacy, try not to wander too far. As Bendrick explains, "If you have to walk a far distance, you won't use it as much." Similarly, she adds that placing the patio at a significantly higher level than the home may discourage you from using it as much. Which makes sense. Whether it's at the opposite end of the yard, or at the top of a slope, carrying food, drink, and other outdoor supplies to your patio may feel like more trouble than it's worth.
Now, this is only guidance; it's by no means a hard and fast rule. However, a patio is a significant investment. It becomes even more expensive once you factor all your furnishings and outdoor cooking equipment into the budget. With the exception of areas that have astonishing views to make the walk worth it, Bendrick says, quite simply, that "Patios placed in the far corners of the yard are used considerably less." In other words, careful attention to location is key to ensure your money isn't wasted.
Do consider cheaper alternatives to concrete, like gravel
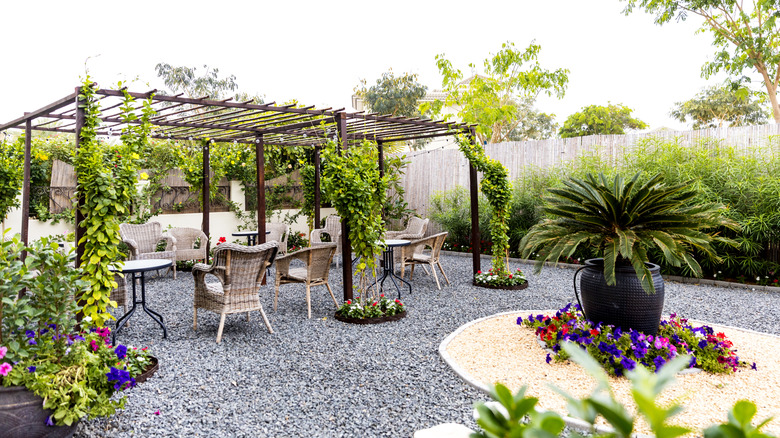
Running slightly counter to what we said earlier about considering concrete, there is still a place in the world of patio design for less "future-proof" materials. For example, says Bendrick, you could consider pea gravel or other alternatives to concrete "for a rustic or elevated casual feel." In fact, not only are there loads of stunning gravel patio ideas that can give your yard a whole new look, but as Bendrick also explains, "it's better on the budget!"
Of course, if you plan to add heavy fixtures and structures later down the line, then concrete is probably still the better choice. However, if you just need a space that's attractive and which can accommodate some patio furniture, and upfront cost is your biggest limitation, then gravel is a likely winner. It's versatile in terms of style, since there are lots of different types of gravel that you can choose from. It also drains well, especially if you lay a sub-base of larger rock underneath to create more drainage space. Not only that, but DIYing a gravel patio is often easier than laying a concrete slab, meaning you can potentially save on labor costs, too. Just note that gravel may still be implicated by your area's impervious surface rules, so checking with your local authority is definitely worth doing.